1. Introduktion
Thank you for choosing the Hom-io HOM-Mod-Switch 1-Channel WiFi Smart Switch Module. This device allows you to transform traditional lighting points or electrical appliances into smart, wirelessly controlled devices. With its versatile features, you can enhance the control and management of your home appliances, integrating them seamlessly into your smart home ecosystem.
This manual provides detailed instructions for the safe installation, setup, and operation of your smart switch module. Please read it thoroughly before use and retain it for future reference.
2. Sikkerhedsoplysninger
ADVARSEL: Risiko for elektrisk stød!
- Installationen skal udføres af en kvalificeret elektriker eller en person med et indgående kendskab til elektriske systemer.
- Afbryd altid strømmen ved afbryderen, før modulet installeres eller serviceres.
- Sørg for, at alle ledningsforbindelser er sikre og overholder lokale el-forskrifter.
- Overskrid ikke den maksimale belastningsværdi på 10A / 2300W.
- This device is designed for indoor use in dry locations (IP20). Do not expose to moisture or extreme temperatures.
- Opbevares utilgængeligt for børn.
3. Produktet er slutview
The Hom-io HOM-Mod-Switch is a compact, embedded WiFi switch module designed to convert traditional switches and appliances into smart devices. It supports both high and low voltage loads up to 10 Amperes.

Figur 3.1: Forside view of the Hom-io HOM-Mod-Switch module, showing its compact design and terminals.
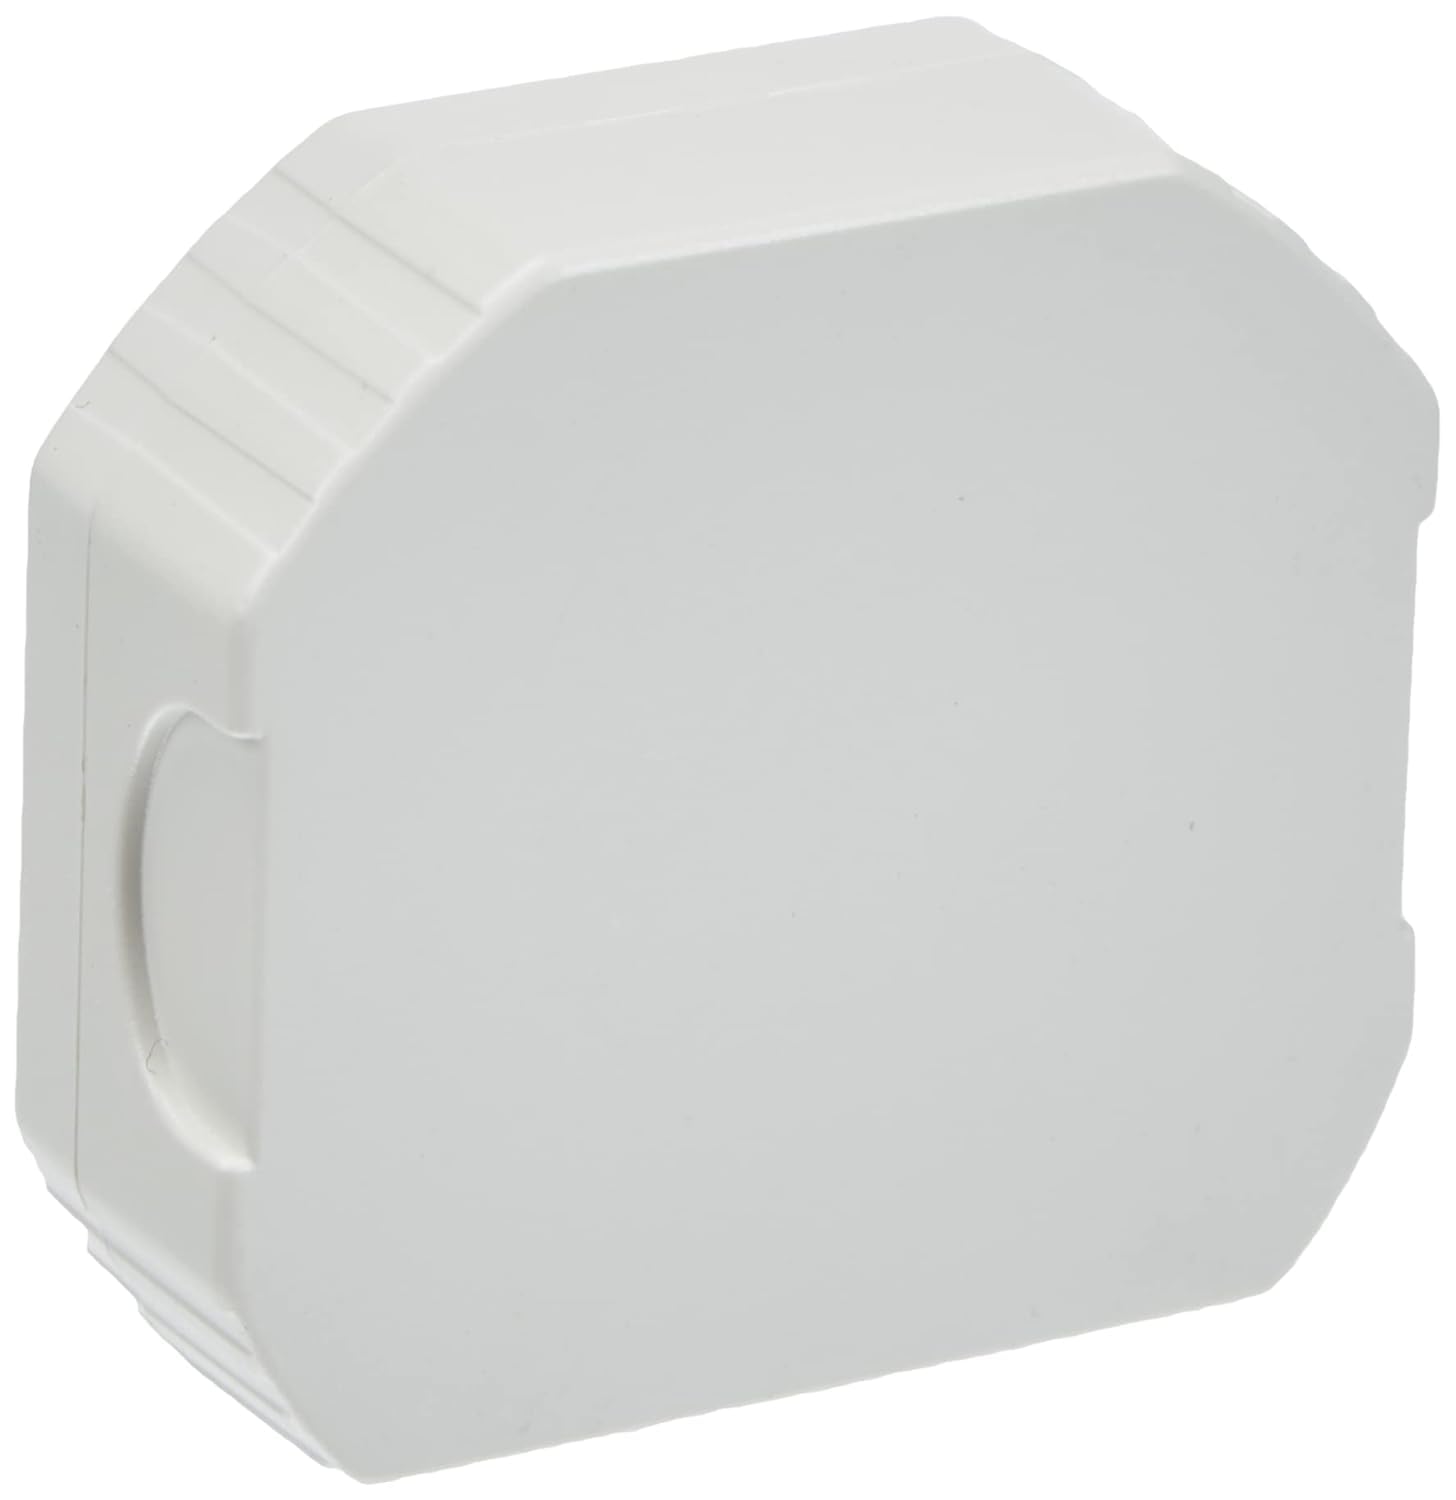
Figure 3.2: Diagram illustrating key features of the Hom-io Smart Switch Module, including remote control, adjustable timer, operating temperature, and electrical ratings.
Nøglefunktioner:
- Smart kontrol: Control lighting and electrical appliances via smartphone app or traditional switch.
- Høj kompatibilitet: Fungerer med Amazon Alexa og Google Home til stemmestyring.
- Fjernadgang: Control devices from anywhere using the Smart Life app (or Hom-io app).
- Avanceret planlægning: Create custom scenarios, countdown timers, circular timers, and step-by-step modes.
- Sluk-hukommelse: Configurable behavior after a power outage.
- Kompakt design: Fits into standard embedded junction boxes (Ø60 mm).
4. Specifikationer
| Modelnummer | HOM-Mod-Switch |
| Input bindtage | 230 V ~ / 50 Hz |
| Maks. Strøm | 10 A |
| Max Power | 2300 W |
| Trådløs forbindelse | Wi-Fi 2.4 GHz 802.11 b/g/n |
| Driftstemperatur | 0°C til 40°C |
| Driftsfugtighed | ≤ 80 % |
| IP-vurdering | IP20 (kun indendørs brug) |
| Dimensioner (L x B x H) | 51 x 17 x 47 mm (ca. 2 x 5 x 5 cm) |
| Vægt | 50 gram |
| Materiale | Kobber (interne komponenter) |
| Switch Type | 1-way, Embedded |
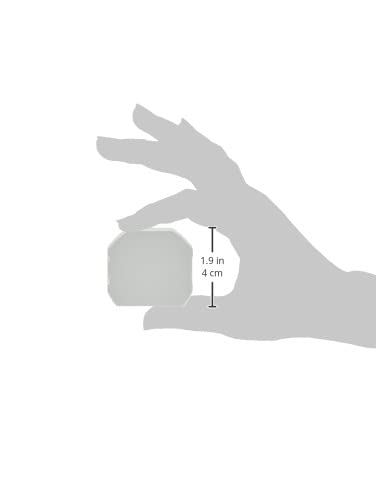
Figure 4.1: Visual representation of the module's dimensions.
5. Installation (Opsætning)
Before proceeding with installation, ensure you have read and understood the safety information in Section 2. This module is designed to be installed inside a standard electrical junction box (e.g., Ø60 mm).
Ledningsdiagram:
The module has terminals for Line (L), Neutral (N), Switch Input (L1), and Output (OUT). Refer to the diagram below for typical wiring configurations.

Figur 5.1: Tilbage view of the module, highlighting the wiring terminals (L, N, L1, OUT).
- Sluk for strømmen: Locate the circuit breaker controlling the light or appliance you wish to automate and turn off the power. Verify that the power is off using a voltage tester.
- Access Junction Box: Open the electrical junction box where the traditional switch or appliance wiring is located.
- Tilslut ledninger:
- Tilslut Live (L) wire from your mains supply to the 'L' terminal on the module.
- Tilslut Neutral (N) wire from your mains supply to the 'N' terminal on the module.
- Tilslut Load (OUT) wire (going to your light or appliance) to the 'OUT' terminal on the module.
- If using a traditional wall switch, connect one terminal of the switch to the 'L1' terminal on the module and the other terminal of the switch to the 'L' terminal (Live). This allows for both smart and manual control.
- Sikkert modul: Carefully place the module inside the junction box, ensuring no wires are pinched.
- Gendan strøm: Close the junction box cover and turn the power back on at the circuit breaker.
After installation, the module is ready for app setup and pairing.
6. App-opsætning og parring
The Hom-io HOM-Mod-Switch module is compatible with the Hom-io app, which is based on the Smart Life platform. No separate hub is required.

Figure 6.1: The Hom-io app interface, demonstrating compatibility with Amazon Alexa and Google Home.
- Download appen: Download the "Hom-io" app from the Apple App Store (for iOS) or Google Play Store (for Android). Alternatively, you can use the "Smart Life" app.
- Registrer/Log ind: Åbn appen, og opret en ny konto, eller log ind, hvis du allerede har en.
- Tilføj enhed:
- Ensure your smartphone is connected to a 2.4 GHz Wi-Fi network. The module does not support 5 GHz Wi-Fi.
- In the app, tap the "+"-ikonet (normalt i øverste højre hjørne) for at tilføje en ny enhed.
- Select "Electrical Switch" or "Switch (Wi-Fi)" from the device list.
- Gå ind i parringstilstand:
- With the power on, press and hold the traditional wall switch connected to the module for approximately 5-10 seconds until the indicator light on the module starts blinking rapidly. This indicates it's in pairing mode.
- Alternatively, if there's a physical button on the module, press and hold it.
- Bekræft blinkning: In the app, confirm that the indicator light is blinking rapidly.
- Indtast Wi-Fi-oplysninger: Indtast dit 2.4 GHz Wi-Fi-netværksnavn og din adgangskode.
- Forbinde: The app will begin searching for and connecting to the module. Once connected, you can rename the device and assign it to a room.
If pairing fails, ensure your Wi-Fi network is 2.4 GHz, the password is correct, and the module is within Wi-Fi range. You may need to reset the module by turning off and on the power three times (on-off-on-off-on) to force it into pairing mode.
7. Betjening
7.1 Manuel kontrol
You can continue to control the connected light or appliance using the traditional wall switch, even after the smart module is installed and paired. The module maintains synchronization between manual and app control.
7.2 App kontrol
Open the Hom-io (or Smart Life) app on your smartphone. Tap on the device name to access its control interface. From here, you can:
- Tænd/sluk: Toggle the power of the connected device.
- Indstil timere: Schedule specific times for the device to turn on or off (countdown, circular timer).
- Opret scenarier: Automate actions based on conditions like time of day, weather, or other smart devices.
- Step-by-Step Mode: Manually force an impulsive mode via the app for specific applications (e.g., gate openers).
- Sluk-hukommelse: Konfigurer enhedens tilstand efter strømafbrydelsetage (e.g., remain off, turn on, or restore last state).

Figure 7.1: Remote control of a smart gate using the Hom-io app on a smartphone.
7.3 Stemmestyring (Alexa og Google Home)
To enable voice control, you need to link your Hom-io (or Smart Life) account with your Amazon Alexa or Google Home account.
- Åbn Voice Assistant-appen: Åbn Amazon Alexa-appen eller Google Home-appen.
- Add Skill/Service:
- For Alexa: Go to "Skills & Games" and search for "Smart Life" or "Hom-io". Enable the skill.
- For Google Home: Go to "Works with Google" and search for "Smart Life" or "Hom-io". Link the service.
- Tilknyt konto: You will be prompted to log in with your Hom-io/Smart Life app credentials.
- Opdag enheder: Once linked, ask your voice assistant to discover devices (e.g., "Alexa, discover my devices" or "Hey Google, sync my devices").
- Stemmekommandoer: You can now control your module using voice commands, such as:
- "Alexa, tænd for [Enhedsnavn]"
- "Hej Google, sluk [Enhedsnavn]"
8. Fejlfinding
| Problem | Mulig årsag | Løsning |
|---|---|---|
| Module not pairing with app. | Incorrect Wi-Fi band (5GHz), wrong password, module not in pairing mode, weak signal. | Ensure 2.4 GHz Wi-Fi. Check password. Reset module (power cycle 3 times) to enter pairing mode. Move router closer or use a Wi-Fi extender. |
| Enheden reagerer ikke på app-/stemmekommandoer. | No internet connection, module offline, voice assistant not linked. | Check home internet connection. Verify module status in app. Relink Smart Life/Hom-io skill/service in Alexa/Google Home app. |
| Traditionel afbryder virker ikke. | Incorrect wiring of the L1 terminal. | Review Section 5 (Installation) and check wiring connections, especially for the L1 terminal. Ensure power is off before checking wiring. |
| Module frequently disconnects. | Svagt Wi-Fi-signal, netværksforstyrrelser, routerproblemer. | Improve Wi-Fi signal strength. Reduce interference from other devices. Restart your Wi-Fi router. |
9. Vedligeholdelse
The Hom-io HOM-Mod-Switch module requires minimal maintenance.
- Rensning: Ensure the power is off before cleaning. Use a soft, dry cloth to wipe the exterior of the module if it becomes dusty. Do not use liquid cleaners or sprays.
- Firmwareopdateringer: Periodically check the Hom-io (or Smart Life) app for available firmware updates. Updates can improve performance and add new features.
- Miljøforhold: Ensure the module remains in a dry environment within the specified operating temperature and humidity ranges.
10. Garanti og support
This product is manufactured by Melchioni under the Hom-io brand.
For garantioplysninger og teknisk support henvises til den dokumentation, der fulgte med dit køb, eller kontakt din forhandler. Gem din købsbevis til garantikrav.
Fabrikant: Melchioni SpA
Adresse: Via P. Colletta 37, 20135 Milano, Italy
Telefon: +39 02 49488000