1. Introduktion
This manual provides detailed instructions for the installation, operation, and maintenance of your Cooler Master RR-A71C-18PA-R1 CPU Cooler. This air cooler is designed to efficiently dissipate heat from your desktop CPU, featuring a PWM controlled fan for optimized performance and addressable RGB lighting for customizable aesthetics. Please read this manual thoroughly before proceeding with installation to ensure proper setup and safe operation.
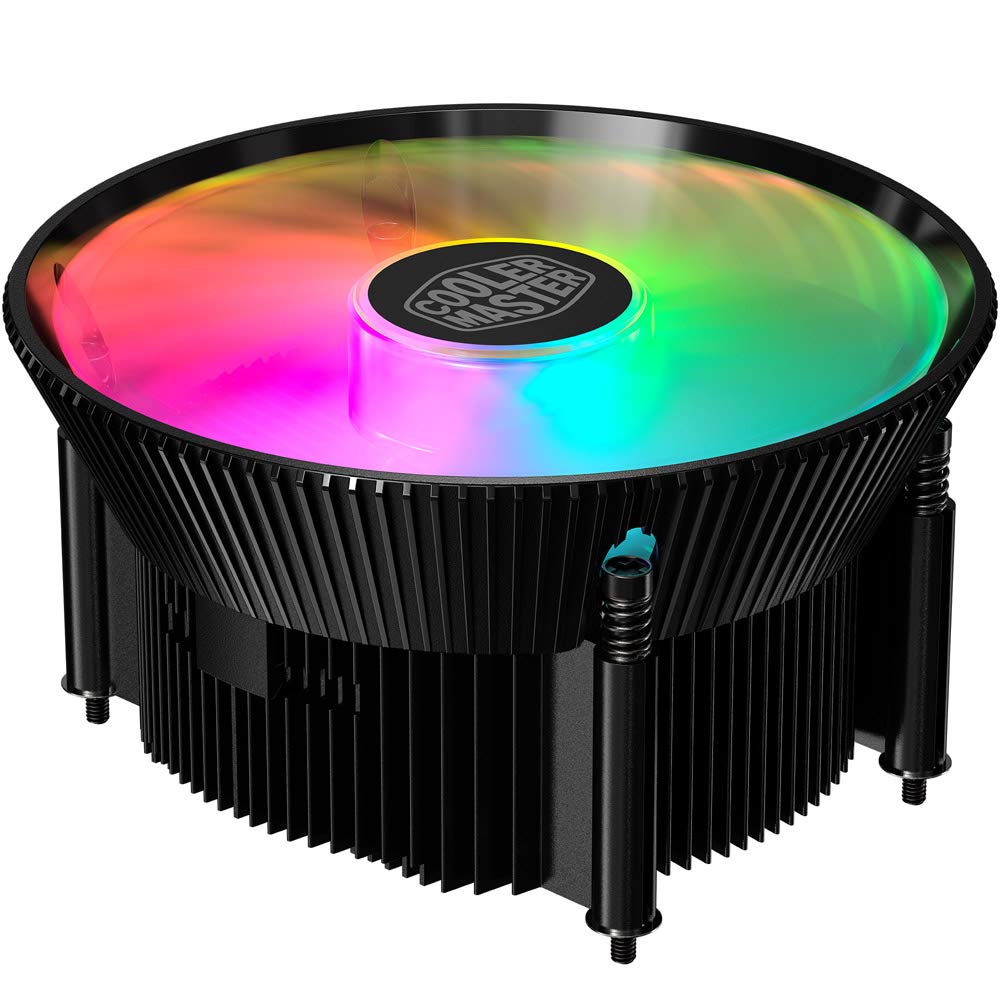
Billede 1.1: Top view of the Cooler Master RR-A71C-18PA-R1 CPU Cooler showcasing its addressable RGB fan.
2. Sikkerhedsoplysninger
Overhold følgende sikkerhedsforanstaltninger for at forhindre skader på produktet eller personskade:
- Sørg for, at dit computersystem er slukket og taget stikket ud af stikkontakten før installation eller vedligeholdelse.
- Undgå at berøre ventilatorbladene, mens systemet er i drift.
- Handle the cooler and its components with care to prevent damage.
- Opbevares utilgængeligt for børn.
- Forsøg ikke at modificere køleren eller dens komponenter. Uautoriserede modifikationer kan ugyldiggøre din garanti og udgøre en sikkerhedsrisiko.
3. Pakkens indhold
Bekræft at alle varer er til stede i din pakke:
- Cooler Master RR-A71C-18PA-R1 CPU Cooler Assembly
- Mounting Hardware (for compatible CPU sockets)
- Termopasta (påført på forhånd eller i tube)
- Brugervejledning (dette dokument)
4. Opsætning og installation
Follow these steps for proper installation of the CPU cooler:
- Forbered bundkortet:
Ensure your motherboard is removed from the PC case or has sufficient access for cooler installation. Refer to your motherboard's manual for specific CPU socket preparation.
- Påfør termisk pasta:
If thermal paste is not pre-applied to the cooler's base, apply a small, pea-sized amount to the center of your CPU's integrated heat spreader (IHS). Do not spread it manually; the pressure from the cooler will distribute it evenly.

Billede 4.1: Bund view of the CPU cooler, illustrating the fan and copper contact base. Ensure this surface is clean before applying thermal paste.
- Monter køleren:
Carefully align the cooler with the mounting holes on your motherboard. Gently place the cooler onto the CPU, ensuring even contact. Secure the cooler using the provided mounting hardware. Tighten screws in a diagonal pattern (e.g., top-left, bottom-right, top-right, bottom-left) until snug, but do not overtighten.
- Tilslut ventilatorkabel:
Locate the 4-pin PWM fan connector on the cooler. Connect this cable to the "CPU_FAN" header on your motherboard. Refer to your motherboard manual for the exact location of this header.
- Connect RGB Cable:
Locate the addressable RGB (ARGB) connector on the cooler. Connect this cable to a compatible 3-pin 5V ARGB header on your motherboard. Advarsel: Do not connect to a 4-pin 12V RGB header, as this will damage the LEDs.
- Afsluttende kontrol:
Double-check all connections. Ensure no cables are obstructing the fan blades or other components. Reinstall your motherboard into the PC case if it was removed.
5. Betjeningsvejledning
Once installed, the Cooler Master RR-A71C-18PA-R1 CPU Cooler operates automatically, but its performance and aesthetics can be managed:
- Ventilatorhastighedskontrol (PWM):
The fan's speed is controlled by your motherboard's BIOS/UEFI settings or through motherboard software. PWM (Pulse Width Modulation) allows for dynamic fan speed adjustments based on CPU temperature, providing optimal cooling and noise levels. Consult your motherboard manual for instructions on configuring fan curves.
- Addressable RGB Lighting Control:
The addressable RGB lighting can be controlled via your motherboard's RGB software (e.g., ASUS Aura Sync, MSI Mystic Light Sync, Gigabyte RGB Fusion, ASRock Polychrome Sync) or a dedicated ARGB controller (not included). Ensure the ARGB cable is correctly connected to a 3-pin 5V ARGB header. Refer to your motherboard's software documentation for lighting customization options.
6. Vedligeholdelse
Regelmæssig vedligeholdelse sikrer optimal ydeevne og levetid for din CPU-køler:
- Fjernelse af støv:
Periodically (every 3-6 months, depending on environment) power off your computer and unplug it. Use compressed air to gently blow dust out of the heatsink fins and fan blades. Hold the fan blades to prevent them from spinning rapidly during cleaning, which can damage the bearings.
- Tjek forbindelser:
Occasionally verify that the fan and RGB cables are securely connected to their respective headers on the motherboard.
- Genanvendelse af termisk pasta:
Hvis du af en eller anden grund fjerner køleren, anbefales det at rense den gamle termopasta fra både CPU'en og kølerens base og påføre frisk termopasta, før du geninstallerer den.
7. Fejlfinding
Hvis du støder på problemer med din CPU-køler, kan du se følgende almindelige problemer og løsninger:
| Problem | Mulig årsag | Løsning |
|---|---|---|
| Ventilatoren roterer ikke |
|
|
| No RGB lighting |
|
|
| Høje CPU-temperaturer |
|
|
8. Specifikationer
Detailed technical specifications for the Cooler Master RR-A71C-18PA-R1 CPU Cooler:
| Feature | Værdi |
|---|---|
| Produktdimensioner | 4.72 cm L x 0.98 cm B x 4.72 cm H |
| Mærke | Cooler Master |
| Strømstik type | 4-benet (PWM) |
| Voltage | 12 volt |
| Wattage | 1.44 watt |
| Afkølingsmetode | Luft |
| Kompatible enheder | Desktop |
| Støjniveau | 24.9 decibel |
| Materiale | Aluminium, kobber |
| Maksimal rotationshastighed | 2500 RPM |
| Varens vægt | 0.42 kilo |
| Antal enheder | 1.0 tæller |
| UPC | 884102066931 |
9. Garanti og support
Cooler Master products come with a limited warranty. For detailed warranty information, please refer to the official Cooler Master website or the warranty card included with your product. If you encounter any issues not covered in this manual or require further assistance, please contact Cooler Master customer support:
- Webwebsted: www.coolermaster.com/support/
- Kontakte: Se supportafsnittet om webhjemmeside for regionale kontaktoplysninger.