
Indledning
The Palram Greenhouse Heater is designed to provide efficient and controlled heating for your greenhouse, ensuring optimal growing conditions for your plants. With a powerful 2400W output and digital thermostat control, it helps maintain a stable temperature, protecting your plants from cold weather. This manual provides essential information for safe operation, setup, and maintenance.
Sikkerhedsinstruktioner
Læs og forstå alle sikkerhedsinstruktioner, før du bruger dette apparat. Manglende overholdelse af disse instruktioner kan resultere i elektrisk stød, brand eller alvorlig personskade.
- Always ensure the heater is connected to a properly grounded electrical outlet.
- Brug ikke varmeapparatet med en beskadiget ledning eller stik. Hvis ledningen er beskadiget, skal den udskiftes af producenten, dennes servicerepræsentant eller lignende kvalificerede personer for at undgå fare.
- Do not immerse the heater or its electrical components in water. The heater unit has an IPX4 rating, meaning it is protected against splashing water from any direction. The external temperature sensor has an IP65 rating, offering protection against dust and low-pressure water jets.
- Maintain a minimum clearance of 1 meter (3 feet) around the heater to ensure proper ventilation and prevent fire hazards.
- Brug ikke varmelegemet i nærheden af brandfarlige væsker, gasser eller materialer.
- Tag altid stikket ud af varmeapparatet, inden du rengør eller udfører vedligeholdelse.
- Dette apparat er ikke beregnet til brug af personer (inklusive børn) med nedsatte fysiske, sensoriske eller mentale evner, eller mangel på erfaring og viden, medmindre de har fået opsyn eller instruktion i brugen af apparatet af en person, der er ansvarlig for deres sikkerhed.
- The heater is equipped with an automatic safety cutoff that will switch off the unit in case of overheating. The unit will reset once it has cooled down.
Pakkens indhold
Kontroller, at alle komponenter er til stede og ubeskadigede ved udpakning:
- Palram Greenhouse Heater Unit
- Digital termostatstyring
- External Temperature Sensor with 1.5m cable
- Instruktionsmanual (dette dokument)

Image: Main heater unit with the digital thermostat and external temperature sensor.
Opsætning
Follow these steps to set up your Palram Greenhouse Heater:
- Placering: Place the heater on a stable, level surface in your greenhouse. Ensure it is not directly exposed to water spray and maintains the recommended clearance from walls, plants, and other objects.
- Tilslut termostat: Plug the heater's power cord into the output socket of the digital thermostat controller.
- Tilslut temperatursensor: Plug the external temperature sensor into the designated port on the digital thermostat controller.
- Positionssensor: Position the external temperature sensor in the greenhouse where you want to measure the ambient temperature. Avoid placing it in direct sunlight or near heat sources that could skew readings. The 1.5m cable allows for flexible placement.
- Strømtilslutning: Plug the digital thermostat controller's power cord into a grounded 240V electrical outlet.

Billede: Detaljeret view of the digital thermostat connections for the heater and temperature sensor.

Billede: Eksample of the digital thermostat and temperature sensor placement within a greenhouse environment.
Betjeningsvejledning
The Palram Greenhouse Heater offers both heating and ventilating functions, controlled via the unit and the digital thermostat.
Heater Unit Controls
The heater unit features two rotary knobs:
- Strømvælger: This knob allows you to select the heating power output. Options typically include Off (0), Fan Only (fan symbol), and two heating levels (e.g., 1.5kW and 2.4kW).
- Thermostat Dial (Internal): This dial sets the desired temperature for the heater's internal thermostat. When using the external digital thermostat, set this dial to its maximum setting to allow the external thermostat to control the heating cycle.

Image: The two control knobs on top of the heater unit for power selection and internal temperature setting.
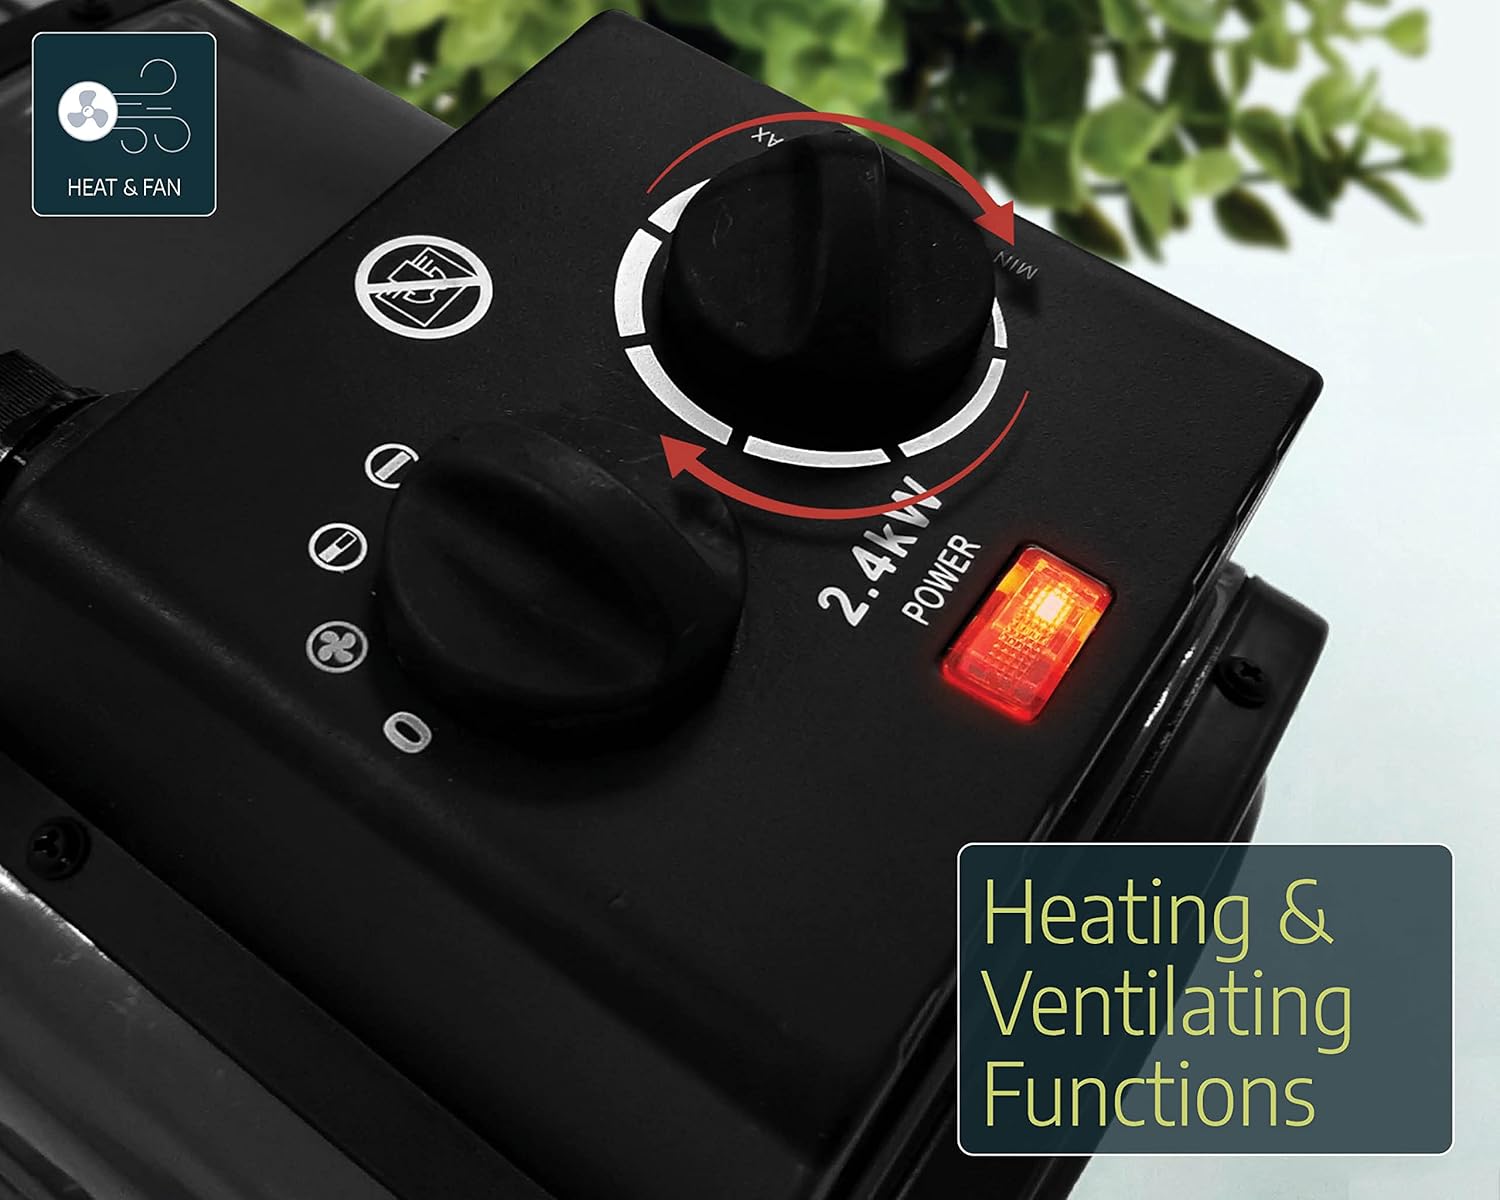
Image: The heater unit indicating its dual functionality for heating and ventilation.
Digital termostatstyring
The digital thermostat provides precise temperature control for your greenhouse.
- Tænd: Ensure the thermostat is plugged into the main power supply and the heater is connected to the thermostat's output.
- Set Desired Temperature (SV): Use the 'SET' button and arrow keys (up/down) on the digital thermostat to adjust the desired temperature (Set Value, SV). The display will show the current temperature (Process Value, PV) and the set temperature (SV).
- Opvarmnings-/køletilstand: The thermostat can be configured for heating or cooling. For greenhouse heating, ensure it is set to heating mode. Refer to the thermostat's specific manual for detailed mode configuration.
- Operation: The heater will automatically turn on when the ambient temperature (PV) drops below your set temperature (SV) and turn off when the temperature reaches or exceeds the SV.
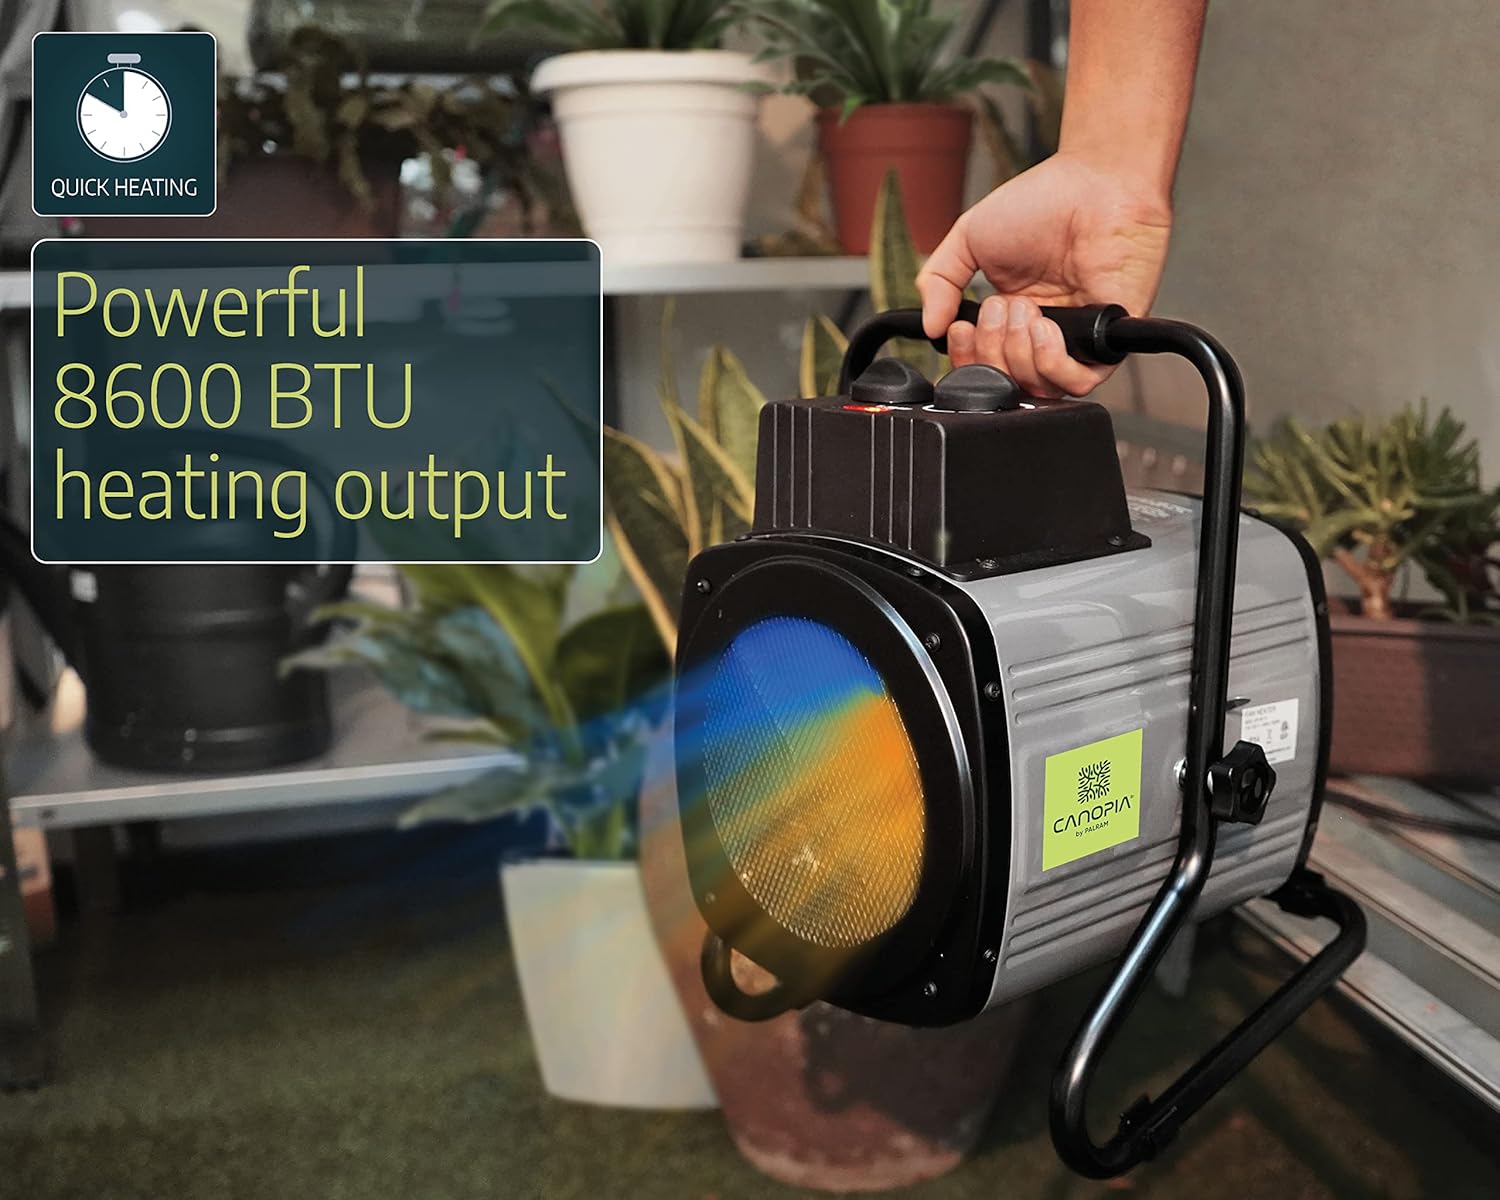
Image: A user adjusting the control knobs on the heater unit.
Opretholdelse
Regelmæssig vedligeholdelse sikrer varmelegemets levetid og effektive drift.
- Rensning: Before cleaning, always unplug the heater from the power source. Use a soft, damp cloth to wipe down the exterior of the heater. Do not use abrasive cleaners or solvents. Ensure no water enters the electrical components.
- Fjernelse af støv: Periodically check the air intake and output grilles for dust or debris accumulation. Use a soft brush or vacuum cleaner to gently remove any blockages.
- Opbevaring: When not in use for extended periods, store the heater in a dry, cool place, protected from dust and moisture.
Fejlfinding
If you encounter issues with your Palram Greenhouse Heater, refer to the following common problems and solutions:
| Problem | Mulig årsag | Løsning |
|---|---|---|
| Varmeapparatet tænder ikke | No power supply; Thermostat set too high; Overheating protection activated; Heater power switch off. | Check power outlet and connections; Lower the set temperature on the digital thermostat; Allow unit to cool down and reset; Ensure heater power switch is set to a heating mode. |
| Heater runs continuously | Thermostat set too low; External temperature sensor incorrectly placed or faulty. | Increase the set temperature on the digital thermostat; Reposition sensor away from cold drafts or direct contact with cold surfaces; Contact support if sensor is suspected faulty. |
| Unøjagtig temperaturaflæsning | External temperature sensor improperly placed. | Ensure sensor is in a representative area of the greenhouse, away from direct sunlight, drafts, or the heater's direct output. |
| Heater emits unusual noise or smell | Støvophobning; Problem med interne komponenter. | Unplug immediately and clean the unit. If problem persists, discontinue use and contact customer support. |
Specifikationer
| Mærke | Palram (CANOPIA) |
| Modelnummer | 705776 |
| Strømudgang | 2400 W |
| Voltage | 240 volt |
| Luftstrømskapacitet | 233 m³/t |
| Anbefalet varmeområde | Op til 18 m² |
| Materiale | Aluminium |
| Produktdimensioner | 36 x 26 x 30 cm |
| Produktets vægt | 5 kg |
| Heater Protection Rating | IPX4 (stænksikker) |
| Sensor Protection Rating | IP65 (Dust-tight, protected against low-pressure water jets) |
| Funktioner | Digital thermostat control, External temperature sensor (1.5m cable), Automatic safety cutoff. |
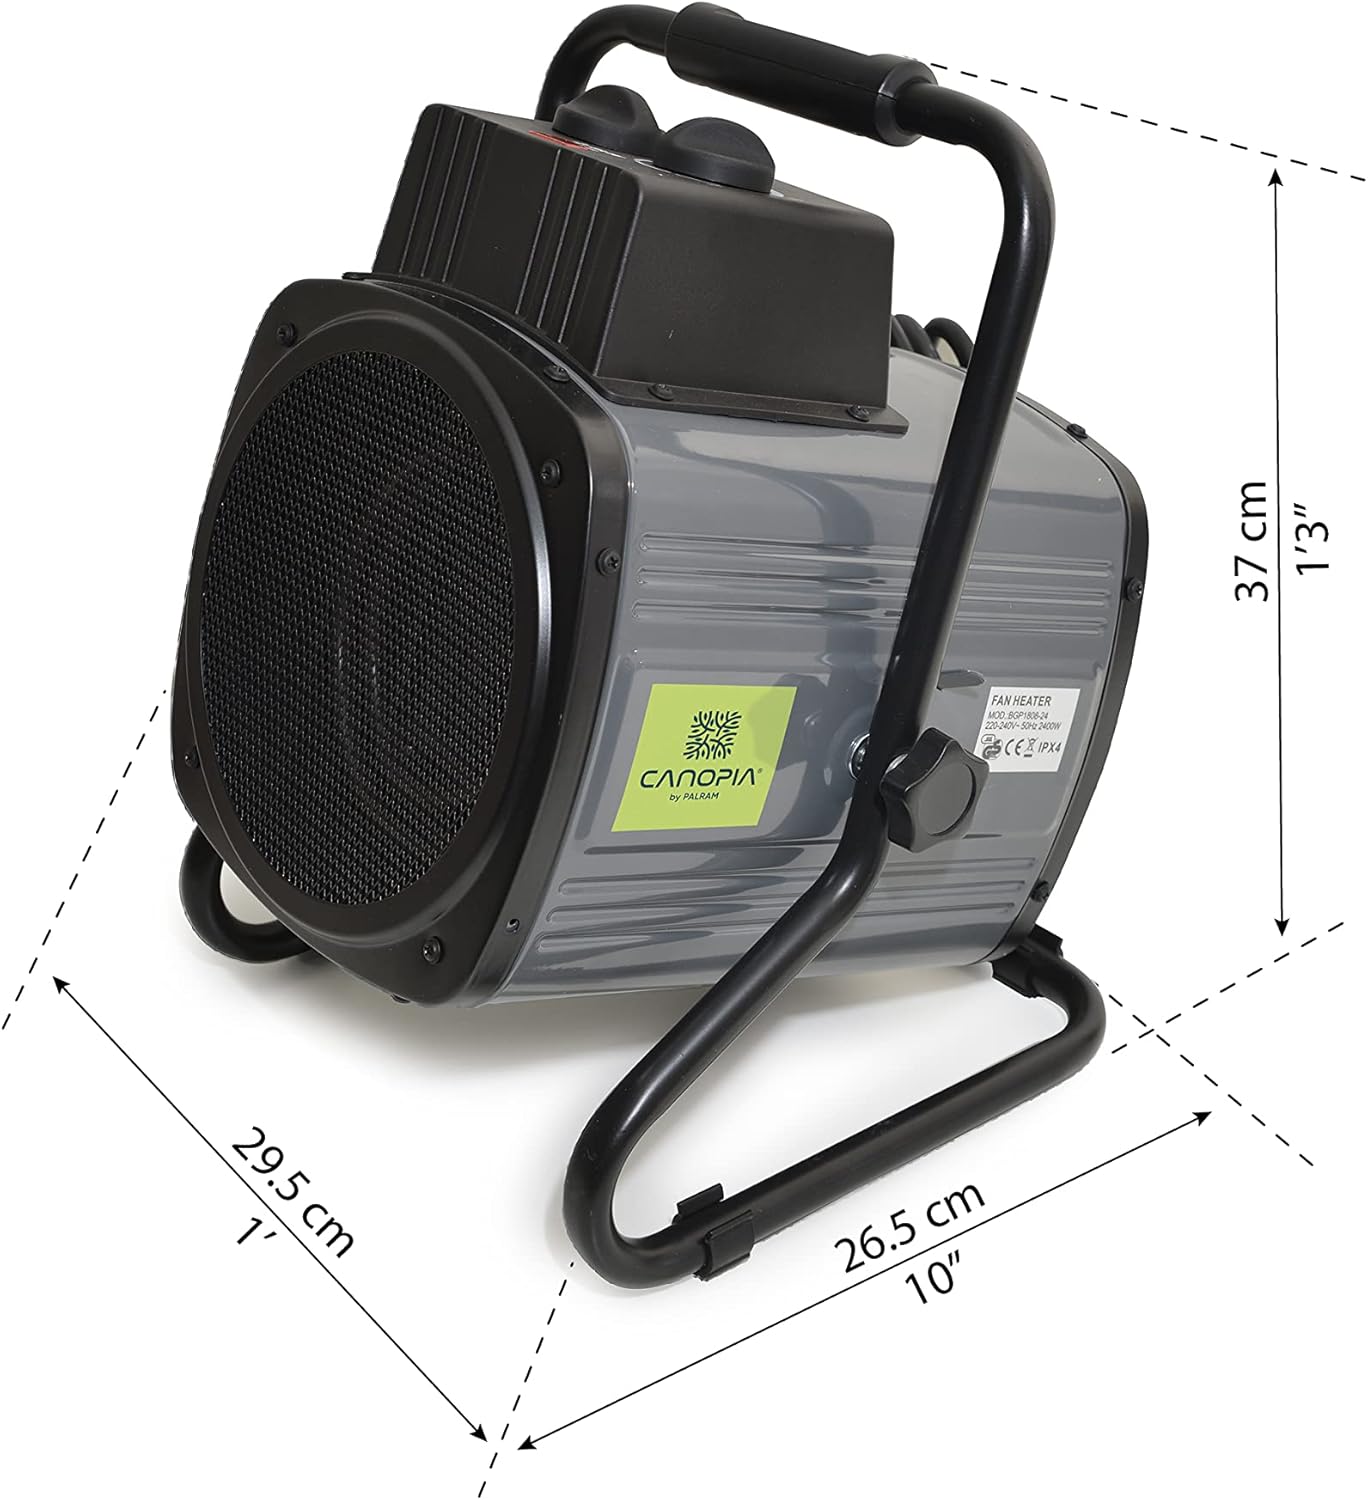
Image: Dimensions of the Palram Greenhouse Heater unit.
Garanti og support
For warranty information or technical support, please refer to the documentation provided with your purchase or contact Palram customer service directly. Keep your proof of purchase for warranty claims.