
Indledning
Thank you for choosing the GameMax H605 Micro ATX Gaming Tower Case. This manual provides essential information for the proper installation, operation, and maintenance of your new PC case. Please read this manual thoroughly before beginning assembly to ensure optimal performance and safety.
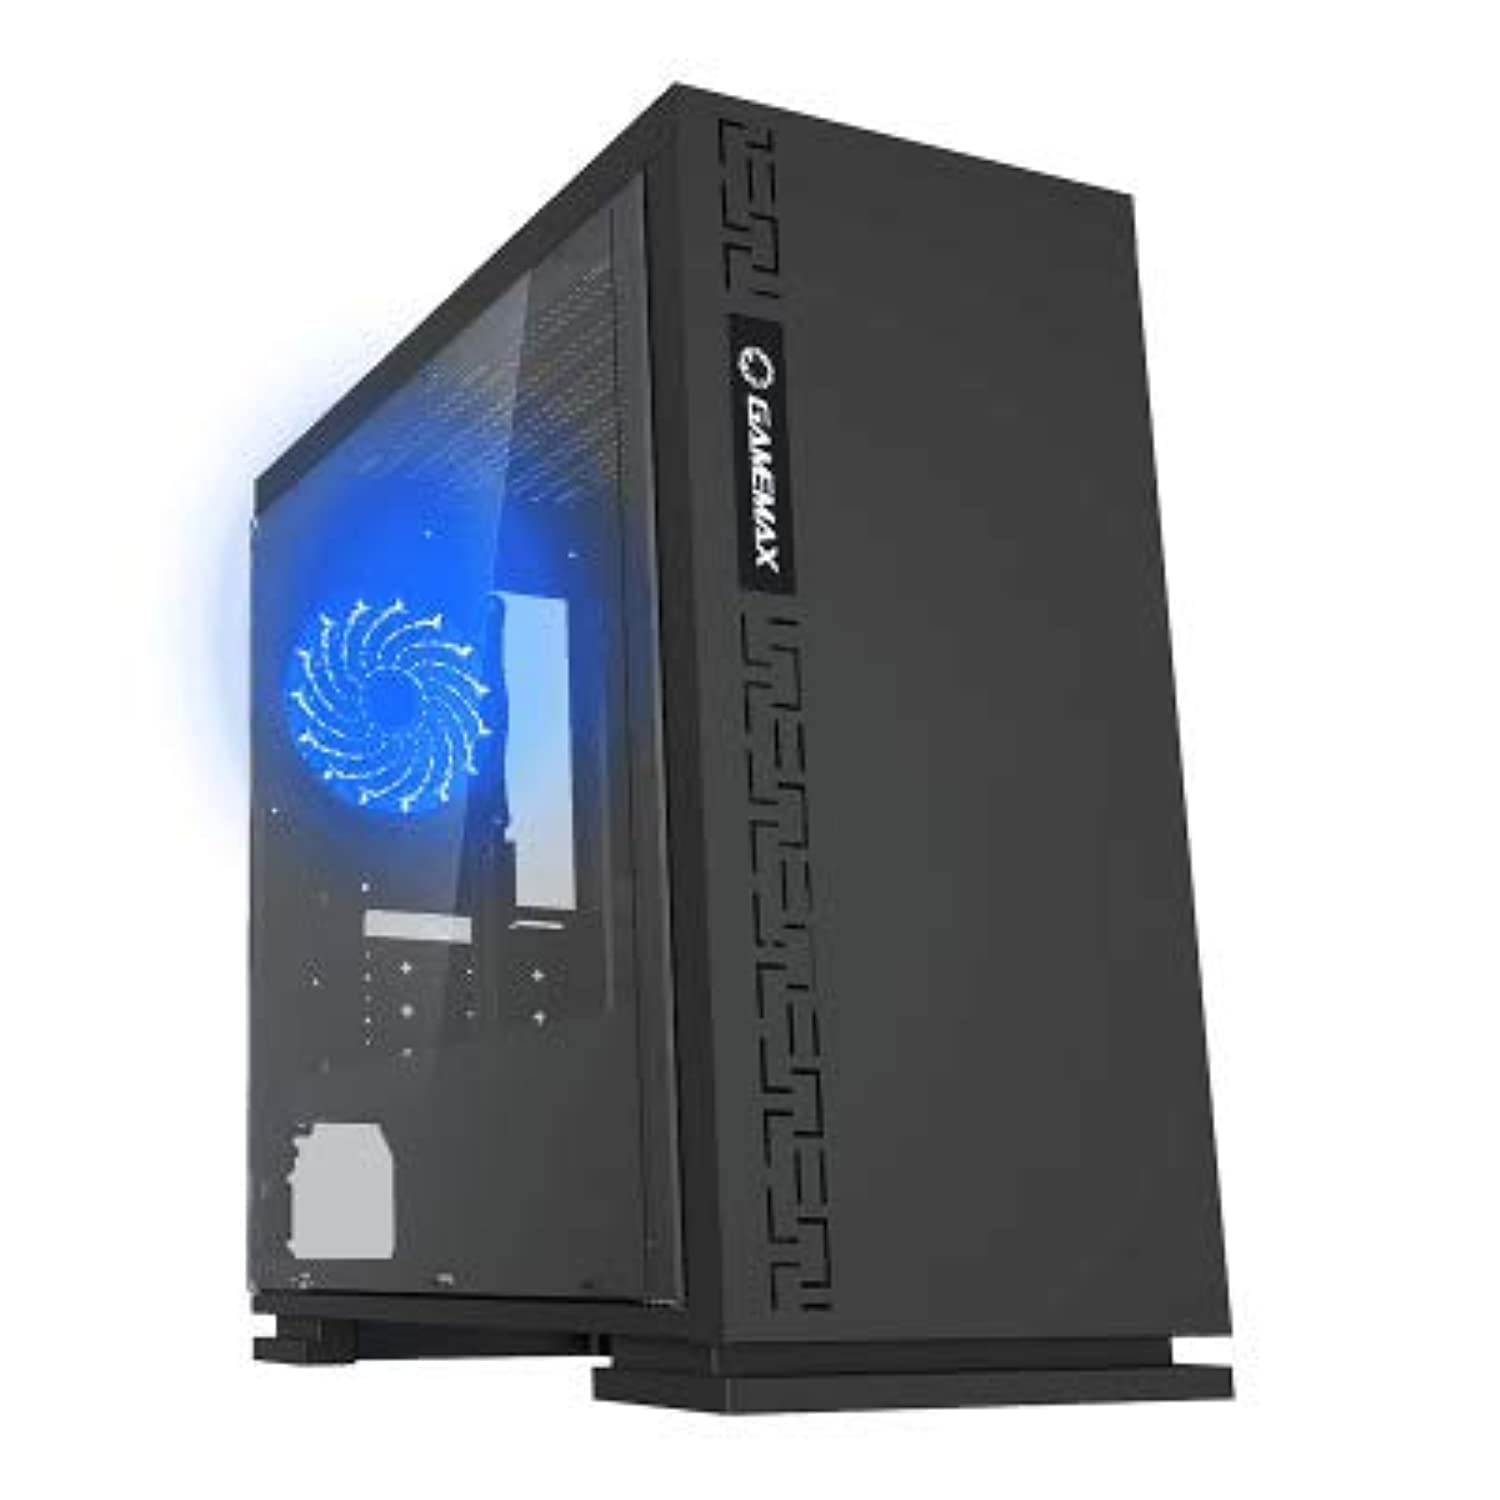
Figur 1: Forside view of the GameMax H605 Micro ATX Gaming Tower Case, showcasing dets elegante design og frontpanel.
The GameMax H605 is designed for Micro ATX motherboards and features a compact yet efficient layout for gaming components. It includes one pre-installed LED fan at the rear for immediate cooling. The case is constructed from steel and plastic, offering a balance of durability and aesthetics.
Sikkerhedsoplysninger
Please observe the following safety guidelines during installation and operation:
- Afbryd altid strømforsyningen fra stikkontakten, før du installerer eller fjerner komponenter.
- Brug en antistatisk håndledsrem for at forhindre elektrostatisk udladning (ESD) på følsomme komponenter.
- Håndter komponenterne forsigtigt for at undgå fysisk skade.
- Hold etuiet væk fra væsker og for høj luftfugtighed.
- Sørg for tilstrækkelig ventilation omkring kabinettet for at forhindre overophedning.
Pakkens indhold
Verify that all the following items are present in your GameMax H605 package:
- GameMax H605 Micro ATX Gaming Tower Case
- Accessory box (screws, standoffs, cable ties)
- Brugervejledning (dette dokument)
If any items are missing or damaged, please contact your retailer or GameMax support.
Opsætning
1. Forberedelse af sagen
- Placer etuiet på en flad, stabil overflade.
- Fjern sidepanelerne ved at skrue fingerskruerne på bagsiden af kabinettet ud og skubbe panelerne bagud.

Figur 2: Interiør view of the GameMax H605 case with the side panel removed, showing the motherboard tray and drive bays.
2. Installation af bundkort
- Installer I/O-skjoldet i den bageste åbning af kabinettet.
- Align your Micro ATX motherboard with the standoffs inside the case. Ensure the standoffs match the screw holes on your motherboard.
- Fastgør bundkortet med de medfølgende skruer.
3. Installation af lagerdrev
- For 3.5-inch HDDs, slide the drive into the designated drive cage bays and secure with screws if necessary.
- For 2.5-inch SSDs, mount them onto the dedicated SSD brackets or trays and secure with screws.
4. Installation af strømforsyning
- Position the power supply unit (PSU) in the bottom rear compartment of the case.
- Fastgør strømforsyningen til kabinettet med de skruer, der fulgte med din strømforsyning.
5. Installation af grafikkort og udvidelseskort
- Fjern de nødvendige dæksler til udvidelsespladserne fra bagsiden af kabinettet.
- Indsæt dit grafikkort eller andre udvidelseskort i de relevante PCIe-stik på dit bundkort.
- Fastgør kortene med skruer.

Figur 3: Bagside view of the GameMax H605 case, showing expansion slots and I/O shield opening.
6. Kabelforvaltning
Brug kabelføringsudskæringerne og fastgørelsespunkterne bag bundkortbakken til at håndtere kabler. Dette forbedrer luftgennemstrømningen og æstetikken.
Drift
Once all components are installed and connected, replace the side panels and connect your peripherals (monitor, keyboard, mouse) to the motherboard's I/O ports. Connect the power cable to the PSU and a wall outlet. Press the power button on the front panel to start your system.

Figur 4: Top-front view of the GameMax H605 case, highlighting the front panel I/O ports and power button.
Opretholdelse
Regular maintenance helps ensure the longevity and optimal performance of your PC case and components:
- Støvrensning: Periodically clean dust from the case interior, fans, and filters using compressed air or a soft brush. Ensure the system is powered off and unplugged before cleaning.
- Kabelhåndteringstjek: Kontrollér lejlighedsvis kabelføringen for at sikre, at ingen kabler blokerer luftstrømmen eller ventilatorens drift.
- Ventilator inspektion: Verify that all fans are spinning freely and are free from obstructions.
Fejlfinding
Hvis du støder på problemer med din pc, kan du overveje følgende almindelige fejlfindingstrin:
- Ingen strøm: Ensure all power cables (24-pin ATX, 8-pin CPU, GPU power) are securely connected. Check if the PSU switch is in the 'ON' position.
- Ingen visning: Verify that the monitor cable is connected to the graphics card (not the motherboard I/O) and that the monitor is powered on and set to the correct input.
- Overophedning: Check fan connections and ensure they are spinning. Clean any dust buildup. Verify proper airflow within the case.
- Løse forbindelser: Re-seat RAM modules, graphics card, and all power/data cables to ensure they are firmly in place.
Specifikationer
| Feature | Detalje |
|---|---|
| Mærke | GameMax |
| Varemodelnummer | H605 BLK |
| Fabrikant | GameMax |
| Serie | H605 BLK |
| Farve | Sort |
| Hardware platform | Windows 7 |
| Batterier medfølger | Ingen |
| Varens vægt | 7.53 gram |
| Bundkort kompatibilitet | Mikro ATX |
| Sagstype | Mid Tower |
| Anbefalet anvendelse af produktet | Spil |
| Materiale | Solid Plastic Alloy |
| Afkølingsmetode | Water (Implies compatibility for water cooling solutions) |
| Modelnavn | H605 BLK |
| Fan størrelse | 120 millimeter |
| Samlet USB-porte | 1 |
| Dato først tilgængelig | 9. juli 2019 |
Garanti og support
GameMax products are designed for reliability and performance. For warranty information, please refer to the warranty card included with your purchase or visit the official GameMax website. If you require technical assistance or have questions regarding your GameMax H605 case, please contact GameMax customer support through their official channels.
Gem venligst dit købsbevis for garantikrav.