
1. Introduktion
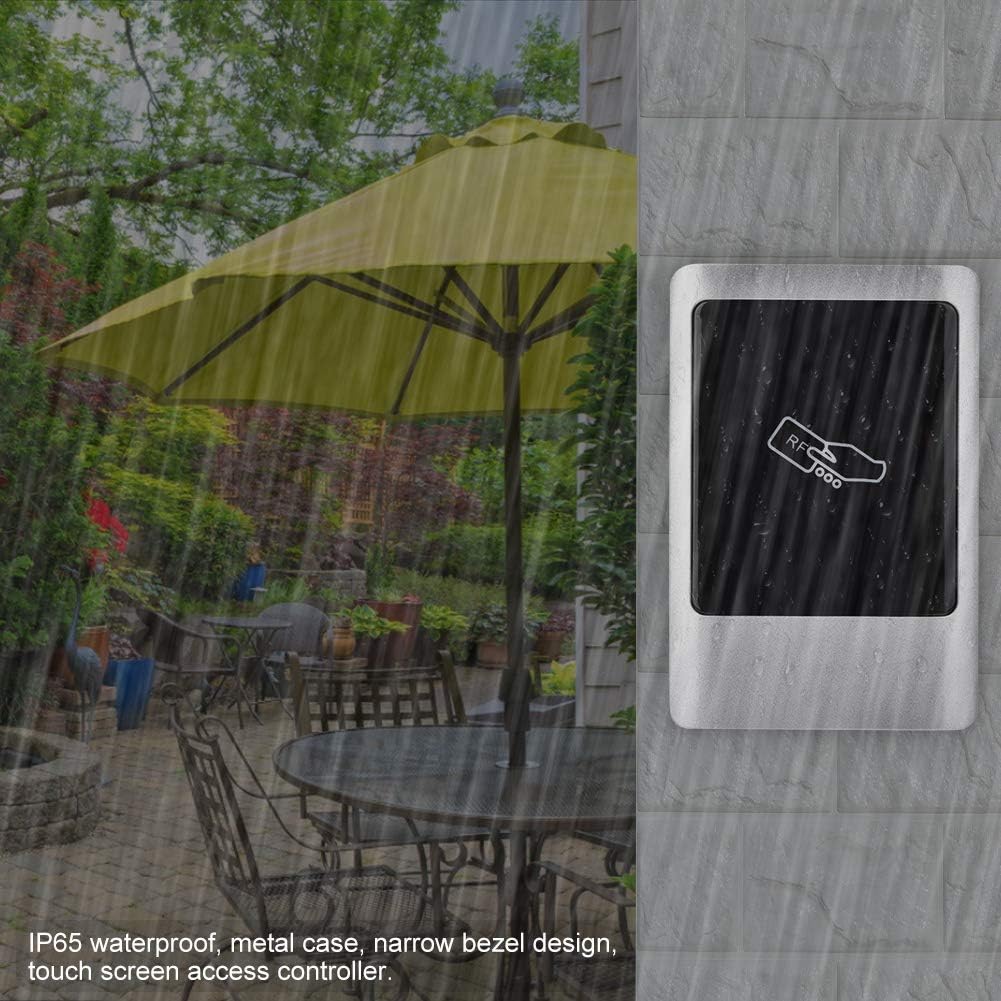
This manual provides detailed instructions for the installation, operation, and maintenance of the Sonew IP65 RFID Reader Outdoor Wiegand Door Access Control Panel. This device is designed for non-contact induction card access management, offering high user capacity, ease of operation, and stable performance, making it suitable for various access control applications in intelligent communities, offices, and industrial settings.
2. Sikkerhedsoplysninger
- Sørg for, at al ledningsføring udføres af kvalificeret personale og overholder lokale el-forskrifter.
- Afbryd strømmen, før du udfører nogen form for installation, ledningsføring eller vedligeholdelse.
- Do not expose the device to extreme temperatures or corrosive environments beyond its specified operating range.
- Brug kun den angivne strømforsyning (DC 12V).
- Hold enheden væk fra stærk elektromagnetisk interferens.
3. Pakkens indhold
Bekræft at alle varer er til stede i pakken:
- 1 x Sonew IP65 Access Control Panel
- 10 x Access Cards (Blue Key Fobs)
- 1 x Access Management Card (Orange Key Fob)
- 1 x brugermanual

4. Specifikationer
| Punkt | Specifikation |
|---|---|
| Model | IP65 metal access controller |
| Verifikationsmetode | RFID card / Password / RFID card + Password |
| Brugerkapacitet | 1000 brugere |
| Korttype | Mifare one or EM card |
| Working Voltage | DC 12V |
| Arbejdsstrøm | <100mA (Access Control Unit Only) |
| Miljøtemperatur | -20°C til 60°C |
| Kortlæseafstand | 3-15 cm |
| Dørens åbningstid | 0-99 seconds (Adjustable) |
| Wiegand-interface | Wiegand 26 udgang/indgang |
| Access Control Interfaces | Electronic Lock, Door Sensor, Exit Button, Alarm, Doorbell |
| Materiale | Metal shell, Zinc alloy |
| Dimensioner (L x B x H) | Cirka 0.39 x 0.39 x 0.39 tommer |
| Vægt | Cirka 13.4 ounces (0.84 lbs) |
5. Opsætning og installation
5.1. Montering af enheden
- Securely fix the mounting bracket to the desired installation surface.
- Hang the access control unit onto the fixed bracket.
5.2. Ledningsdiagram
The access control machine's output signal is a relay signal, capable of driving electric locks, automatic doors, turnstiles, and other equipment. Refer to the diagram below for typical wiring connections. For specific wiring methods or complex setups, please consult a qualified technician or supplier.


5.3. Setting Unlock Time
The unlock time can be adjusted using the S2 jumper cap on the circuit board:
- Insert the S2 jumper cap into the '1S' terminal for a 1-second relay activation (factory default).
- Insert the S2 jumper cap into the '5S' terminal for a 5-second relay activation.
6. Betjeningsvejledning
6.1. Audio-Visual Indicators
| Driftsstatus | Indikatorlys | Summer |
|---|---|---|
| Standby | Red light slow flash | Ingen |
| Add Card Mode | Grønt lys hurtigt blink | Ingen |
| Read Invalid Card | Red light slow flash | Bip-bip-bip |
| Delete Card Mode | Rødt lys hurtigt blink | Ingen |
6.2. User Management with Management Card
Each machine is pre-configured with a unique management card at the factory. This card is specific to its machine and not interchangeable.

6.2.1. Adding User Cards
- Ensure the device is in standby mode.
- Swipe Management kort. The green indicator light will flash rapidly.
- Swipe User Card(s) you wish to add. The device will emit a 'beep' sound after each successful card addition. You can swipe multiple user cards consecutively.
- Swipe Management kort again to exit the add card mode.
6.2.2. Deleting User Cards
- Ensure the device is in standby mode.
- Swipe Management kort. The red indicator light will flash rapidly.
- Swipe User Card(s) you wish to delete. The device will emit a 'beep' sound after each successful card deletion. You can swipe multiple user cards consecutively.
- Swipe Management kort again to exit the delete card mode.
6.2.3. Deleting All Users
- Sluk enheden.
- Remove the metal back cover. Locate the DEL jumper cap on the circuit board and set it to the '2S' terminal.
- Tænd the machine again. It will continuously beep.
- Placer Management kort on the card reading area for approximately 5 seconds. After a long beep, the machine will continuously beep again, indicating that all user data has been cleared.
- Sluk the device. Reset the DEL jumper cap back to the '1S' terminal.
- Tænd the device. The operation to delete all users is complete.
6.3. Setting/Resetting Management Card
If the management card is lost or needs to be reset, follow these steps:
- Sluk enheden.
- Short-circuit the ÅBEN wire (brown) of the 8P terminal block with the GND wire (black).
- Tænd the device. After three long beeps, the green light will flash rapidly.
- Swipe any blank card. This blank card will now be set as the new Management Card. The machine's red light will flash and the buzzer will continuously beep.
- Sluk the device. Disconnect the OPEN and GND wires.
- Tænd the device again. The machine will enter normal working state, and the management card setup is complete.
7. Avancerede funktioner
7.1. MOD Function
- MOD Status '1' (Factory Default): If no operation is performed within 3 minutes while in card adding state, the system automatically exits this state.
- MOD Status '2': The system will not automatically exit the card adding state. It must be exited by swiping the Management Card or by powering off and restarting the device.
- When in card adding state (MOD Status '2'), swiping any card (except the management card) will output an unlock signal, and the card will be automatically saved. This function is useful for temporary machine replacements or other special scenarios.
7.2. Data Copy Function
This function allows user data to be exported from one access control machine (Machine A) to another (Machine B) using the PROG pin (4P). Data on Machine A will not be deleted.
- Connect the PROG pins of Machine A and Machine B using a data cable.
- Short-circuit the D0 (green) and GND (black) wires of Machine B.
- Power on Machine B (Machine A does not need to be powered on). At this point, the red lights of both A and B will flash slowly.
- Place Machine B's Management kort on Machine B's card reading area for approximately 5 seconds. Both A and B will emit three long beeps, A's red light will flash rapidly, and B's green light will flash rapidly.
- After approximately 30 seconds, A will emit one long beep, and B will continuously beep, indicating successful data copy.
- Disconnect the data cable and the D0 and GND wires from Machine B. The data copy operation is complete.
8. Vedligeholdelse
- Regularly clean the surface of the access control panel with a soft, dry cloth. Avoid abrasive cleaners or solvents.
- Inspect wiring connections periodically to ensure they are secure and free from corrosion.
- Ensure the device is protected from direct impact or physical damage.
9. Fejlfinding
- Enheden tænder ikke: Check the DC 12V power supply connection and ensure it is providing adequate power.
- Cards not being read: Ensure the card type (Mifare one or EM) is compatible. Verify the card reading distance. Clean the card reading area.
- Døren låser ikke op: Check the electric lock wiring. Verify the unlock time setting. Ensure the correct user card or password is being used.
- Management card lost/not working: Follow the steps in Section 6.3 to reset or set a new management card.
- All users deleted accidentally: User data cannot be recovered once deleted. Re-add users as necessary.
10. Garanti og support
For warranty information, technical support, or service inquiries, please refer to the product's purchase documentation or contact your vendor. Keep your purchase receipt for warranty claims.