1. Introduktion
This manual provides detailed instructions for setting up, operating, maintaining, and troubleshooting your Tenda F6 11N 300Mbps Wireless Router. The Tenda F6 is designed to provide a stable and high-speed wireless network for your home, supporting the 802.11n standard with speeds up to 300Mbps. Please read this manual carefully before using the device to ensure proper installation and optimal performance.
2. Pakkens indhold
Please verify that all items are present in your package. If any item is missing or damaged, contact your retailer.
- Tenda F6 11N Wireless Router
- Strømadapter
- Ethernet kabel
- Hurtig installationsvejledning
3. Produktet er slutview
3.1 Front Panel: LED Indicators
The front panel features LED indicators that display the router's status:
- Power LED: Angiver strømstatus. Lyser konstant grønt, når den er tændt.
- WAN LED: Indicates WAN port status. Solid green when connected, blinking when data is transmitted.
- LAN-LED'er (1-3): Indicate LAN port status. Solid green when connected, blinking when data is transmitted.
- WLAN LED: Indicates wireless network status. Solid green when Wi-Fi is active, blinking during data transmission.
- WPS LED: Indicates WPS function status. Blinks during WPS connection attempt.
3.2 Rear Panel: Ports and Buttons
The rear panel provides all necessary connection ports and buttons:
- WAN Port (10/100Mbps): Connects to your modem or internet service provider's network.
- LAN Ports (1-3, 10/100Mbps): Forbindes til kablede enheder såsom computere, smart-tv'er eller spillekonsoller.
- Nulstil/WPS knap: Press and hold for 8 seconds to restore factory default settings. A short press activates the WPS function for easy wireless connection.
- Strømindgang: Tilsluttes den medfølgende strømadapter.
- Antenner: Four external, non-detachable antennas for wireless signal transmission and reception.
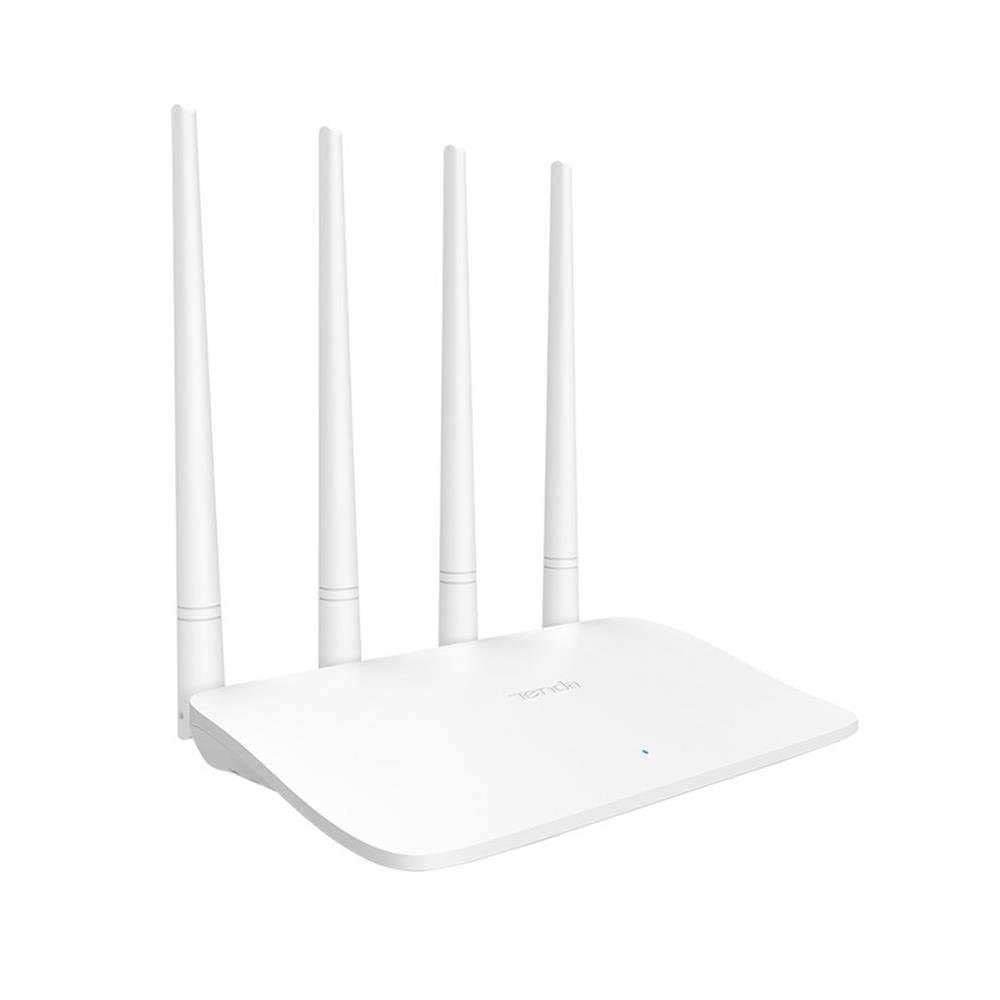
Image: Tenda F6 11N Wireless Router showing its compact design and four external antennas. The rear panel includes the WAN port, three LAN ports, the Reset/WPS button, and the power input.
4. Opsætningsvejledning
4.1 Hardwareforbindelse
- Placer routeren: Placer routeren et centralt sted i dit hjem, væk fra forhindringer og enheder, der kan forårsage interferens (f.eks. trådløse telefoner, mikrobølgeovne).
- Tilslut til modemet: Connect one end of the Ethernet cable to the WAN port (usually blue) on your Tenda F6 router and the other end to the LAN port on your modem.
- Tilslut til strøm: Connect the power adapter to the router's power input and then plug the adapter into a power outlet. The Power LED should light up.
- Tilslut enheder (valgfrit): For initial setup or wired connections, connect an Ethernet cable from a LAN port (yellow) on the router to your computer's Ethernet port.
4.2 Indledende konfiguration
- Adgang til routergrænseflade: Åbn a web browser (e.g., Chrome, Firefox) on a connected computer or mobile device. In the address bar, type
192.168.0.1ortendawifi.comog tryk på Enter. - Login: The default login password is usually
adminor left blank for the first setup. Follow the on-screen prompts to set a new, strong login password. - Internet Setup Wizard: The router will typically launch a Quick Setup Wizard. Follow the steps to configure your internet connection type (e.g., PPPoE, Dynamic IP, Static IP). Your Internet Service Provider (ISP) will provide this information.
- Trådløse indstillinger: Set your Wi-Fi Network Name (SSID) and a strong Wi-Fi password. It is recommended to use WPA2-PSK encryption.
- Gem indstillinger: Save your configurations. The router may reboot to apply the changes.
5. Betjeningsvejledning
After initial setup, you can manage your network settings through the web interface.
5.1 Indstillinger for trådløst netværk
- Skift SSID: Naviger til Trådløse indstillinger to change your Wi-Fi network name.
- Skift adgangskode: Update your Wi-Fi password regularly for security.
- Sikkerhedstilstand: Ensure WPA2-PSK is selected for the strongest encryption.
- WPS-funktion: Briefly press the Reset/WPS button on the router or enable WPS in the web interface to connect WPS-compatible devices without entering a password.
5.2 Netværksstyring
- Forældrekontrol: Få adgang til Forældrekontrol section to manage internet access times and content for specific devices.
- Båndbreddekontrol: Bruge Båndbreddekontrol to allocate specific bandwidth to connected devices, ensuring fair usage.
- Systemværktøjer: Under Systemværktøjer, you can find options for:
- Genstart: Genstart routeren.
- Gendan fabriksindstillinger: Restore the router to its original factory settings (all configurations will be lost).
- Systemlog: View system events and activities.
- Login kodeord: Change the password for accessing the router's web interface.
6. Vedligeholdelse
Regelmæssig vedligeholdelse er med til at sikre din routers levetid og optimale ydeevne.
- Regelmæssig genstart: Reboot your router periodically (e.g., once a month) to clear its memory and refresh network connections.
- Firmwareopdateringer: Check the Tenda official webwebsted for firmwareopdateringer. Opdatering af firmware kan forbedre ydeevnen, tilføje nye funktioner og rette fejl.
- Fysisk rengøring: Hold routeren ren og fri for støv. Sørg for ordentlig ventilation for at forhindre overophedning.
- Sikker placering: Keep the router in a secure location, away from direct sunlight, moisture, and extreme temperatures.
7. Fejlfinding
Hvis du støder på problemer, kan du se følgende almindelige problemer og løsninger:
| Problem | Løsning |
|---|---|
| Ingen internetadgang |
|
| Weak or Unstable Wi-Fi Signal |
|
| Kan ikke få adgang til routeren Web Interface |
|
| Forgot Wi-Fi Password |
|
8. Specifikationer
| Mærke | Tenda |
| Model | F6 11N |
| Trådløs Standard | IEEE 802.11b/g/n |
| Trådløs hastighed | 300 Mbps |
| Frekvens | 2.4 GHz |
| Antenner | 4 external, non-detachable |
| WAN-porte | 1 x 10/100 Mbps |
| LAN-porte | 3 x 10/100 Mbps |
| Knapper | 1 x Reset/WPS button |
| Hukommelse | 16 MB |
| Power Consumption (No Load) | 1.66 W |
| Strømforbrug (fuld belastning) | 1.98 W |
| Dimensioner (L x B x H) | 171.3 × 171.3 × 36.4 mm |
| Sikkerhedsprotokoller | WPA-PSK/WPA2-PSK, WPA/WPA2 |
| Systemværktøjer | Factory Reset, Login Password Management, System Log, Reboot |
| Kompatible enheder | Smart TV, Tablet, PC, Laptop |
| Anbefalet brug | Hjem |
| Modemkompatibilitet | Ja |
| Voltage | 230V |
| Varens vægt | 200 gram |
9. Garanti og support
For warranty information and technical support, please refer to the warranty card included in your product package or visit the official Tenda website. Tenda provides customer support to assist with any product-related inquiries or issues.
Official Tenda Webwebsted: www.tendacn.com