1. Introduktion
This manual provides essential information for the proper setup, operation, and maintenance of your Eyeclops Digital Microscope & Camera. This device allows you to magnify objects up to 800 times, capture images, and record videos, making it suitable for exploring the microscopic world both indoors and outdoors.
Hvad er der i æsken:
- 1 EyeClops Digital Microscope & Camera with built-in color screen
- 1 USB-kabel
- 1 512MB MicroSD Card
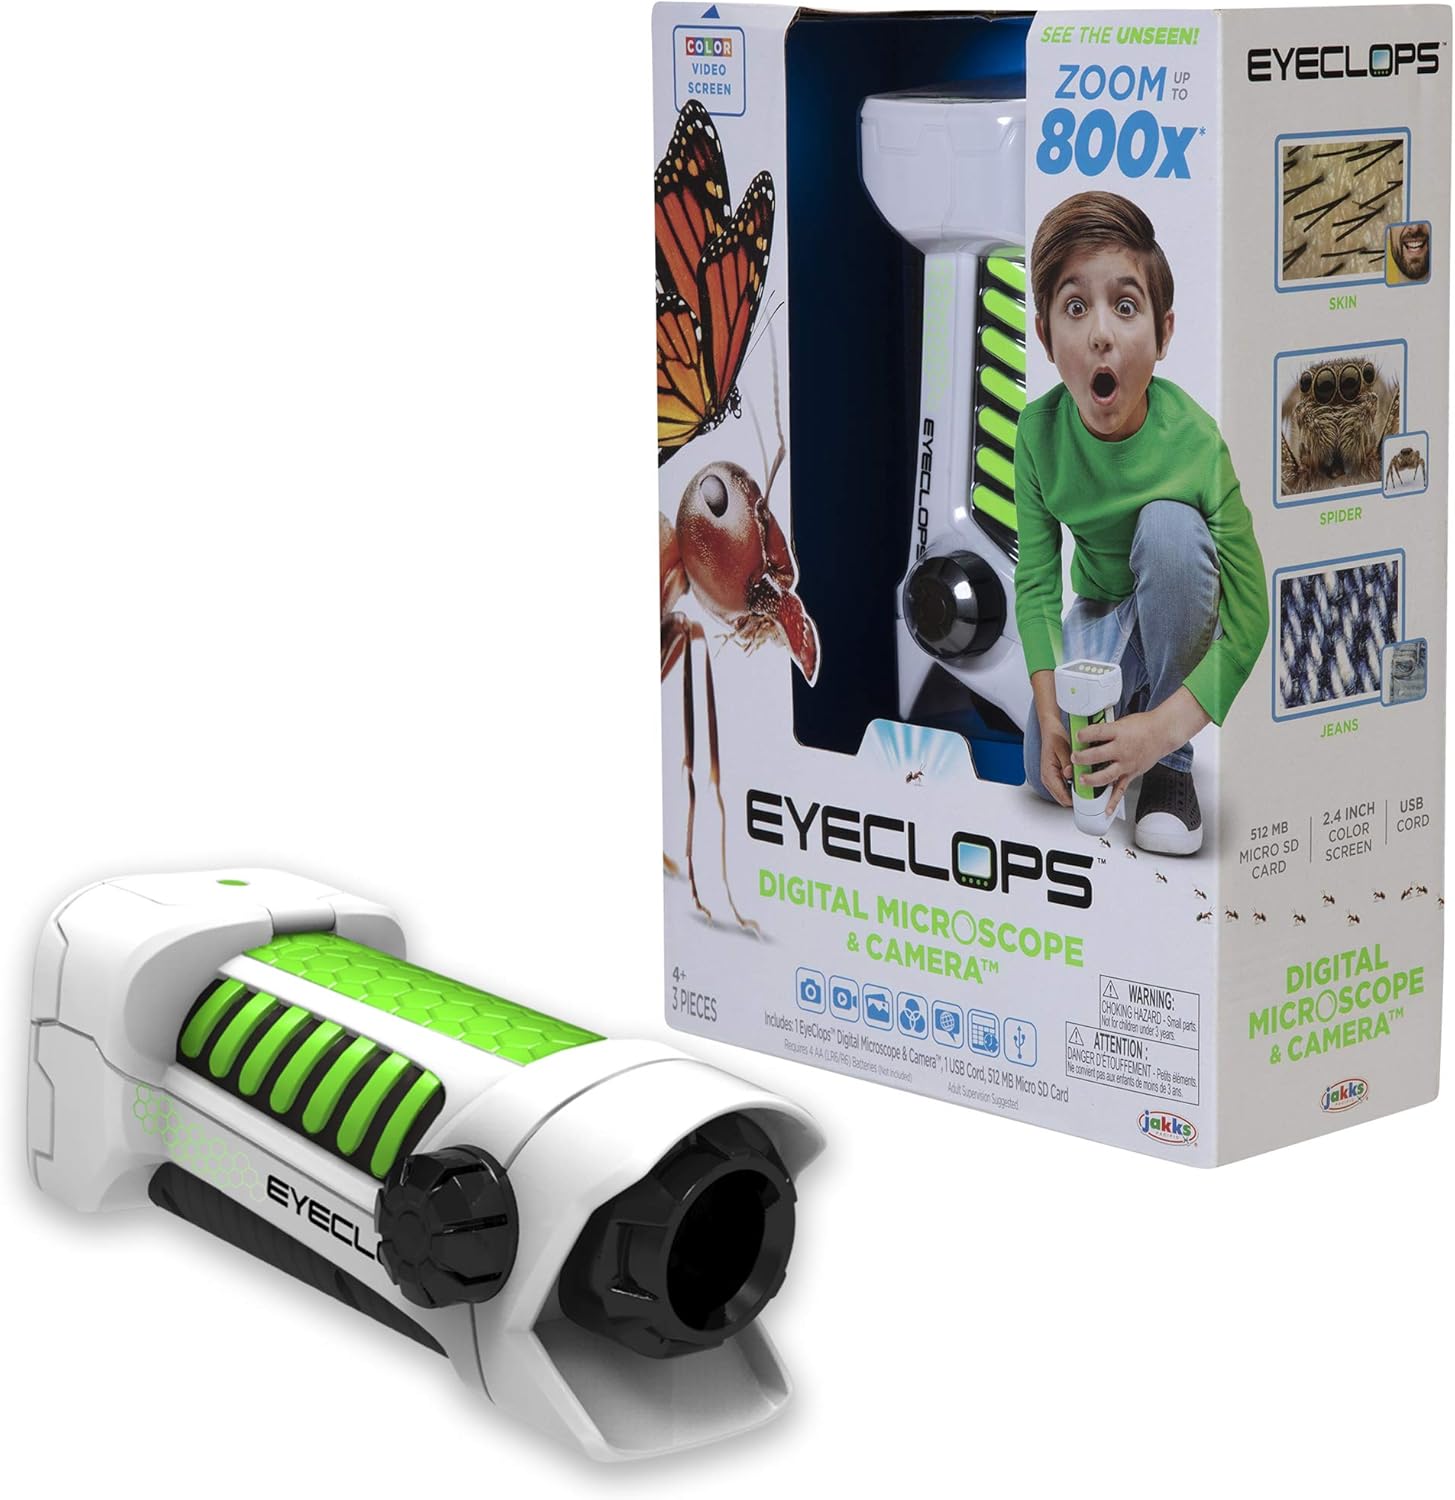
Billede 1.1: The Eyeclops Digital Microscope & Camera with its retail packaging. This image displays the device alongside its box, highlighting its compact design and the included accessories like the MicroSD card and USB cable.
2. Sikkerhedsoplysninger
Læs og forstå venligst følgende sikkerhedsforanstaltninger, før du bruger enheden:
- Kvælningsfare: Dette produkt indeholder små dele og er ikke egnet til børn under 3 år. Voksenopsyn anbefales til alle brugere, især yngre børn.
- Batterisikkerhed: Use only the specified battery type (4 AA batteries). Ensure correct polarity when inserting batteries. Do not mix old and new batteries, or different types of batteries. Remove batteries if the device will not be used for an extended period.
- Miljøforhold: Undgå at udsætte enheden for ekstreme temperaturer, direkte sollys eller fugt.
3. Opsætning
3.1 Batteriinstallation
- Find batteridækslet på enheden.
- Use a small screwdriver to open the battery compartment.
- Isæt 4 AA-batterier, og sørg for den korrekte positive (+) og negative (-) polaritet som angivet inde i batterirummet.
- Sæt batterirummets dæksel på igen og fastgør det med skruen.
3.2 Indsættelse af microSD-kort
- Find MicroSD-kortstikket på siden af enheden.
- Gently insert the included 512MB MicroSD card into the slot until it clicks into place. Ensure the card is oriented correctly.
- To remove the card, gently push it inward until it springs out.
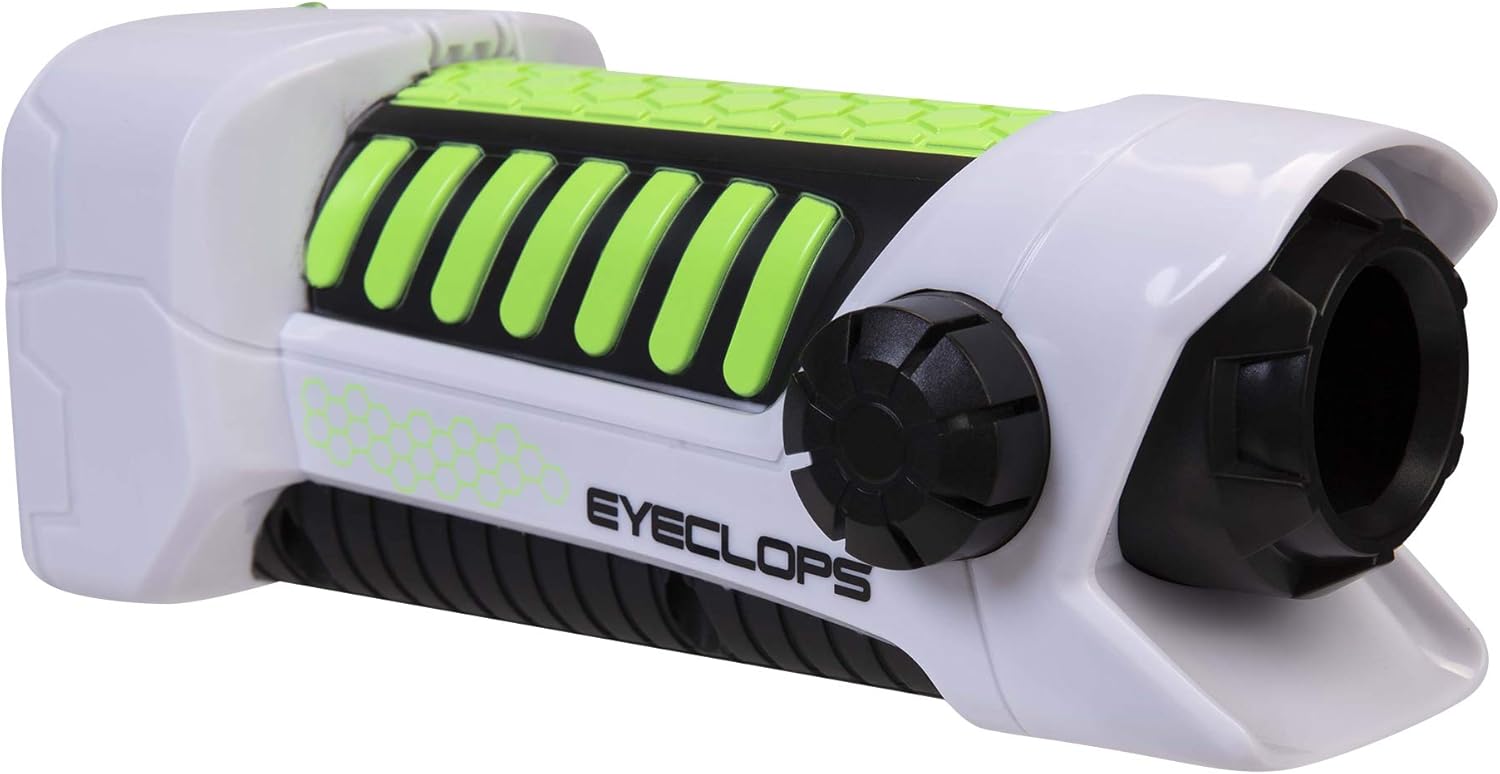
Billede 3.1: En side view of the Eyeclops Digital Microscope, illustrating the general shape and location of external features such as the focus knob and lens. This view helps in identifying the MicroSD card slot and battery compartment.
4. Betjeningsvejledning
4.1 Tænd/sluk
- To power on the device, press and hold the Power button (usually located near the screen or grip).
- For at slukke skal du trykke på tænd/sluk-knappen og holde den nede igen, indtil skærmen slukker.
4.2 Focusing and Zoom
- Point the lens of the microscope at the object you wish to observe.
- Juster Fokusknap (typically located on the side of the device) until the image on the 2.4-inch color screen appears clear.
- The device offers up to 800x magnification. The zoom level can be adjusted using dedicated zoom buttons (often marked with '+' and '-' symbols) or by moving the device closer to or further from the object.
4.3 Taking Pictures and Recording Video
- Once focused, press the Kamera knap (often indicated by a camera icon) to capture a still image.
- For at optage video skal du trykke på Video knap (often indicated by a video camera icon). Press it again to stop recording.
- All captured images and videos are saved to the inserted MicroSD card.
4.4 Using as a Regular Camera
The Eyeclops Digital Microscope can also function as a regular camera. To use this feature, turn off the zoom function or adjust the focus for standard distance photography. This allows for capturing broader scenes or objects without extreme magnification.
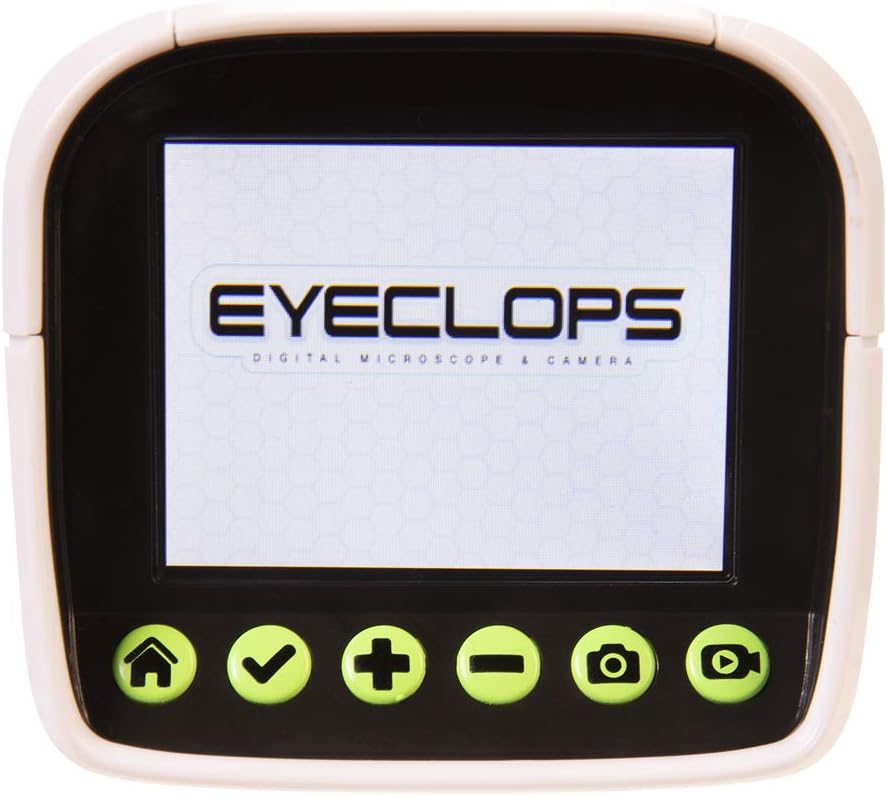
Billede 4.1: En detaljeret view of the Eyeclops Digital Microscope's 2.4-inch color screen and its control buttons. The buttons typically include Home, Select/Confirm, Zoom In (+), Zoom Out (-), Camera, and Video functions.

Billede 4.2: A child actively using the Eyeclops Digital Microscope to observe a small object, demonstrating the handheld operation and the visual engagement with the magnified view.
5. Dataoverførsel
5.1 Overførsel Files via USB
- Connect the Eyeclops Digital Microscope to your Windows PC or Mac using the provided USB cable.
- Enheden skal vises som en flytbar lagerenhed på din computer.
- Navigate to the device's storage or the MicroSD card folder to access your pictures and videos.
- Kopier det ønskede files til din computer.
5.2 Overførsel Files via MicroSD Card Reader
Alternatively, you can remove the MicroSD card from the microscope and insert it into a compatible card reader connected to your computer to transfer files.
6. Vedligeholdelse
- Rensning: Use a soft, dry cloth to clean the exterior of the device. For the lens and screen, use a specialized lens cleaning cloth and solution to avoid scratches. Do not use abrasive cleaners or solvents.
- Opbevaring: Store the microscope in a cool, dry place away from direct sunlight and extreme temperatures. Remove batteries if storing for extended periods to prevent leakage.
- Linsebeskyttelse: The lens is designed to be slightly inset to prevent accidental touching. Avoid poking or scratching the lens.
7. Fejlfinding
- Enheden tænder ikke:
- Kontroller, om batterierne er isat korrekt med den rigtige polaritet.
- Udskift med friske AA-batterier.
- Blurry images/difficulty focusing:
- Ensure you are adjusting the Focus Knob slowly and precisely.
- Maintain a steady hand or place the object on a stable surface to minimize movement during observation or capture.
- Clean the lens if it appears smudged or dirty.
- Kan ikke overføre files til computer:
- Sørg for, at USB-kablet er korrekt tilsluttet til både mikroskopet og computeren.
- Prøv en anden USB-port på din computer.
- Verify that the MicroSD card is properly inserted into the microscope.
- If issues persist, try using an external MicroSD card reader.
- Fejl på microSD-kort:
- Sørg for, at kortet er isat korrekt.
- Try reformatting the card (this will erase all data, so back up first).
- If the problem continues, the card may be faulty and require replacement.
8. Specifikationer
| Feature | Specifikation |
|---|---|
| Modelnummer | 652331 |
| Maksimal forstørrelse | 800x |
| Indbygget skærm | 2.4 tommer farveskærm |
| Opbevaring | 512MB MicroSD Card (included) |
| Forbindelse | USB |
| Strømkilde | 4 AA batterier (medfølger ikke) |
| Produktdimensioner | 9 x 3.5 x 11 tommer (22.86 x 8.89 x 27.94 cm) |
| Varens vægt | 14.8 ounce (420 gram) |
| Anbefalet alder | 6 - 9 år |
| Fabrikant | Jakks Pacific Inc. |
9. Garantioplysninger
For detailed warranty information, please refer to the documentation included with your product at the time of purchase or visit the official Eyeclops or Jakks Pacific Inc. webGarantibetingelserne dækker typisk fabrikationsfejl i en bestemt periode fra købsdatoen.
10. Support
If you encounter issues not covered in this manual or require further assistance, please contact the manufacturer's customer support. Contact information can usually be found on the product packaging or the official Jakks Pacific Inc. webwebsted.