
1. Introduktion
This manual provides essential information for the safe and effective operation, setup, and maintenance of your Sharp UA-HD50E-L Air Purifier with Humidification Function. Please read it thoroughly before using the appliance and keep it for future reference.
The Sharp UA-HD50E-L is designed to improve indoor air quality by combining a patented Plasmacluster ion generator with a 3-stage filtration system. It effectively removes airborne particles, allergens, viruses, pollen, dust mites, and odors. Additionally, it features an automatic humidification function to maintain a comfortable and healthy indoor climate. This unit is suitable for rooms up to 38 m² for air purification and 27 m² when using the humidification function.
2. Sikkerhedsoplysninger
For at sikre sikker drift skal du altid følge disse grundlæggende forholdsregler:
- Betjen ikke enheden med en beskadiget strømledning eller stik.
- Bloker ikke luftindtag eller -udtag.
- Keep the unit away from water and moisture. Do not immerse in water.
- Indsæt ikke genstande i nogen åbninger.
- Tag stikket ud af enheden, før du rengør eller udfører vedligeholdelse.
- Dette apparat er ikke beregnet til brug af personer (inklusive børn) med nedsatte fysiske, sensoriske eller mentale evner, eller mangel på erfaring og viden, medmindre de har fået opsyn eller instruktion i brugen af apparatet af en person, der er ansvarlig for deres sikkerhed.
- Use only genuine Sharp replacement filters.
3. Produktet er slutview
Familiarize yourself with the main components of your Sharp UA-HD50E-L air purifier.
3.1 Foran View

Figure 3.1: The front of the Sharp UA-HD50E-L air purifier, showcasing its sleek, light grey design and the Sharp logo.
3.2 bag View and Air Intake

Figure 3.2: The rear of the air purifier, showing the large air intake grille and the power cord connection point. This is where air is drawn into the unit for filtration.
3.3 Adgang til vandtank
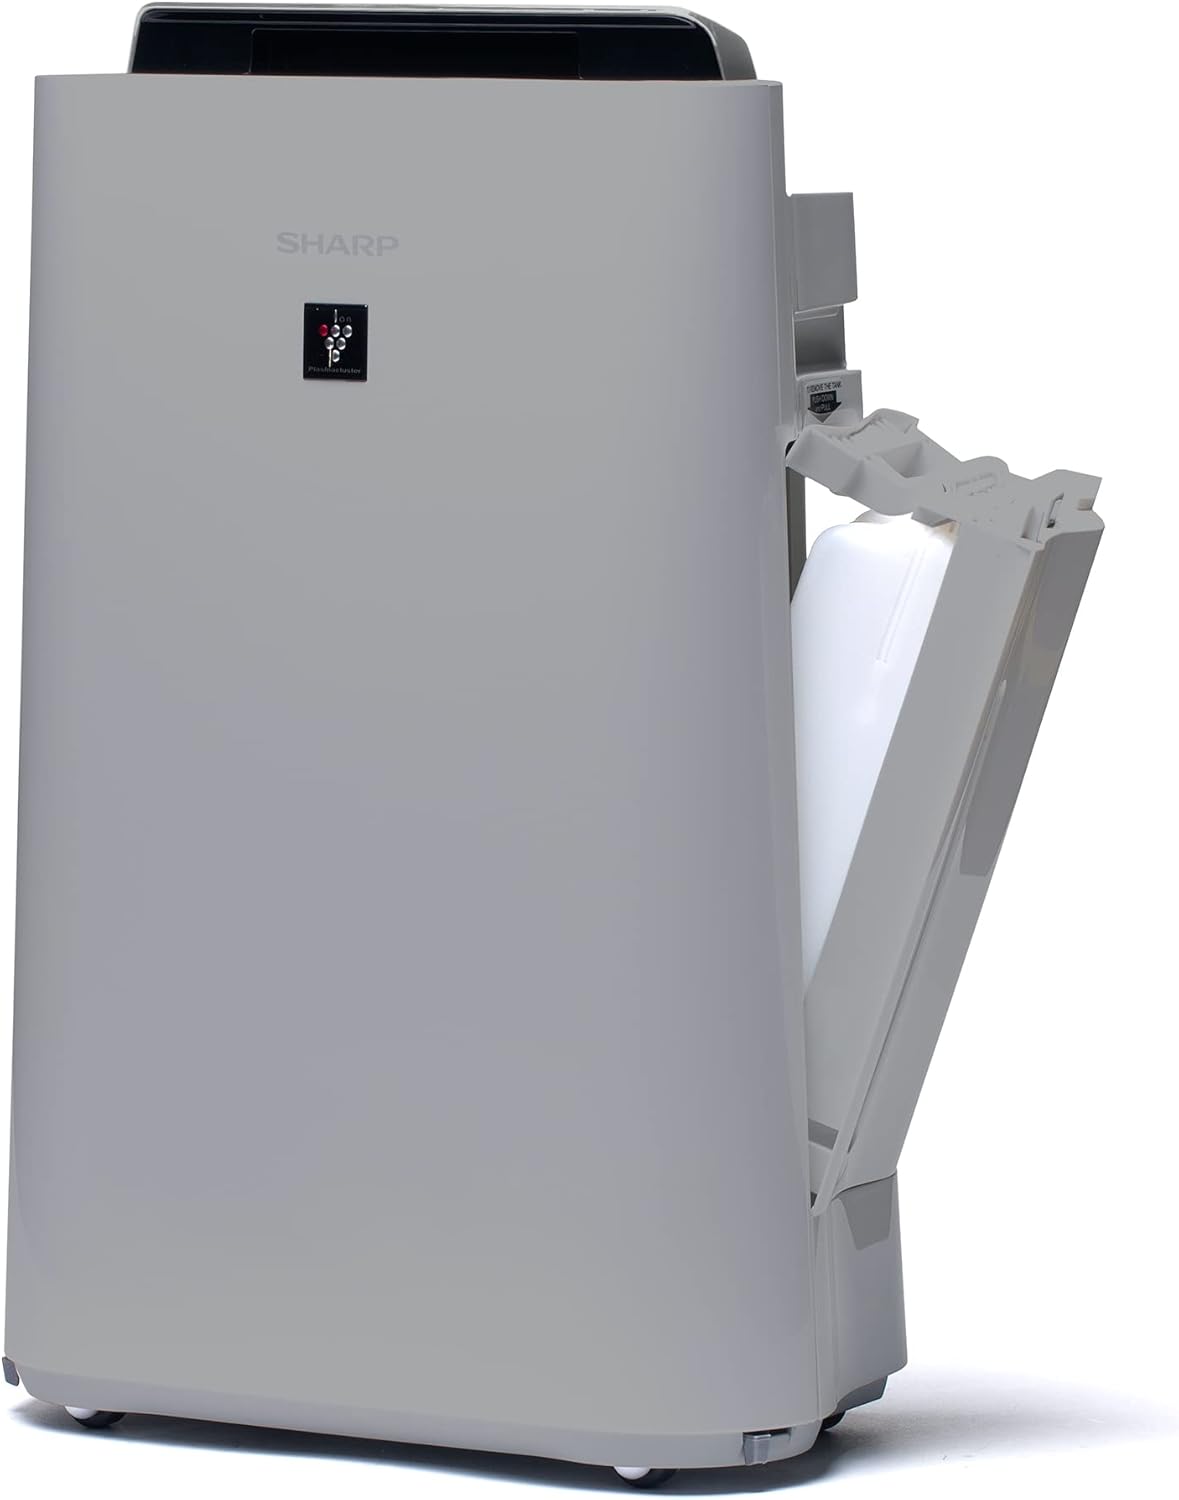
Figur 3.3: En side view of the unit with the water tank compartment door open, revealing the removable water tank for humidification.
3.4 Control Panel and Air Outlet

Figur 3.4: En top-down-analyse view highlighting the intuitive control panel with various function buttons and the primary air outlet where purified and humidified air is released.
3.5 filtersystem
The Sharp UA-HD50E-L utilizes a multi-stage filtration system for comprehensive air purification:
- Forfilter: Opfanger store partikler som støv og dyrehår.
- Deodorization Filter (UZ-HD4DF): Absorbs various odors, including cigarette smoke and household smells.
- HEPA Filter (UZ-HD4HF): Traps microscopic particles such as pollen, mold spores, and fine dust.
- Humidification Filter (UZ-HD6MF): Used for the humidification function.

Figur 3.5: En eksploderet view illustrating the sequence of the pre-filter, deodorization filter, and HEPA filter within the unit's rear compartment.
4. Opsætning
Følg disse trin for at konfigurere din luftrenser for første gang.
- Pak enheden ud: Carefully remove the air purifier and all its components from the packaging. Retain packaging for future transport or storage.
- Fjern filteremballage: Open the rear panel of the unit. Remove all plastic packaging from the HEPA filter, deodorization filter, and humidification filter.
- Installer filtre: Insert the filters back into the unit in the correct order: deodorization filter, then HEPA filter, followed by the pre-filter. Ensure they are securely seated. Close the rear panel.

Figure 4.1: Illustration of a filter being inserted into the side compartment of the air purifier.
- Fyld vandtanken (til befugtning): Open the water tank compartment on the side of the unit. Remove the water tank, fill it with clean tap water, and securely close the cap. Reinsert the water tank into the unit.
Figure 4.2: The water tank being removed from its compartment for refilling.
- Placering: Place the air purifier on a flat, stable surface, ensuring adequate clearance (at least 20 cm) from walls and furniture for optimal air circulation.
- Tilslut strøm: Sæt netledningen i en passende stikkontakt (220V).
5. Betjeningsvejledning
The control panel on the top of the unit allows you to manage all functions.

Figure 5.1: Close-up of the control panel with various buttons and indicators, including sensors for dust, odor, temperature, humidity, light, movement, and PM2.5.
5.1 Tænd/sluk
- Tryk på MAGT knappen for at tænde eller slukke enheden.
5.2 driftstilstande
- Automatisk tilstand: The unit automatically adjusts fan speed and humidification based on sensor readings (dust, odor, temperature, humidity, light, movement, PM2.5). This mode ensures optimal air quality and comfort.
- Manuel blæserhastighed: Select desired fan speed (Low, Medium, High) for continuous operation.
- Befugtningstilstand: Activates the humidification function. The unit will maintain a comfortable humidity level. Ensure the water tank is filled.
- Air Purification Only: Disables the humidification function, focusing solely on air purification.
5.3 Plasmacluster Ion Function
- Tryk på PLASMACLUSTER button to activate or deactivate the Plasmacluster ion generator.
- Ion Spot Mode: This mode provides a 10-fold more intensive airflow of Plasmacluster ions to target specific areas or strong odors. Activate it by pressing the dedicated button on the control panel.
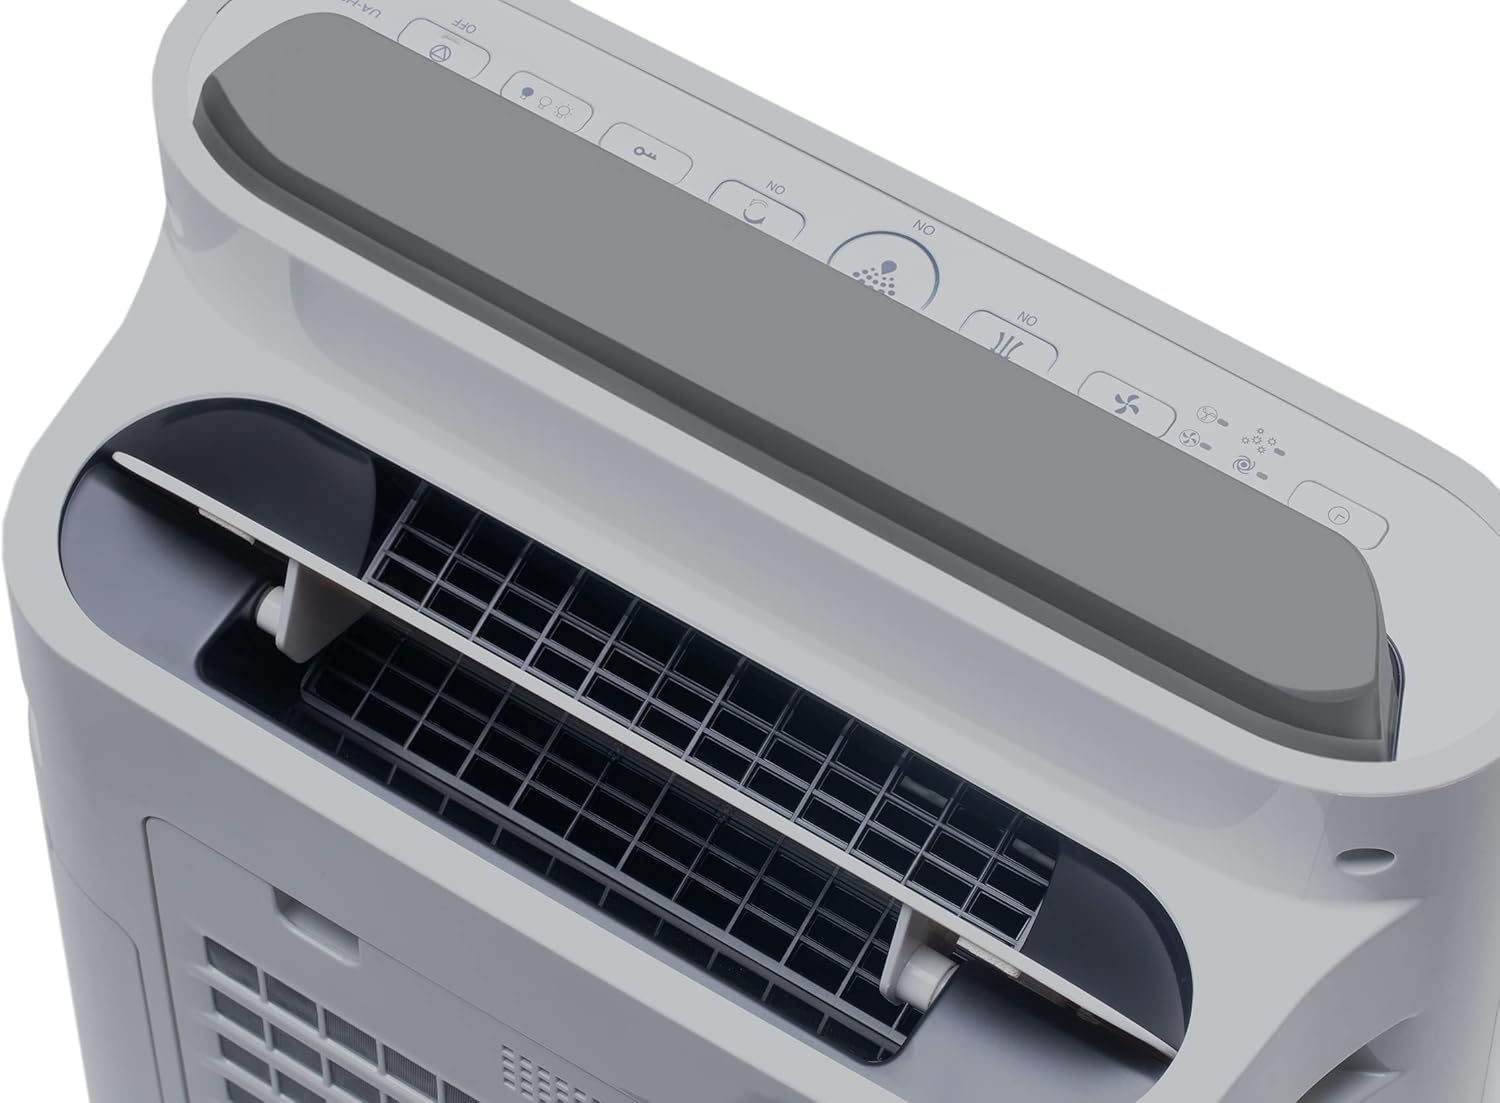
Figure 5.2: Visual representation of Plasmacluster ions being dispersed into the room, indicating the Ion Spot Mode's enhanced air circulation.
5.4 Luftcirkulation
The unit features 20° back air outlets to ensure perfect air circulation throughout the room, effectively distributing purified and humidified air.
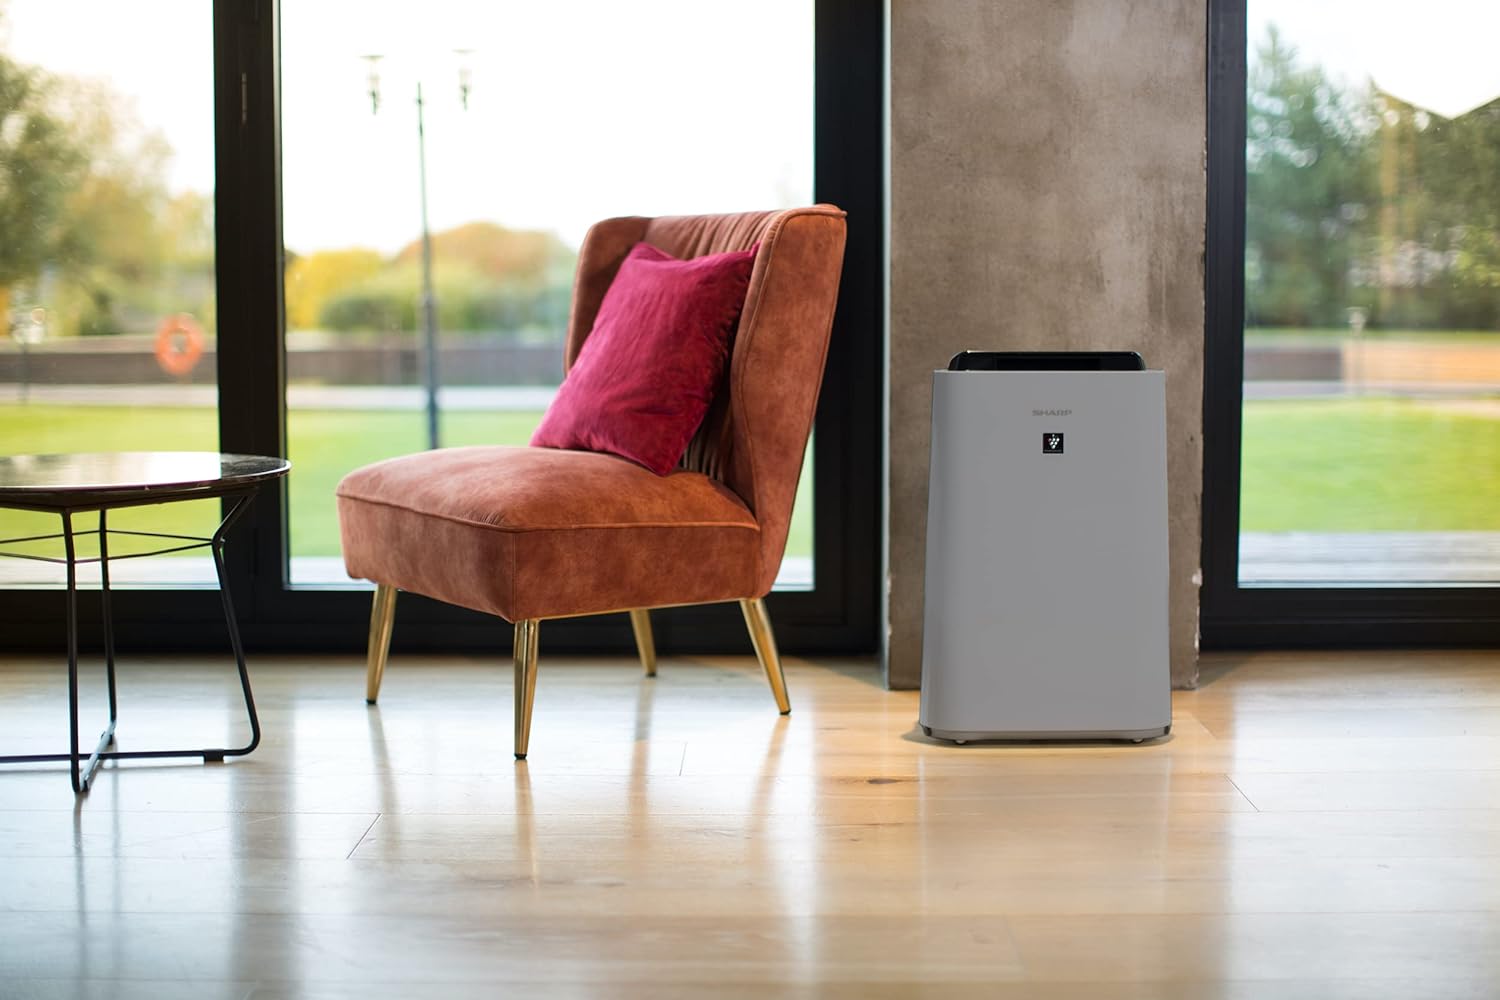
Figure 5.3: A diagram showing the optimal air circulation pattern created by the unit's design, ensuring even distribution of clean air.
6. Vedligeholdelse
Regelmæssig vedligeholdelse sikrer optimal ydeevne og forlænger levetiden for din luftrenser.
6.1 Rengøring af forfilteret
- The pre-filter should be cleaned approximately once a month, or more frequently if used in dusty environments.
- Remove the rear panel and carefully detach the pre-filter.
- Use a vacuum cleaner to remove dust and debris. For stubborn dirt, wash with mild soap and water, then air dry completely before reinstallation.

Figure 6.1: The pre-filter being removed from the unit, with icons indicating its function against dust and pet hair.
6.2 Deodorization and HEPA Filters (UZ-HD4DF, UZ-HD4HF)
- These filters are not washable and should not be cleaned with water.
- Periodically check for excessive dust accumulation. A vacuum cleaner can be used gently on the surface of the HEPA filter to remove loose dust.
- Replace these filters approximately every 2-5 years, depending on usage and air quality. Refer to the indicator light on the control panel for replacement reminders.

Figure 6.2: The deodorization filter, designed to combat odors such as cigarette smoke and general household smells.
6.3 Humidification Filter (UZ-HD6MF) and Water Tank
- Clean the water tank daily or every few days to prevent mold and bacterial growth. Wash with mild detergent and rinse thoroughly.
- The humidification filter should be cleaned regularly (e.g., weekly) by rinsing under running water. If mineral deposits accumulate, soak the filter in a descaling solution (e.g., citric acid solution) as per product instructions.
- Replace the humidification filter approximately once a year, or when it becomes stiff or discolored.
6.4 Udvendig rengøring
- Tør ydersiden af enheden af med en blød, damp klæde. Brug ikke slibende rengøringsmidler eller opløsningsmidler.
7. Fejlfinding
Hvis du støder på problemer, kan du se følgende almindelige problemer og løsninger.
| Problem | Mulig årsag | Løsning |
|---|---|---|
| Enheden tænder ikke. | Netledningen er ikke korrekt tilsluttet; Strømmen er udetage. | Sørg for, at netledningen er korrekt tilsluttet; Kontroller husets afbryder. |
| Svag luftstrøm. | Clogged pre-filter; Blocked air inlets/outlets. | Clean the pre-filter; Ensure nothing is obstructing air passages. |
| Ingen befugtning. | Water tank empty; Humidification filter clogged or improperly installed. | Refill water tank; Clean or correctly install humidification filter. |
| Usædvanlig lugt fra enheden. | Dirty filters; Stagnant vand i tanken. | Clean/replace filters; Clean water tank and humidification filter. |
| Høj støj under drift. | Foreign object in fan; Unit not on a stable surface. | Turn off and unplug, check for obstructions; Place on a flat, stable surface. |
Hvis problemet fortsætter efter at have prøvet disse løsninger, bedes du kontakte kundesupport.
8. Specifikationer
| Mærke | Skarp |
| Modelnummer | UA-HD50E-L |
| Farve | Lysegrå |
| Dimensioner (L x B x H) | 39.9 x 23 x 61.5 cm |
| Vægt | 7.9 kilo |
| Vandtankkapacitet | 1 liter |
| Magt | 3600 (Please refer to product label for actual wattage) |
| Voltage | 220 volt |
| Materiale | Plast |
| Auto-sluk funktion | Ja |
| Støjniveau | 23 decibel |
| Filtertype | HEPA |
| Kontrolmetode | Berøring, knapstyring |
| Room Coverage (Purification) | Op til 38 m² |
| Room Coverage (with Humidification) | Op til 27 m² |
9. Garanti og support
Sharp provides a warranty for this product in accordance with local regulations. Please retain your proof of purchase for warranty claims.
- Tilgængelighed af reservedele: Reservedele til denne model er tilgængelige i en periode på 2 år fra købsdatoen.
- For technical support, service, or to purchase replacement filters, please contact your local Sharp authorized dealer or visit the official Sharp webwebsted.