
1. Introduktion
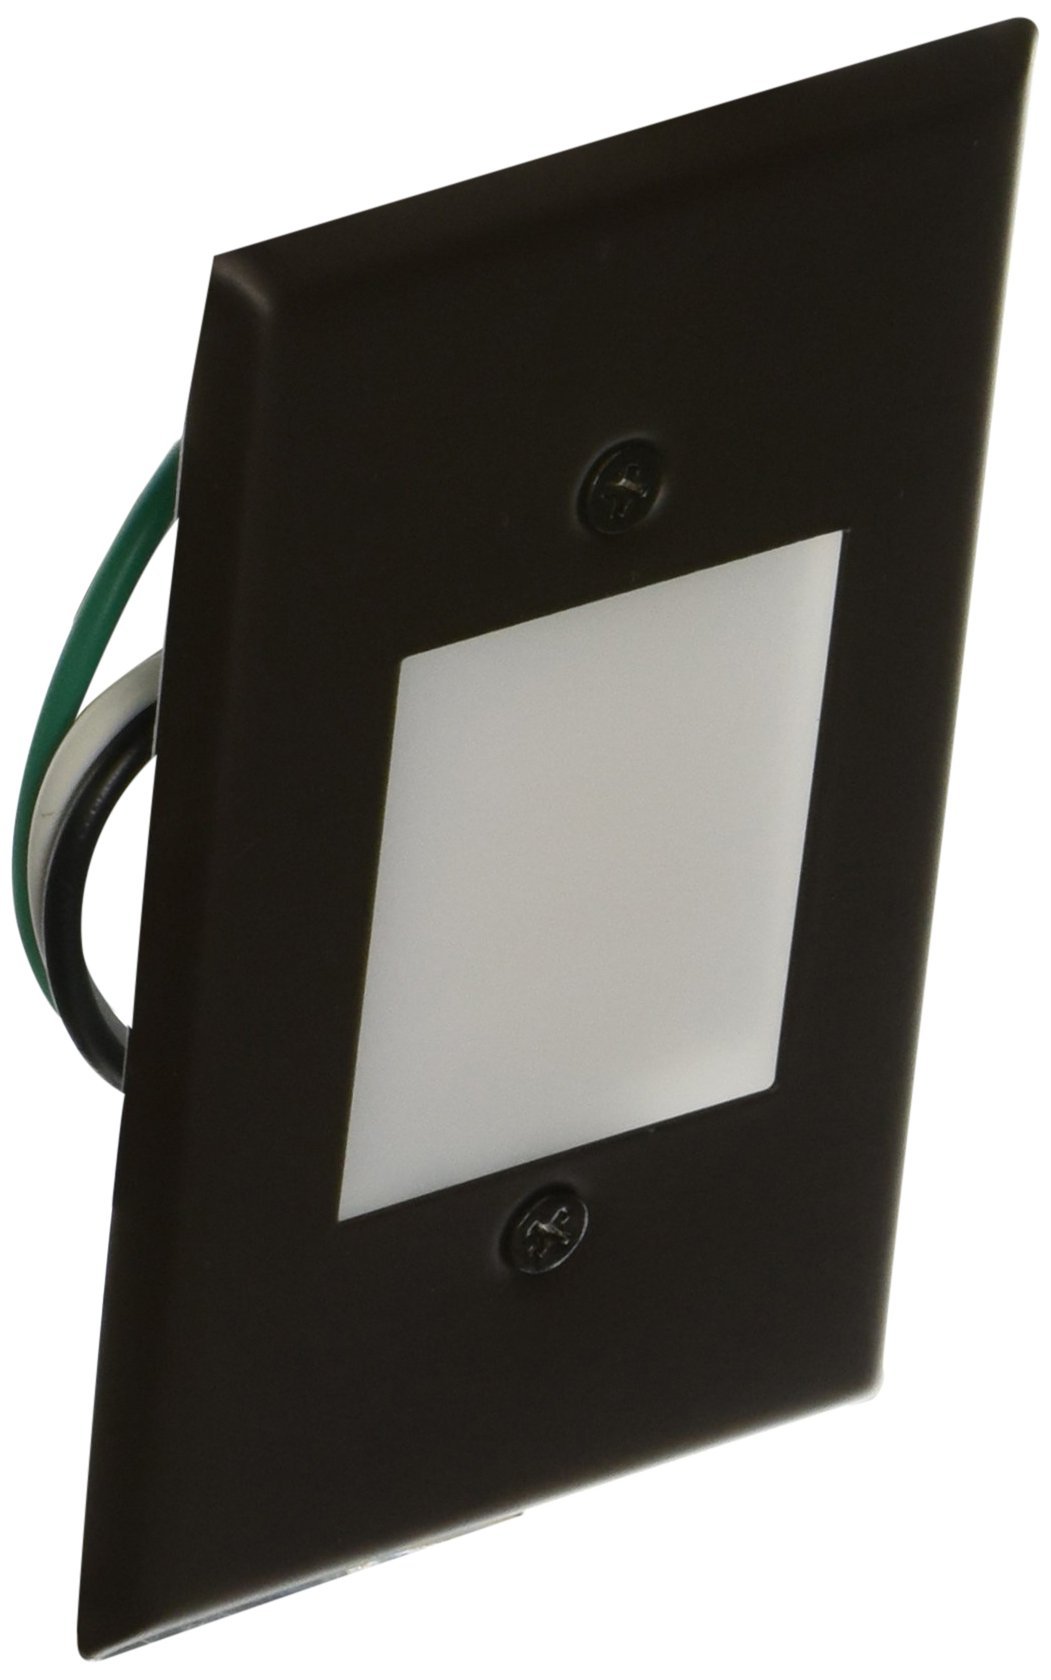
This manual provides detailed instructions for the installation, operation, and maintenance of your ELCO Lighting ELST66BZ 120V LED Mini Step Light. This product is designed to provide efficient and reliable illumination for steps, pathways, and other outdoor areas. Please read this manual thoroughly before installation and retain it for future reference.
2. Sikkerhedsoplysninger
For at sikre sikker installation og drift skal du overholde følgende forholdsregler:
- ADVARSEL: Risiko for elektrisk stød. Afbryd strømmen til sikringen eller strømafbryderen før installation eller servicering.
- Alle elektriske forbindelser skal være i overensstemmelse med lokale forskrifter, forordninger eller National Electric Code (NEC). Kontakt en kvalificeret elektriker, hvis du ikke er bekendt med korrekt elektrisk ledningsføring.
- This product is intended for outdoor use and is UL listed for wet locations.
- Installer ikke i nærheden af brændbare materialer.
- Ensure the fixture is securely mounted to a standard single-gang receptacle box.
- Forsøg ikke at ændre armaturet eller dets komponenter.
3. Pakkens indhold
Kontroller, at alle komponenter er til stede, før installationen påbegyndes:
- ELCO Lighting ELST66BZ LED Mini Step Light Fixture (1)
- Monteringsudstyr (skruer, trådmøtrikker)
- Installationsbeslag
4. Specifikationer
| Feature | Specifikation |
|---|---|
| Modelnummer | ELST66BZ |
| Input bindtage | 120V |
| Strømforbrug | 0.8W |
| Lyskilde | Integreret LED |
| Farvetemperatur | 3000K (varm hvid) |
| Color Rendering Index (CRI) | 90+ |
| Linse materiale | Smooth White Acrylic |
| Frontplade Dimensioner | 4 1/2" W x 2 3/4" H |
| Montering | Horizontal or Vertical, Single-Gang Box |
| Materiale til hus | Galvaniseret Stamped Stål |
| Slutte | Black (Powder-Coated) |
| Levetid | 35,000 timer (L70) |
| Certificeringer | UL-godkendt til våde steder |
5. Installationsvejledning
Follow these steps to install your ELCO Lighting ELST66BZ LED Mini Step Light:
- Forbered til installation:
- Sluk for strømmen ved afbryderen eller sikringsskabet for at undgå elektrisk stød.
- Ensure the mounting location is a standard single-gang receptacle box.
- Monter beslaget:
- Attach the provided installation bracket to the single-gang box using the screws.
- Foretag elektriske forbindelser:
- Tilslut den sorte ledning fra armaturet til den sorte (varme) ledning fra el-boksen.
- Tilslut den hvide ledning fra armaturet til den hvide (nul) ledning fra el-boksen.
- Connect the green (ground) wire from the fixture to the bare copper or green ground wire from the electrical box.
- Secure all connections with wire nuts and ensure they are tight. Carefully tuck wires into the electrical box.
- Installer armaturet:
- Align the step light fixture with the mounting bracket.
- Secure the fixture to the bracket using the provided screws. Ensure the faceplate sits flush against the mounting surface.
- Gendan strøm:
- Tænd for strømmen igen ved afbryderen eller sikringsboksen.
- Test lyset for at sikre korrekt funktion.
6. Betjening
The ELCO Lighting ELST66BZ LED Mini Step Light operates directly from a 120V power supply. Once properly installed and connected to a switched power source, the light will illuminate when the switch is activated. The integrated LED provides a warm white light (3000K) with high color accuracy (90+ CRI), designed for consistent and long-lasting performance.
7. Vedligeholdelse
The ELCO Lighting ELST66BZ LED Mini Step Light requires minimal maintenance:
- Rensning: Tør armaturet regelmæssigt af med en blød kludamp cloth to remove dust and debris. Do not use abrasive cleaners or solvents, as these may damage the finish or lens.
- LED-levetid: The integrated LED is designed for a long lifespan (35,000 hours L70) and does not require bulb replacement.
- Inspektion: Occasionally inspect the fixture for any signs of damage or loose connections. If any issues are found, disconnect power and address them promptly.
8. Fejlfinding
If your ELCO Lighting ELST66BZ LED Mini Step Light is not functioning as expected, refer to the following table:
| Problem | Mulig årsag | Løsning |
|---|---|---|
| Lyset tænder ikke | Ingen strøm til armaturet | Kontroller afbryderen eller sikringen. Sørg for, at vægkontakten er tændt. |
| Løse eller forkerte ledninger | Turn off power. Verify all wire connections are secure and correct according to Section 5. | |
| Lyse flimrer | Løs ledningsforbindelse | Turn off power. Check and tighten all wire connections. |
| Inkompatibel lysdæmper (hvis relevant) | This fixture is not designed for use with dimmer switches. Ensure it is connected to a standard ON/OFF switch. | |
| Reduceret lysudbytte | Snavs eller rester på linsen | Rengør linsen med en blød, damp klæde. |
If the problem persists after attempting these solutions, contact ELCO Lighting customer support.
9. Garanti og support
ELCO Lighting products are manufactured to high standards and are backed by a limited warranty. For specific warranty details, please refer to the warranty information provided with your purchase or visit the official ELCO Lighting website. For technical assistance, replacement parts, or any other inquiries, please contact ELCO Lighting customer support through their official channels.
ELCO Lighting Contact Information:
Please refer to the ELCO Lighting official webwebstedet eller produktemballagen for de mest aktuelle kontaktoplysninger.