
1. Introduktion
This manual provides essential information for the proper installation, operation, and maintenance of your Audiovox Push Button Switch, Model 1364288. This component is designed for automotive applications, featuring a normally open contact type and a surface mount design. Please read this manual thoroughly before installation and use to ensure safe and efficient operation.
2. Sikkerhedsoplysninger
ADVARSEL: Manglende overholdelse af disse sikkerhedsinstruktioner kan resultere i brand, elektrisk stød eller andre skader eller skader.
- Always disconnect the vehicle's battery before performing any electrical installation or maintenance.
- Sørg for, at alle ledningsforbindelser er sikre og korrekt isolerede for at forhindre kortslutninger.
- Do not exceed the specified electrical ratings for the switch.
- Kontakt en kvalificeret biltekniker, hvis du er usikker på nogen af installationstrinnene.
- Keep the switch away from moisture and extreme temperatures.
3. Opsætning og installation
The Audiovox Push Button Switch (Model 1364288) is designed for surface mounting and features a pin header connector. Follow these steps for proper installation:
- Forbered monteringsoverfladen: Select a clean, dry, and flat surface for mounting the switch. Ensure there is sufficient space for the switch (dimensions: 0.05 x 0.03 x 0.04 inches) and its wiring.
- Fastgør kontakten: Use appropriate fasteners (not included) to securely attach the switch to the chosen surface. Ensure it is firmly in place and will not vibrate loose during vehicle operation.
- Ledningsforbindelser: The switch features a Normally Open (NO) contact type and a pin header connector. Connect the appropriate wires from your automotive circuit to the switch's pins. Typically, one pin will connect to the power source (or signal input) and the other to the device or circuit you intend to control. When the button is pressed, the circuit will close, allowing current to flow.
- Isoler forbindelser: After making all electrical connections, ensure they are properly insulated using electrical tape or heat shrink tubing to prevent accidental short circuits.
- Test funktionalitet: Reconnect the vehicle's battery and test the switch's operation to ensure it functions as intended before fully reassembling any removed panels.
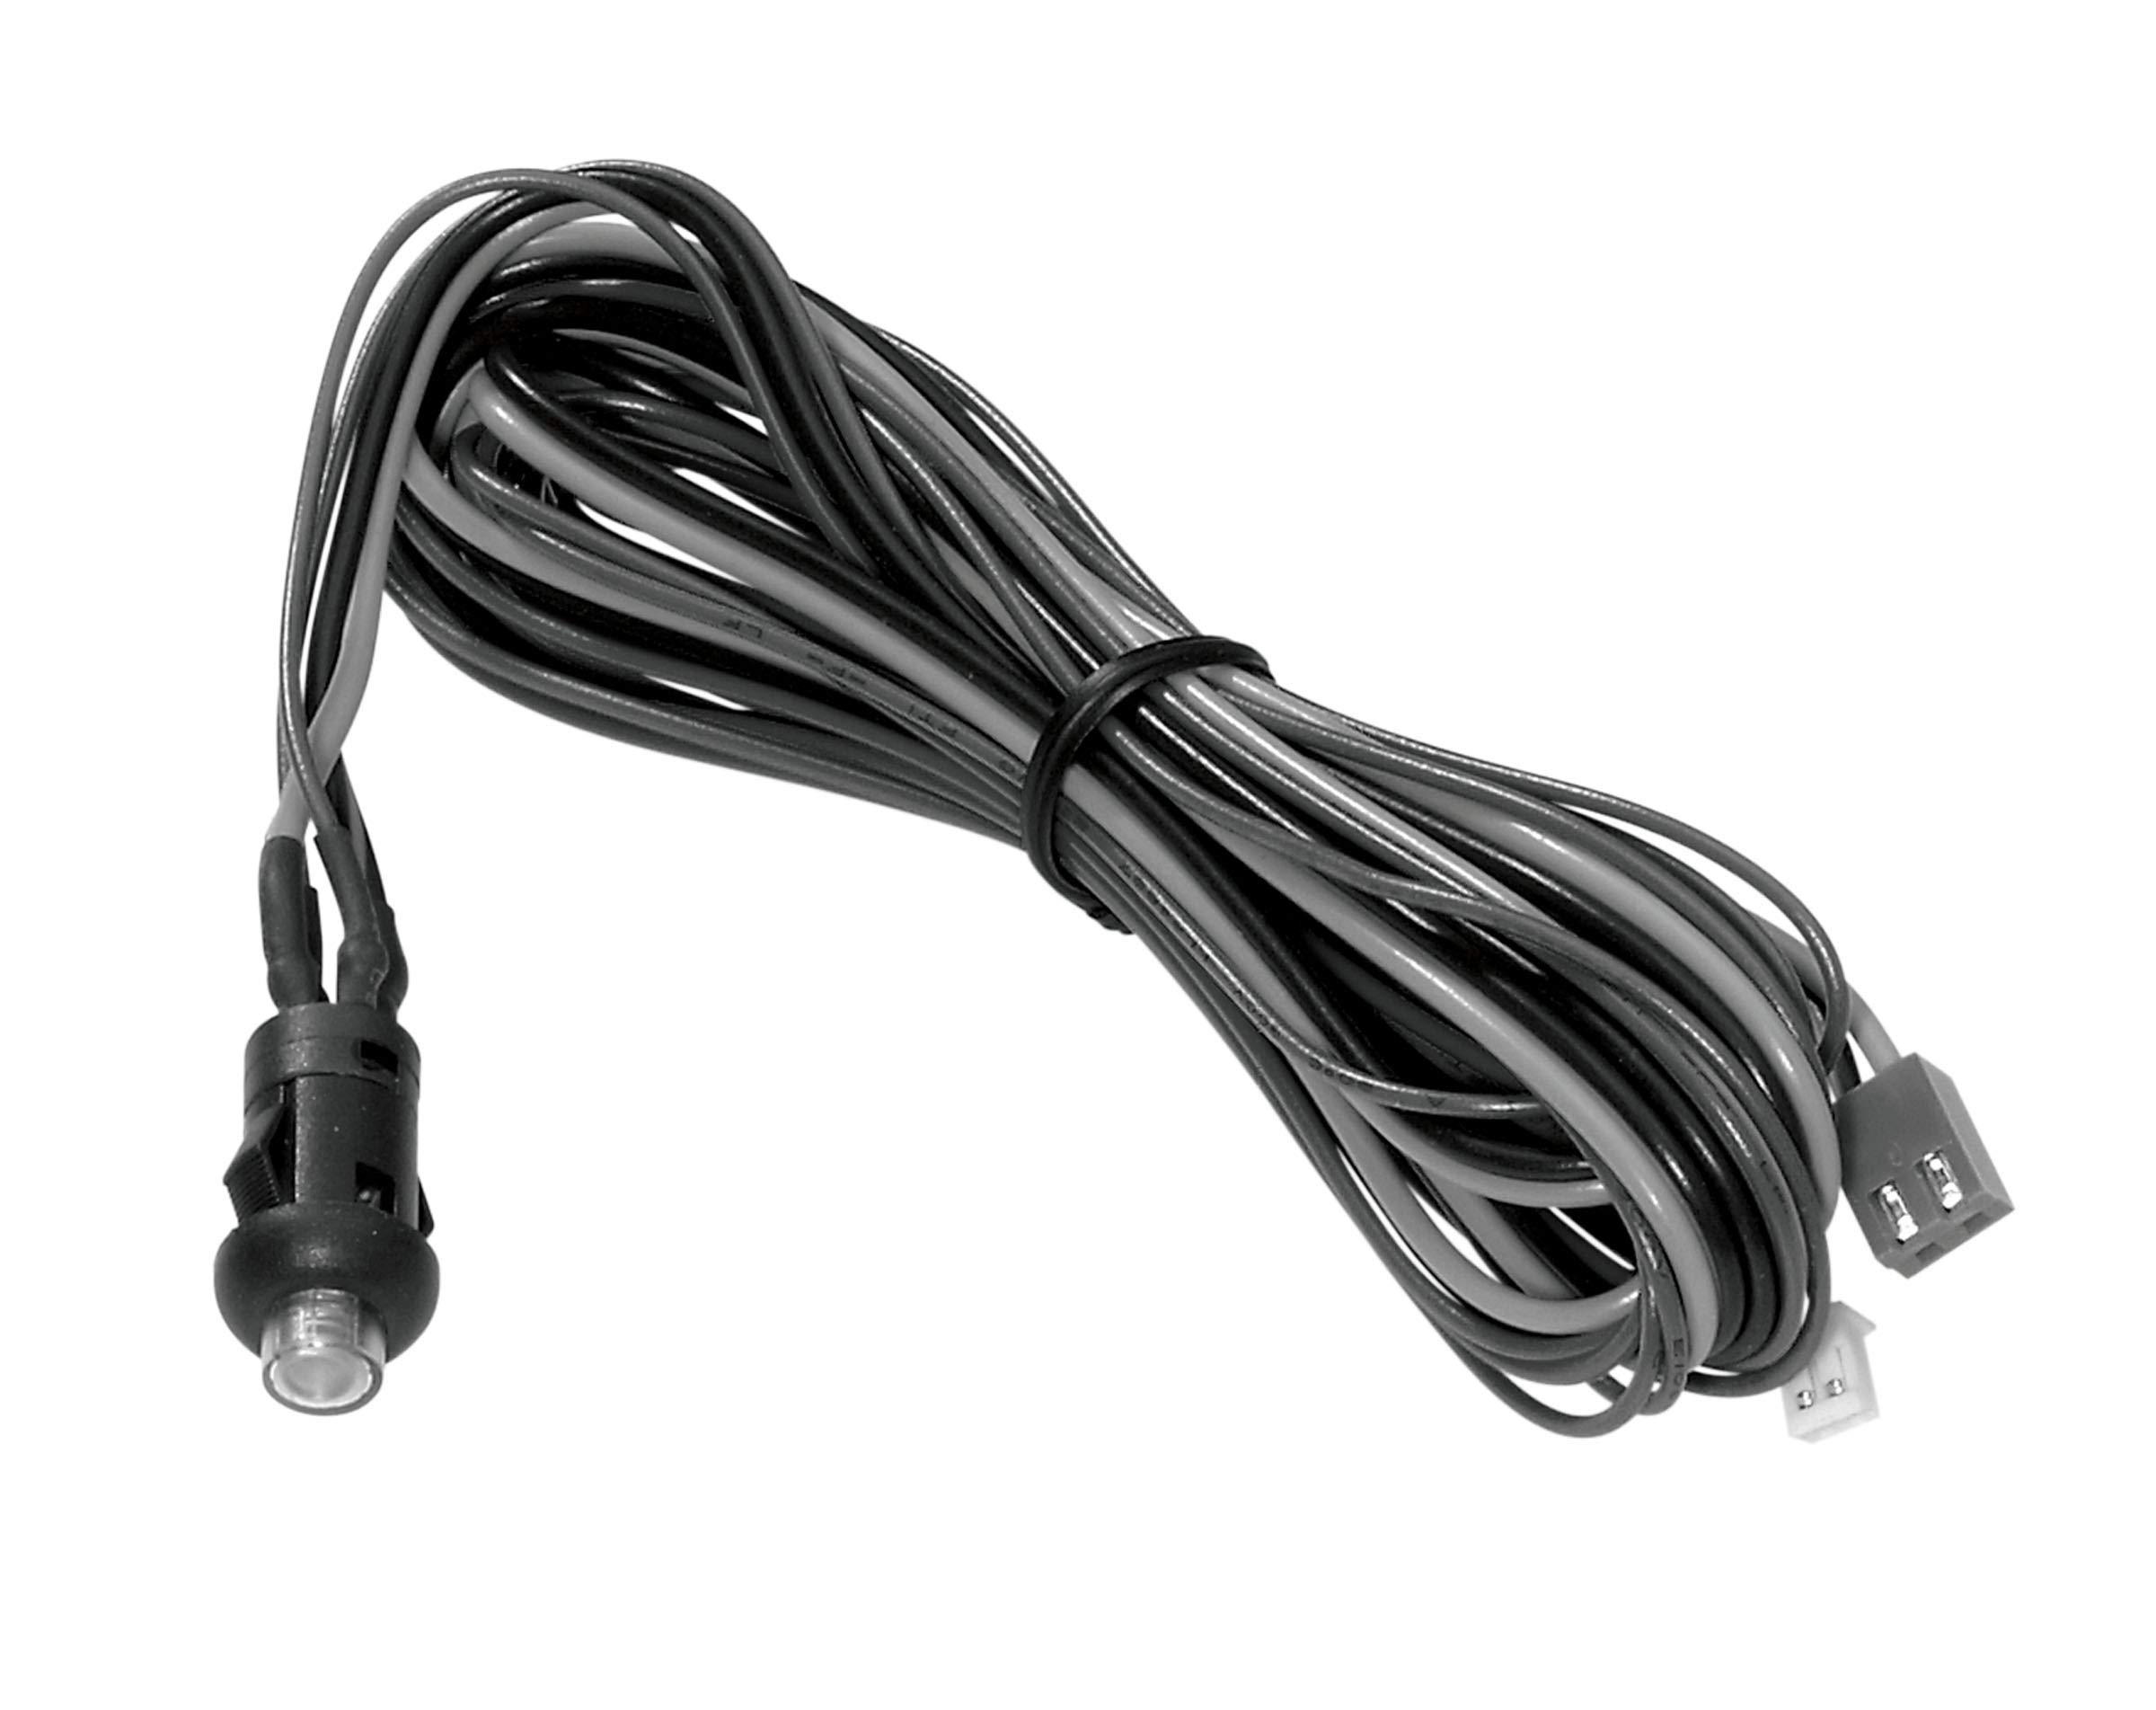
Figure 3.1: The Audiovox Push Button Switch (Model 1364288). This image shows the compact black push-button switch, highlighting its design suitable for surface mounting in automotive applications.
4. Betjeningsvejledning
The Audiovox Push Button Switch (Model 1364288) operates as a simple momentary switch with a Normally Open (NO) contact type.
- Aktivering: To activate the connected circuit or device, firmly press the button. While the button is pressed, the internal contacts close, completing the circuit.
- Deaktivering: To deactivate the connected circuit or device, release the button. Upon release, the internal contacts open, breaking the circuit.
This switch is designed for applications requiring a temporary electrical connection, such as activating a horn, a momentary light, or a specific function within an automotive system.
5. Vedligeholdelse
The Audiovox Push Button Switch (Model 1364288) is designed for durability and requires minimal maintenance.
- Rensning: Periodically wipe the exterior of the switch with a soft, dry cloth to remove dust and debris. Avoid using harsh chemicals or abrasive cleaners.
- Inspektion: Regularly inspect the wiring connections to ensure they remain secure and free from corrosion. Check for any signs of physical damage to the switch housing or button.
- Miljøbeskyttelse: Ensure the switch remains protected from excessive moisture and direct exposure to harsh environmental elements, which could degrade its performance over time.
6. Fejlfinding
If you experience issues with your Audiovox Push Button Switch, refer to the following common troubleshooting steps:
| Problem | Mulig årsag | Løsning |
|---|---|---|
| Switch does not activate device. | Løs eller forkert ledningsforbindelse. Ingen strøm til kredsløbet. Defekt kontakt. | Check all wiring connections for security and correct polarity. Ensure the circuit has power. Test the switch with a multimeter for continuity when pressed. Replace if faulty. |
| Intermitterende operation. | Dårlig forbindelse. Internal wear or debris. | Inspect wiring for corrosion or loose terminals. Ensure the switch is clean. If the issue persists, the switch may need replacement. |
| Knappen sidder fast eller er svær at trykke på. | Debris lodged around the button. Fysisk skade. | Carefully clean around the button. Do not force the button. If damaged, replace the switch. |
7. Specifikationer
| Feature | Detalje |
|---|---|
| Mærke | Audiovox |
| Modelnummer | 1364288 |
| Driftstilstand | Push button (Momentary) |
| Kontakttype | Normalt åben (NEJ) |
| Connector Type | Pin Header |
| Switch Type | Tryk knap |
| Dimensioner (L x B x H) | 0.05 x 0.03 x 0.04 tommer |
| Kredsløbstype | 1-vejs |
| Monteringstype | Overflademontering |
| Aktuator type | Tryk knap |
| Kontrolmetode | Røre |
| Forbindelsesprotokol | X-10 (Note: This may refer to a specific internal component or compatibility, not necessarily a direct user interface protocol.) |
| Farve | Sort |
| Antal enheder | 1 tæller |
| UPC | 044476040528 |
| ASIN | B07HP882SM |
8. Garantioplysninger
Audiovox products are manufactured to high-quality standards. This product is covered by the manufacturer's standard limited warranty. Please refer to the official Audiovox website or contact customer support for detailed warranty terms and conditions, including coverage period and claim procedures. Keep your proof of purchase for warranty validation.
9. Kundesupport
For technical assistance, troubleshooting beyond this manual, or warranty inquiries, please contact Audiovox customer support.
- Webwebsted: Visit the official Audiovox webwebsted for supportressourcer, ofte stillede spørgsmål og kontaktoplysninger.
- Telefon/e-mail: Refer to the Audiovox webwebsted for de mest aktuelle telefonnumre og e-mailadresser til kundeservice.
Når du kontakter support, bedes du have dit produktmodelnummer (1364288) og købsbevis klar.