1. Introduktion
Thank you for choosing the Petlibro Automatic Pet Feeder. This device is designed to provide consistent and timely meals for your pet, ensuring they are fed according to a set schedule, even when you are away. Please read this manual thoroughly before use to ensure proper operation and maintenance of your feeder.
2. Vigtige sikkerhedsoplysninger
Overhold venligst følgende sikkerhedsforanstaltninger for at forhindre personskade eller beskadigelse af produktet:
- Læs alle instruktioner omhyggeligt, inden du bruger foderautomaten.
- Hold foderautomaten væk fra børn og kæledyr, når den ikke er i brug eller under montering.
- Nedsænk ikke hovedenheden i vand eller andre væsker.
- Use only dry pet food with a diameter between 5-15mm. Do not use wet, canned, or moist food.
- Sørg for, at foderautomaten er placeret på en stabil, plan overflade.
- Tag stikket ud af stikket, før du rengør eller udfører vedligeholdelse.
- Do not attempt to repair or modify the feeder yourself. Contact customer support for assistance.
- Bortskaf batterier ansvarligt i henhold til lokale regler.
3. Pakkens indhold
Kontroller venligst pakkens indhold for at sikre, at alle varer er til stede:
- Petlibro Automatic Pet Feeder Main Unit
- Madskål
- USB-C Power Adapter and Cable
- Desiccant Bag (pre-installed or separate)
- Brugermanual
4. Produktet er slutview
Familiarize yourself with the different parts of your Petlibro Automatic Pet Feeder:
- Madtank: Opbevarer tørfoder til kæledyr.
- Låg: Covers the food tank to keep food fresh.
- Kontrolpanel: Buttons and display for setting schedules and manual feeding.
- Madudsalg: Where food dispenses into the bowl.
- Madskål: Detachable bowl for your pet to eat from.
- Power Port (USB-C): Tilsluttes strømadapteren.
- Batterirum: Holds backup batteries (not included).
5. Opsætning
Follow these steps to set up your Petlibro Automatic Pet Feeder:
5.1 Montering
- Pakker ud: Fjern forsigtigt alle komponenter fra emballagen.
- Installer madskål: Place the food bowl securely at the base of the feeder.
- Install Food Tank: Align the food tank with the base and twist to lock it into place.
- Indsæt tørremiddelpose: If not pre-installed, open the desiccant compartment (usually under the lid) and insert the desiccant bag to keep food fresh. Replace every 15-30 days.

Image: Step-by-step assembly guide for the Petlibro Automatic Pet Feeder. It shows how to twist open the lid, take out the food bowl, put the desiccant bag into its compartment, install the food tank, put the lid back on, and finally install the food bowl.
5.2 Strømforsyning
The feeder can be powered by a USB-C adapter or backup batteries.
- Primær magt: Connect the USB-C power adapter to the feeder's power port and plug it into a wall outlet.
- Batteribackup (valgfrit): For power outages, install 3 D-cell batteries (not included) into the battery compartment at the bottom of the feeder. This ensures continuous operation.
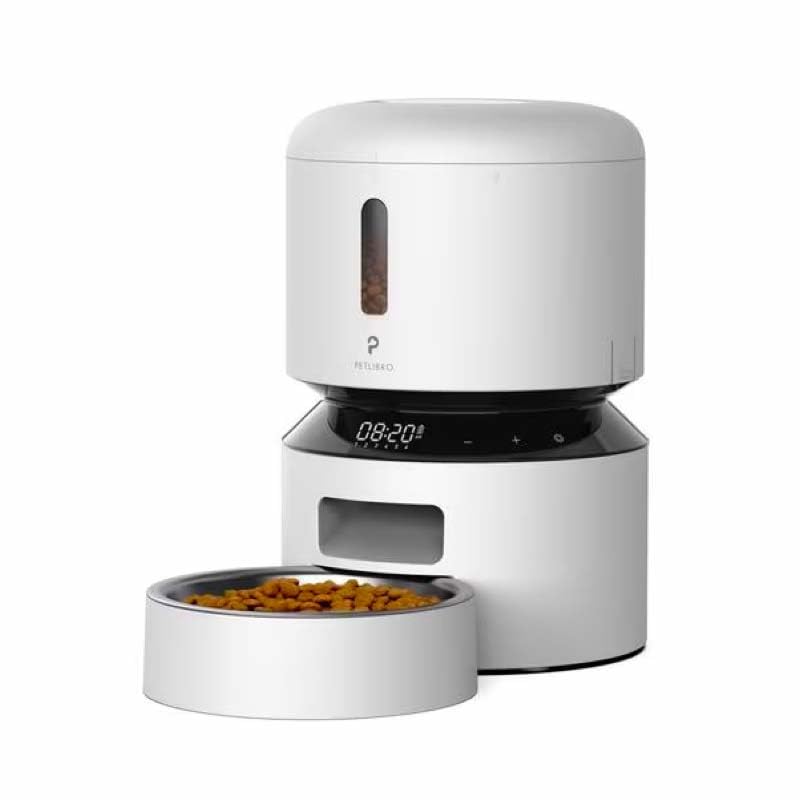
Image: Diagram illustrating the dual power supply system of the Petlibro Automatic Pet Feeder. It shows the USB-C adapter connected for primary power and the battery compartment for backup power. A note indicates that batteries are not included.
6. Betjeningsvejledning
Once assembled and powered, you can begin programming your feeder.
6.1 Fyldning af madtanken
- Åbn låget på madtanken.
- Pour dry pet food into the tank. Ensure the food is within the recommended size (5-15mm diameter).
- Luk låget forsvarligt for at bevare friskheden.
6.2 Setting Meal Schedules and Portions
The feeder allows you to schedule up to 6 meals per day, with 1 to 50 portions per meal.

Image: A cat eating from the Petlibro Automatic Pet Feeder, illustrating the feeder's function. Text overlays indicate "Portion: 1-50" and "Meals: 1-6", highlighting the customizable feeding schedule.
- Indstil aktuel tid: Use the control panel buttons (e.g., "SET", "UP", "DOWN") to set the current time.
- Programmets måltidstider: Press the "MEAL" button to enter meal programming mode. Select the desired meal number (e.g., Meal 1) and set the feeding time.
- Set Portions: For each programmed meal, set the number of portions (1-50) using the "PORTION" or "UP/DOWN" buttons.
- Repeat for all meals: Program up to 6 meals as needed.
- Gem indstillinger: Ensure all settings are saved according to the feeder's specific interface (usually by pressing "SET" or waiting for auto-save).
6.3 Manuel fodring
To dispense food instantly, press the manual feed button (often labeled "FEED" or a paw icon) on the control panel. Each press typically dispenses one portion.
7. Vedligeholdelse og rengøring
Regelmæssig rengøring sikrer hygiejne og forlænger levetiden på din foderautomat.
- Tag stikket ud: Tag altid stikket ud af stikkontakten, inden du rengør den.
- Skille ad: Remove the food bowl and food tank.
- Rengøring af komponenter: Wash the food bowl and food tank with mild soap and water. Rinse thoroughly and dry completely before reassembling.
- Tør hovedenhed af: Tør hovedenheden af med en blød, damp klæde. Nedsænk ikke hovedenheden i vand.
- Udskift tørremiddel: Replace the desiccant bag every 15-30 days to maintain food freshness.
- Saml igen: Sørg for, at alle dele er tørre, før du samler foderautomaten igen.
8. Fejlfinding
If you encounter issues with your feeder, refer to the following common problems and solutions:
| Problem | Mulig årsag | Løsning |
|---|---|---|
| Føderen tændes ikke. | No power connection; batteries depleted or incorrectly installed. | Kontroller strømadapterens tilslutning; udskift batterierne, eller sørg for korrekt polaritet. |
| Maden udleveres ikke. | Food tank empty; food jammed; dispenser blocked; incorrect schedule settings. | Refill food tank; clear any food jams; check dispenser for blockages; verify meal schedule and portion settings. |
| Food dispenses too much/too little. | Forkerte portionsindstillinger. | Adjust portion settings for each meal. |
| Display virker ikke. | Strømproblem; displayfejl. | Kontroller strømforsyningen; hvis problemet fortsætter, kontakt kundesupport. |
9. Specifikationer
| Feature | Detalje |
|---|---|
| Produktnavn | Petlibro Automatic Pet Feeder |
| Model | 3L automatisk foder til kæledyr |
| Kapacitet | 3 liter |
| Materiale | Food-grade ABS plastic |
| Strømforsyning | USB-C adapter (5V/1A); 3 x D-cell batteries (backup, not included) |
| Måltider pr. dag | Up to 6 meals |
| Portioner pr. måltid | 1-50 portions (approx. 5-10g per portion, depending on food density) |
| Recommended Food Size | 5-15mm dry kibble |
| Farve | Hvid |
10. Garanti og support
Your Petlibro Automatic Pet Feeder comes with a standard manufacturer's warranty. For detailed warranty information, please refer to the warranty card included in your package or visit the official Petlibro webwebsted.
If you have any questions, require technical support, or need assistance with your product, please contact Petlibro customer service. Contact details can typically be found on the product packaging, the official website, or by searching for "Petlibro customer support" online.