1. Introduktion
Tak for købetasing the CAIWEI A8AB-NEW Video Projector. This manual provides essential information for the safe and efficient operation of your device. Please read it thoroughly before use and retain it for future reference.
2. Sikkerhedsinstruktioner
- Se ikke direkte ind i projektorlinsen, når lamp er tændt.
- Sørg for korrekt ventilation omkring projektoren for at forhindre overophedning.
- Udsæt ikke projektoren for regn eller fugt.
- Brug kun den strømadapter, der følger med projektoren.
- Hold projektoren væk fra brandfarlige materialer.
- Tag stikket ud af projektoren under tordenvejr eller når den ikke bruges i længere perioder.
- Forsøg ikke at reparere projektoren selv. Overlad al service til kvalificeret personale.
3. Pakkens indhold
Kontroller venligst, at alle genstande er til stede ved udpakning:
- CAIWEI A8AB-NEW Video Projector
- Strømkabel
- Fjernbetjening
- HDMI kabel
- VGA-kabel
- AV-kabel
- Brugermanual
4. Produktet er slutview
Familiarize yourself with the projector's components:
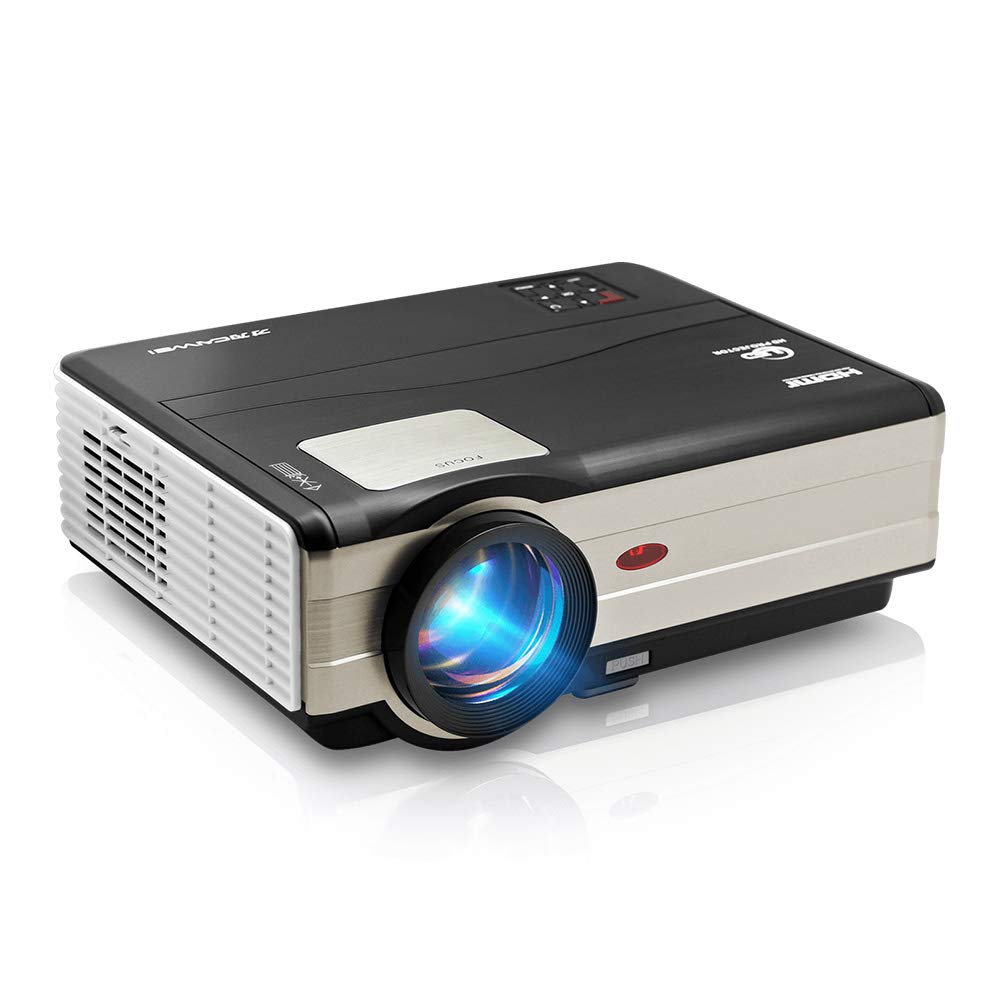
Figur 1: Front view of the CAIWEI A8AB-NEW Video Projector, showing the lens and ventilation.
Frontpanel
- Projektionsobjektiv: Udsender billedet.
- Fokusring: Justerer billedets klarhed.
- Keystone-korrektion: Korrigerer trapezformet billedforvrængning.
Bagpanel
- Strømport: Tilsluttes strømkablet.
- HDMI-porte (x2): Connects to HDMI-enabled devices (e.g., Blu-ray player, game console).
- USB-porte (x2): Connects to USB storage devices or other USB peripherals.
- VGA port: Connects to computers or laptops with VGA output.
- AV-port: Connects to older devices using composite video and stereo audio.
- Lydudgang (3.5 mm): Tilsluttes eksterne højttalere eller hovedtelefoner.
5. Opsætning
5.1 Placering
Place the projector on a stable, flat surface or mount it to a ceiling. Ensure the projector is perpendicular to the projection screen or wall. The optimal projection distance varies, but generally, a larger distance yields a larger image.
5.2 Strømtilslutning
- Connect the power cable to the projector's power port.
- Sæt den anden ende af strømkablet i en stikkontakt.
- Strømindikatoren vil lyse.
5.3 Tilslutning af inputenheder
Projektoren understøtter forskellige inputkilder:
- HDMI: Connect an HDMI cable from your device (e.g., laptop, game console, streaming stick) to one of the projector's HDMI ports.
- USB: Indsæt et USB-flashdrev i en USB-port for at afspille medier files direkte.
- VGA: Tilslut et VGA-kabel fra din computer til projektorens VGA-port.
- AV: Use the provided AV cable to connect to devices with composite video output.
- Trådløst (WiFi): For screen mirroring from smartphones or tablets, navigate to the 'Wireless Display' or 'Screen Mirroring' option in the projector's menu and follow the on-screen instructions. Ensure your device and the projector are on the same Wi-Fi network.
- Bluetooth: To connect external Bluetooth speakers, go to the Bluetooth settings in the projector's menu, enable Bluetooth, and pair with your desired audio device.
5.4 Fokus- og Keystone-justering
- Tænd for projektoren og vis et billede.
- Drej på Fokus ring on the lens until the image appears sharp and clear.
- If the image is trapezoidal (wider at the top or bottom), adjust the Keystone korrektion dial or setting until the image is rectangular.
6. Betjeningsvejledning
6.1 Tænd/sluk
- Tænd: Tryk på tænd/sluk-knappen på projektoren eller fjernbetjeningen.
- Sluk: Tryk på tænd/sluk-knappen igen. Bekræft nedlukningen, hvis du bliver bedt om det.
6.2 Menunavigation
Use the navigation buttons (Up, Down, Left, Right, OK) on the projector or remote control to browse the on-screen menu. The 'Menu' button typically opens the main settings, and 'Exit' or 'Back' closes sub-menus.
6.3 Valg af indgangskilde
Press the 'Source' or 'Input' button on the remote control or projector. A list of available input sources (HDMI1, HDMI2, USB1, USB2, VGA, AV, Wireless Display) will appear. Select the desired source using the navigation buttons and press 'OK'.
6.4 Lydindstillinger
Access the audio settings through the main menu to adjust volume, select audio output (internal speaker, external via 3.5mm jack, or Bluetooth), and modify sound modes.
6.5 Wireless/Bluetooth Connection
Refer to section 5.3 for detailed instructions on connecting via Wi-Fi for screen mirroring or Bluetooth for audio output.
7. Vedligeholdelse
7.1 Rengøring af linsen
Use a soft, lint-free cloth specifically designed for optical lenses. Gently wipe the lens surface. Avoid using abrasive cleaners or excessive force, which can scratch the lens.
7.2 Cleaning the Air Filter/Vents
Regularly check the air intake and exhaust vents for dust accumulation. Use a soft brush or a can of compressed air to gently clean the vents. This helps maintain proper airflow and prevents overheating.
7.3 Opbevaring
When not in use, store the projector in a cool, dry, and dust-free environment. Use the original packaging or a protective case to prevent damage.
8. Fejlfinding
| Problem | Mulig årsag | Løsning |
|---|---|---|
| Intet billede på skærmen | Power not connected; Incorrect input source; Device not powered on. | Check power cable; Select correct input source; Ensure connected device is on. |
| Billedet er sløret | Fokus ikke justeret; Projektor for langt væk/tæt på. | Adjust the focus ring; Reposition the projector. |
| Billedet er trapezformet | Keystone ikke justeret. | Juster keystone-korrektionen. |
| Ingen lyd | Volume too low; Muted; Incorrect audio output; Cable issue. | Increase volume; Unmute; Check audio settings; Verify cable connections. |
| Fjernbetjening virker ikke | Batteries dead; Obstruction; Out of range. | Udskift batterier; Fjern forhindringer; Sørg for frit udsyn til IR-modtageren. |
| Advarsel om overophedning | Tilstoppede ventilationsåbninger; Dårlig ventilation. | Clear vents; Ensure adequate space around projector. |
9. Specifikationer
- Model: A8AB-NEW
- Mærke: CAIWEI
- Skærmopløsning: 1280 x 800
- Forbindelse teknologi: Bluetooth, HDMI, USB, VGA, Wireless
- Særlige funktioner: Indbygget Wi-Fi, Bærbar, Trådløs
- Anbefalede anvendelser: Spil, hjemmebiograf
- Varens vægt: 6.1 pund
- Produktdimensioner: 11.2 x 14.7 x 5 tommer
10. Garanti og support
CAIWEI products are designed for reliability and performance. For specific warranty details, please refer to the warranty card included with your purchase or contact CAIWEI customer support. If you encounter any issues not covered in this manual, please reach out to our support team for assistance.
Kundesupport: Please visit the official CAIWEI webwebstedet eller kontakt din forhandler for supportoplysninger.