1. Introduktion
This manual provides comprehensive instructions for the setup, operation, and maintenance of your Youshiko Radio Controlled Wall Clock, Model YK YC8025-W. This clock is designed to display precise time automatically, adjusting for seasonal changes without manual intervention. It features a large LCD screen for clear readability and includes additional information such as date, month, day of the week, indoor temperature, and moon phase.
Nøglefunktioner omfatter:
- Radio-controlled time (MSF for UK/Ireland, automatic time checks).
- Automatic adjustment for seasonal time changes.
- Display of date, month, and day of the week.
- Indoor temperature display (Celsius or Fahrenheit).
- Moon phase indicator.
- 12/24-hour time format.
- Alarm med snooze funktion.
- Wall-mountable or tabletop placement.
2. Pakkens indhold
Kontroller venligst pakkens indhold for at sikre, at alle varer er til stede:
- Youshiko Radio Controlled Wall Clock (Model YK YC8025-W)
- Instruktionsmanual (dette dokument)
3. Produktet er slutview
Familiarize yourself with the clock's display and control buttons.

Figur 3.1: Front view of the Youshiko Radio Controlled Wall Clock. The display shows the time (10:30 AM), indoor temperature (25.0°C), date (30/12), day (MON), and moon phase. A radio signal icon and alarm icon are also visible.

Figur 3.2: Bag view of the clock, highlighting the battery compartment and control buttons: SET, ALARM, UP, DOWN, SNOOZE, and WAVE. A keyhole for wall mounting and a foldable stand are also visible.
Figur 3.3: Dimensions of the clock. The overall width is 230mm and height is 160mm. Key display element heights are also indicated: main time digits (53mm) and lower information line (18mm).
4. Opsætning
4.1 Batteriinstallation
- Find batterirummet på bagsiden af uret (se figur 3.2).
- Åbn batterirummets dæksel.
- Insert two (2) AA batteries, ensuring correct polarity (+ and -). Batteries are not included.
- Luk batterirummets dæksel.
4.2 Initial Power-On and Radio Signal Reception
Upon battery installation, the clock will automatically attempt to receive the radio time signal. This process may take several minutes. Ensure the clock is placed in an area with good signal reception, away from electronic interference.

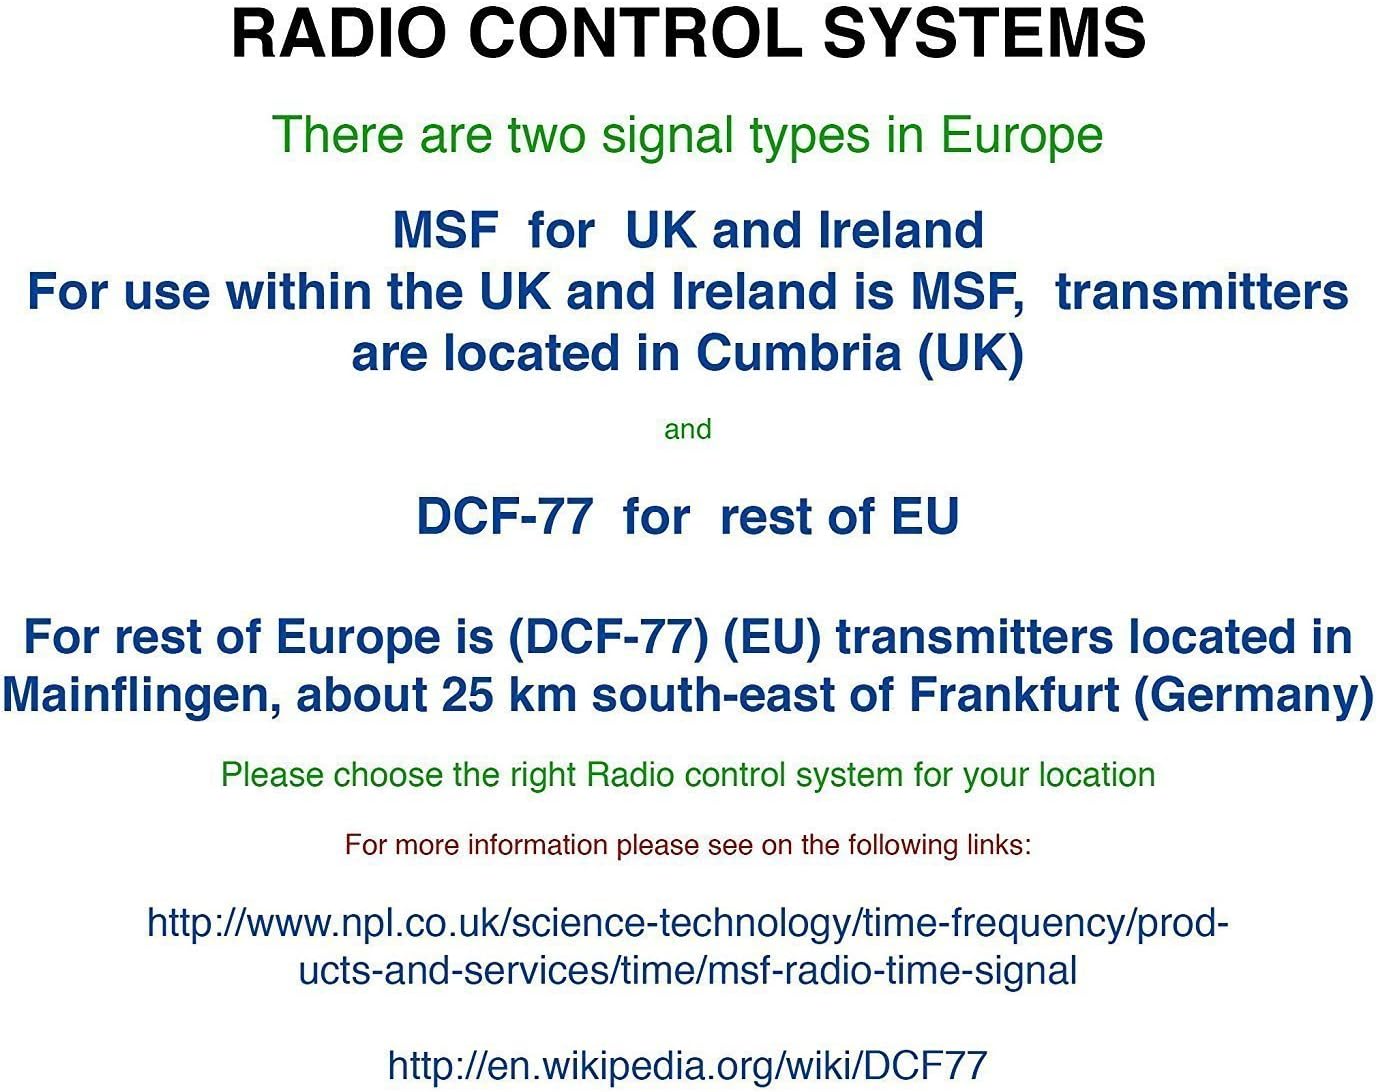
Figur 4.1: Explanation of Radio Control Systems. MSF signal is for the UK and Ireland, transmitted from Cumbria. DCF-77 signal is for the rest of the EU, transmitted from Mainflingen, Germany. Ensure the correct system is selected for your region.
The clock supports two main radio control signal types in Europe:
- MSF: For use within the UK and Ireland. Transmitters are located in Cumbria (UK).
- DCF-77: For the rest of the European Union. Transmitters are located in Mainflingen, Germany.
The clock is designed to automatically detect and synchronize with the appropriate signal for your region. A radio signal icon on the display will indicate successful reception.
4.3 Manual Time Setting (If Required)
Hvis radiosignalet er svagt eller ikke tilgængeligt, kan du indstille tiden manuelt:
- Tryk og hold på SÆT knappen, indtil tidsvisningen begynder at blinke.
- Brug UP og NED knapper for at justere timen.
- Trykke SÆT igen for at bekræfte timen og gå til minutterne.
- Brug UP og NED knapper for at justere minutterne.
- Fortsæt med at trykke SÆT to cycle through and adjust other settings like year, month, date, and 12/24-hour format.
- Trykke SÆT one last time or wait for a few seconds for the clock to exit manual setting mode.
5. Betjeningsvejledning
5.1 Skærmtilstande
The clock displays time, date, day, indoor temperature, and moon phase simultaneously. The time can be displayed in either 12-hour (with AM/PM indicator) or 24-hour format. The temperature can be displayed in Celsius (°C) or Fahrenheit (°F).
5.2 Adjusting Temperature Unit
For at skifte mellem Celsius og Fahrenheit, tryk på NED button briefly when in normal time display mode.
5.3 Alarmfunktion
- Tryk på ALARM knap én gang til view den aktuelle alarmtid.
- Tryk og hold på ALARM knappen, indtil alarmtidspunktet begynder at blinke.
- Brug UP og NED knapperne for at indstille den ønskede alarmtime.
- Trykke ALARM igen for at bekræfte timen og gå til minutterne.
- Brug UP og NED knapperne til at indstille de ønskede alarmminutter.
- Trykke ALARM one last time to confirm and activate the alarm. An alarm icon will appear on the display.
5.4 Snooze -funktion
Når alarmen lyder, skal du trykke på SLUM button to temporarily silence the alarm. The alarm will sound again after a few minutes (typically 5-10 minutes, specific duration may vary). To turn off the alarm completely, press any other button (e.g., ALARM or SÆT).
5.5 Manual Radio Signal Search
If you wish to manually initiate a radio signal search, press the BØLGE button. The clock will attempt to receive the time signal. This is useful if you have moved the clock or suspect a temporary signal loss.
6. Vedligeholdelse
6.1 Rengøring
Brug en blød, tør klud til at rengøre uret. Brug ikke slibende rengøringsmidler, opløsningsmidler eller kemiske spray, da disse kan beskadige displayet eller uret.asing.
6.2 Udskiftning af batteri
When the display becomes dim or the clock stops functioning, it is time to replace the batteries. Follow the battery installation steps in Section 4.1. Always replace both batteries at the same time with new AA batteries.
6.3 Opbevaring
If the clock will not be used for an extended period, remove the batteries to prevent leakage and potential damage to the device.
7. Fejlfinding
- No time display or incorrect display:
Sørg for, at batterierne er korrekt installeret og ikke er afladede. Udskift batterierne om nødvendigt. - Clock not setting automatically:
Verify that the clock is within range of the MSF (UK/Ireland) or DCF-77 (EU) radio signal. Place the clock near a window and away from potential sources of interference (e.g., TVs, computers, large metal objects). Initiate a manual signal search using the BØLGE button. Allow sufficient time (up to 24 hours) for initial synchronization. - Radio signal icon not showing:
This indicates that the clock is not currently receiving the radio signal. Follow the steps for 'Clock not setting automatically'. - Temperaturmålingen virker unøjagtig:
Ensure the clock is not placed in direct sunlight or near heat sources/vents, which can affect the internal temperature sensor.
8. Specifikationer
| Mærke | Youshiko |
| Modelnummer | YK YC8025-W |
| Dimensioner (L x B x H) | 25 x 18 x 3 cm (ca. 230 x 160 x 25 mm) |
| Vægt | 430 gram |
| Strømkilde | 2 x AA batterier (medfølger ikke) |
| Display Type | Digital LCD |
| Særlige funktioner | Temperature Display, Alarm, Radio Controlled, Moon Phase |
9. Garanti og support
Youshiko products are manufactured to high-quality standards. For information regarding warranty coverage and customer support, please refer to the documentation provided with your purchase or visit the official Youshiko webwebsted. Gem venligst din købsbevis til garantikrav.