
1. Introduktion
This manual provides essential instructions for the assembly, operation, and maintenance of your TecTake Greenhouse with Aluminum Base and Polycarbonate Panels, Model 402478. Please read these instructions carefully before assembly and use to ensure safe and efficient operation. Proper installation and care will ensure the longevity and performance of your greenhouse.
2. Sikkerhedsinstruktioner
ADVARSEL: Manglende overholdelse af disse sikkerhedsinstruktioner kan resultere i personskade eller beskadigelse af produktet.
- Assemble and install the greenhouse strictly following the provided assembly instructions.
- Ensure sufficient ground stability. The foundations must be concreted, and the greenhouse must be properly secured to the foundation frame to withstand weather conditions.
- Always wear appropriate personal protective equipment (e.g., gloves, safety glasses) during assembly.
- Forsøg ikke at samle drivhuset i stærk vind eller ugunstige vejrforhold.
- Hold børn og kæledyr væk fra samlingsområdet.
- Regularly inspect the greenhouse for any loose parts, damage, or wear, especially after severe weather. Tighten fasteners as needed.
- Hæng ikke tunge genstande fra drivhusets ramme.
3. Pakkens indhold
Before beginning assembly, verify that all components listed below are present and undamaged. If any parts are missing or damaged, please contact TecTake customer support.
- 1 x Aluminum Greenhouse Frame Kit
- 1 x Set of Polycarbonate Panels (4 mm thick)
- 1 x Galvanized Steel Foundation Frame Kit
- 1 x Sliding Door (60 x 160 cm)
- Multiple Roof Vents (55 x 58 cm)
- Alle nødvendige fastgørelseselementer og hardware
- Monteringsvejledning
4. Opsætning og montering
The assembly process requires careful attention to detail. It is recommended to have at least two people for assembly. Refer to the detailed assembly instructions provided in the package for step-by-step guidance.
4.1 Forberedelse af stedet
- Vælg et plant, veldrænet sted, der får tilstrækkeligt med sollys.
- Ryd området for alt affald, sten eller vegetation.
- Ensure the chosen location is suitable for anchoring the foundation securely.
4.2 Foundation Assembly
Begin by assembling the galvanized steel foundation frame. This frame provides crucial stability and resistance. It is essential to concrete the foundations into the ground for maximum stability, especially in areas prone to strong winds.

Image 1: The galvanized steel foundation frame, providing a stable base for the greenhouse structure.
4.3 Greenhouse Frame Assembly
Once the foundation is secure, proceed with assembling the anodized aluminum frame. Follow the diagrams and instructions to connect the various frame components. Ensure all bolts and nuts are tightened securely but do not overtighten until the entire frame is assembled and squared.

Billede 2: En detaljeret view of a corner joint, illustrating how the aluminum frame components are securely fastened together.
4.4 Panelinstallation
Install the 4mm thick polycarbonate hollow-core panels into the aluminum frame. These panels are UV-resistant and provide insulation. Carefully slide the panels into the designated channels. Ensure they are properly seated to provide optimal protection and insulation.
4.5 Door and Vent Installation
Install the sliding door (60 x 160 cm) and the roof vents (55 x 58 cm). The sliding door mechanism should operate smoothly. The roof vents are crucial for ventilation and temperature control within the greenhouse.

Image 3: A close-up of the sliding door mechanism, showing the track and rollers for smooth operation.
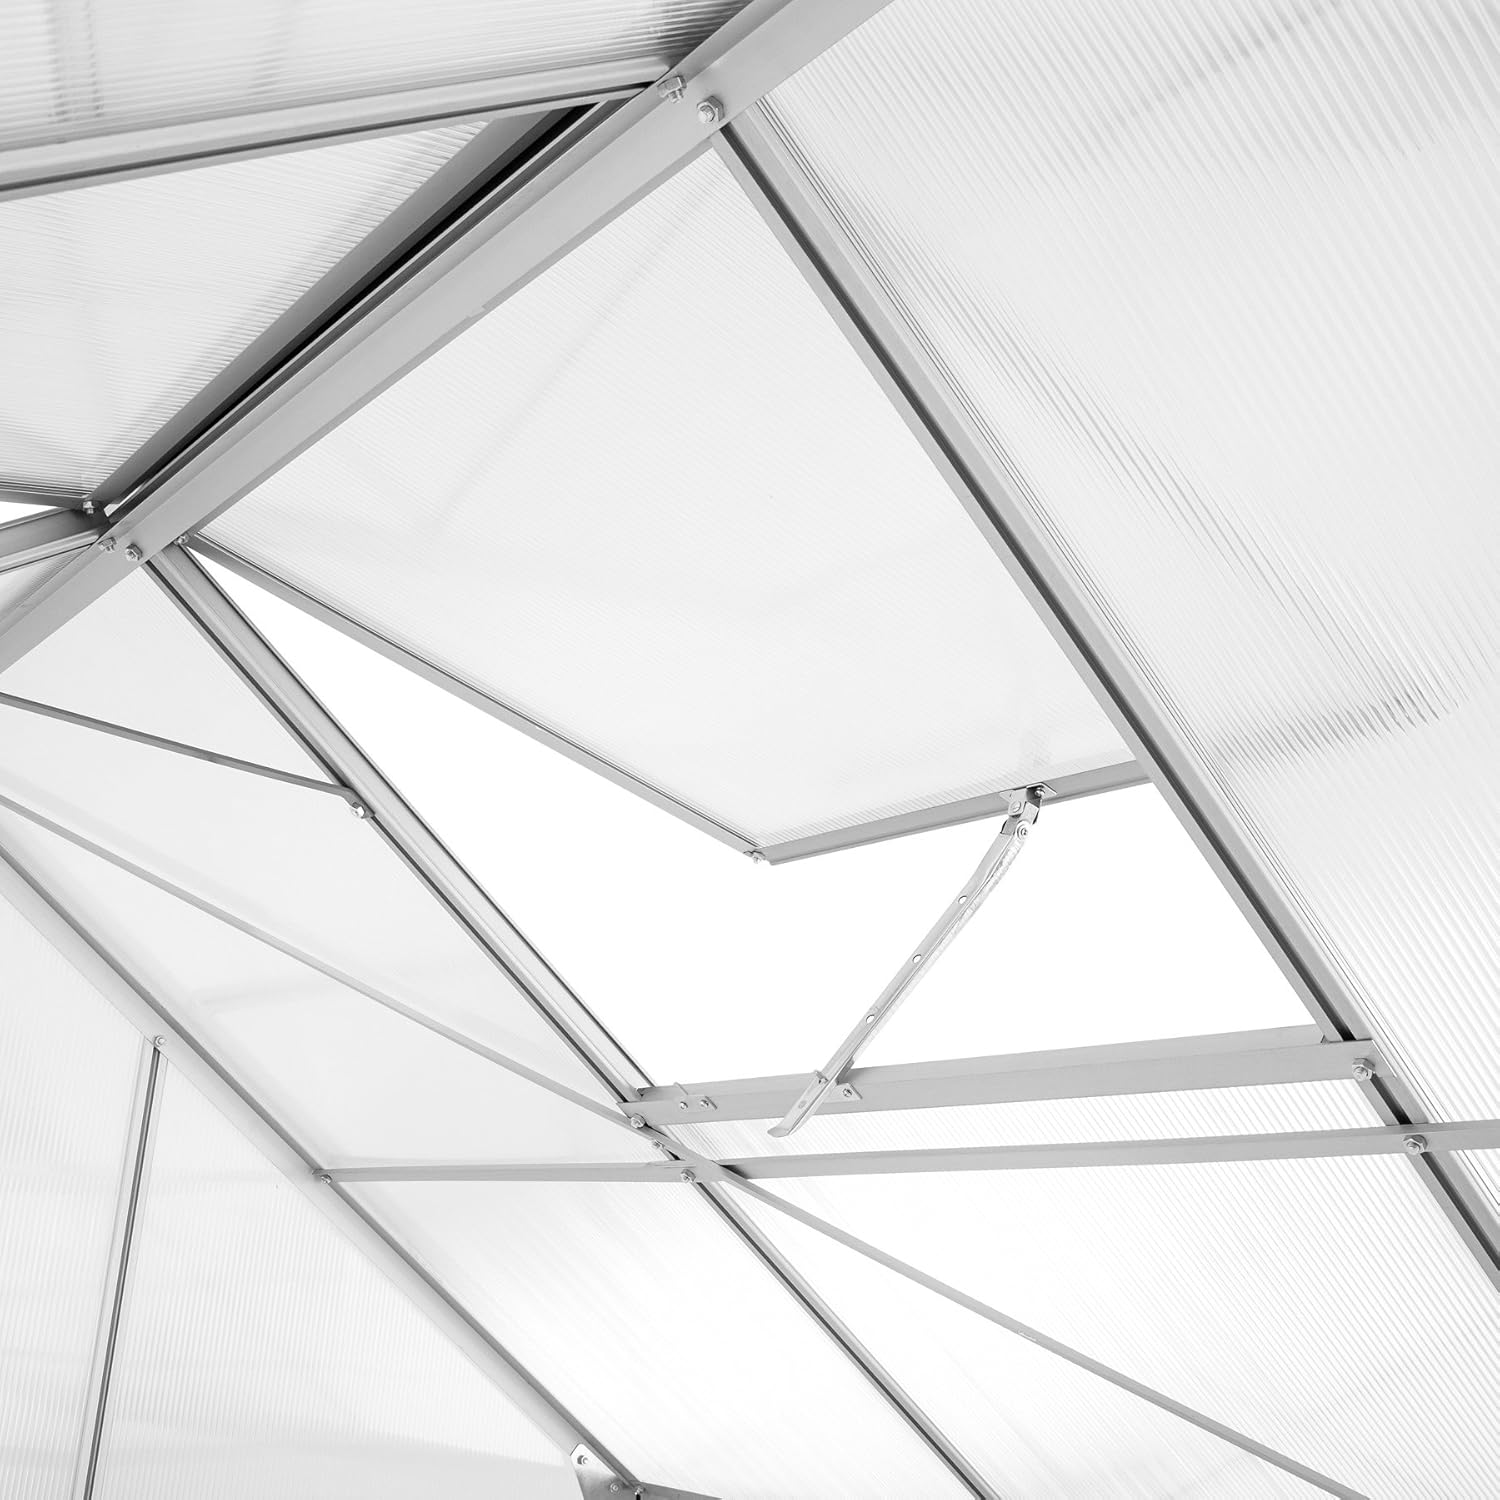
Billede 4: En detaljeret view of an open roof vent, essential for air circulation and temperature regulation.

Image 5: An exterior perspective showing several roof vents in an open position, facilitating airflow.

Image 6: A complete exterior view of the assembled TecTake greenhouse, ready for use.

Billede 7: Et interiør view highlighting the robust roof structure and ample space within the greenhouse.
5. Betjeningsvejledning
Your TecTake Greenhouse is designed to create an optimal environment for plant growth by protecting them from adverse weather conditions and providing a controlled climate.
5.1 Ventilation
The roof vents are essential for regulating temperature and humidity. Open the vents during warm periods to prevent overheating and ensure adequate air circulation. Close them during colder weather or at night to retain heat.
5.2 Brug af dør
The sliding door provides easy access to the greenhouse. Ensure the door slides freely and is closed securely when not in use to maintain the internal climate and protect plants.
5.3 Watering and Humidity
Monitor soil moisture and humidity levels regularly. The enclosed environment of a greenhouse can lead to higher humidity, which may require adjustments to your watering schedule compared to outdoor gardening.
6. Vedligeholdelse
Regular maintenance will extend the life of your greenhouse and ensure its continued performance.
- Rensning: Periodically clean the polycarbonate panels with mild soap and water to remove dirt, algae, or debris that can reduce light transmission. Avoid abrasive cleaners or tools that could scratch the panels.
- Rammeinspektion: Annually inspect the aluminum frame for any signs of corrosion or damage. Check all bolts and fasteners for tightness and re-tighten if necessary.
- Foundation Check: Ensure the foundation remains stable and securely anchored. Address any signs of shifting or erosion around the base.
- Vent and Door Mechanism: Lubricate the sliding door and roof vent mechanisms as needed to ensure smooth operation. Keep tracks clear of obstructions.
- Rengøring af tagrender: If equipped with gutters, regularly clear them of leaves and debris to ensure proper water drainage.

Billede 8: Et nærbillede view of the integrated gutter system, designed to manage rainwater runoff.
7. Fejlfinding
Dette afsnit omhandler almindelige problemer, du kan støde på med dit drivhus.
- Problem: Poor ventilation / High humidity.
Løsning: Ensure roof vents are open during warm periods. Consider adding an automatic vent opener or additional ventilation if needed. - Problem: Vandlækage.
Løsning: Check all panel seals and ensure panels are correctly seated. Inspect the frame for any gaps or loose connections. Ensure gutters are clear. - Problem: Door or vents sticking.
Løsning: Clean tracks of debris. Apply a silicone-based lubricant to the sliding mechanisms. Check for bent or damaged components. - Problem: Greenhouse instability.
Løsning: Re-check foundation anchoring. Ensure all frame bolts are securely tightened. If the foundation was not concreted, consider doing so for increased stability.
8. Specifikationer
Detailed technical specifications for the TecTake Greenhouse Model 402478.
| Feature | Specifikation |
|---|---|
| Modelnummer | 402478 |
| Samlede dimensioner (L x B x H) | 375 x 185 x 195 cm (147.6 x 72.8 x 76.8 tommer) |
| Foundation Dimensions (L x W x H) | 375 x 190 x 12 cm (147.6 x 74.8 x 4.7 tommer) |
| Gutter Height | 125 cm (49.2 tommer) |
| Etageareal | Approx. 6.93 m² (74.6 sq ft) |
| Bind | Approx. 11.13 m³ (393.1 cu ft) |
| Entrance (W x H) | 60 x 160 cm (23.6 x 63 tommer) |
| Hollow-core Panel Thickness | 4 mm |
| Vægt | 43 kg (94.8 lbs) |
| Greenhouse Materials | Anodized Aluminum, Polycarbonate (PC) |
| Foundation Material | Galvaniseret stål |
| UV beskyttelse | Yes (Polycarbonate panels) |
| Vandmodstand | Vandtæt |
| Montering påkrævet | Ja |

Image 9: The TecTake greenhouse with its main dimensions (length, width, height) clearly indicated.
9. Garanti og support
For warranty information, please refer to the documentation included with your purchase or visit the official TecTake website. If you require technical assistance, have questions about assembly, or need to order replacement parts, please contact TecTake customer support directly. Keep your purchase receipt and model number (402478) handy when contacting support.