
HERTZ ML-Power-5
Hertz Mille Legend Series ML-Power-5 Amplivligere brugervejledning
Model: ML-Power-5
1. Introduktion
Thank you for choosing the Hertz Mille Legend Series ML-Power-5 D-Class 5-Channel Amplifier. Denne højtydende amplifier is designed to deliver exceptional sound quality and power for your car audio system. This manual will guide you through the proper installation, setup, and operation to ensure you get the best possible experience from your new amplifier. Please read this manual thoroughly before installation and use, and keep it for future reference.
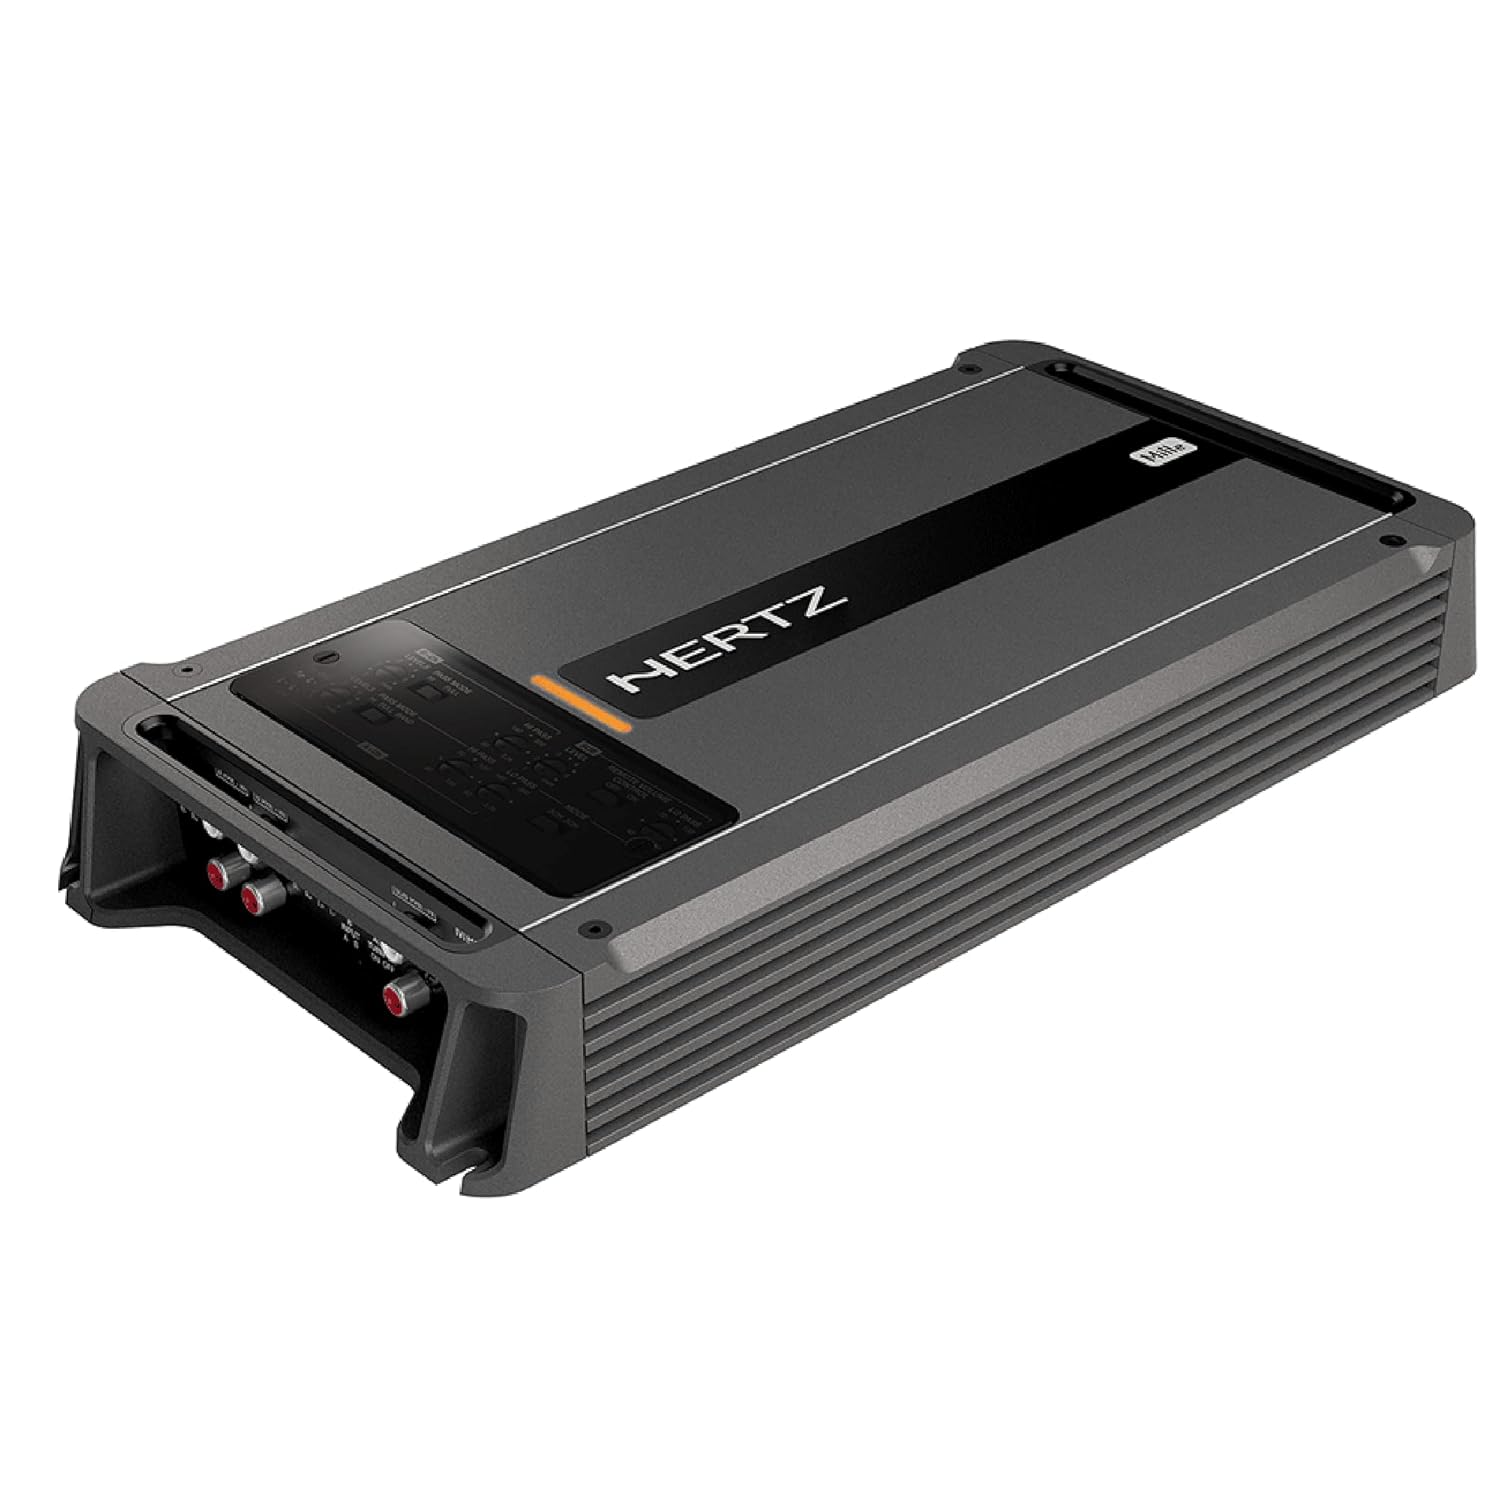
Figur 1.1: Forside view of the Hertz ML-Power-5 Ampløfter, showcasing its sleek design and top panel.
2. Sikkerhedsoplysninger
Overhold altid følgende sikkerhedsforanstaltninger under installation og drift:
- Professionel installation anbefales: Installation should be performed by a qualified professional to prevent damage to the amplift eller køretøj.
- Afbryd batteriet: Frakobl altid bilens negative batteripol, inden du påbegynder elektrisk arbejde.
- Korrekt ledningsføring: Brug passende ledningsføring til strøm-, jord- og højttalertilslutninger som angivet i denne manual. Forkert ledningsføring kan føre til overophedning, brand eller beskadigelse af komponenter.
- Ventilation: Sørg for ampHvis apparatet er monteret et sted med tilstrækkelig ventilation for at forhindre overophedning. Dæk ikke apparatet til. ampeller blokere dens køleribber.
- Undgå fugt: Udsæt ikke ampmodstandsdygtig over for fugt eller vand.
- Sikker montering: Monter ampsikkert for at forhindre, at den bliver til et projektil i tilfælde af et pludseligt opbremsnings- eller kollisionsforløb.
- Sikringsbeskyttelse: De amplifier is equipped with internal fuses. Do not bypass or replace them with fuses of a different rating. The amplifier uses 2 x 40 A fuses.
3. Pakkens indhold
Bekræft at alle varer er til stede i pakken:
- Hertz ML-Power-5 D-Class 5-Channel Amplivligere
- Brugervejledning (dette dokument)
- Monteringsudstyr (skruer, skiver)
- Remote Bass Control (if included with your specific model)
- Connection Terminals/Adapters (if applicable)
4. Installation
4.1 Monteringssted
Vælg et monteringssted, der:
- Sørger for tilstrækkelig ventilation til varmeafledning.
- Er beskyttet mod fugt og direkte sollys.
- Allows for secure fastening to a solid surface.
- Is easily accessible for wiring and adjustments.
Common mounting locations include under seats, in the trunk, or behind trim panels.
4.2 Strømforbindelser
Proper power connections are crucial for amplifier performance and safety.
- Batteri (BATT+) Tilslutning: Run a power cable directly from the vehicle's positive battery terminal to the amplifier's BATT+ terminal. Install an in-line fuse holder within 18 inches (45 cm) of the battery. The fuse rating should match the amplifier's total fuse rating (80A for ML-Power-5).
- Jordforbindelse (GND): Tilslut et jordkabel med samme tykkelse som strømkablet fra ampForbind GND-terminalen på forsyningen til en ren, umalet metaloverflade på køretøjets chassis. Sørg for en solid elektrisk forbindelse.
- Fjernt tændingsforbindelse (REM): Tilslut en fjernbetjeningsledning fra din hovedenheds fjernbetjeningsudgang til ampforsyningens REM-terminal. Denne ledning signalerer amplifier to turn on when the head unit is active. The ML-Power-5 features Automatic Remote Turn-Off.
4.3 Lydindgangsforbindelser
Tilslut din hovedenheds RCA-udgange til amplifier's RCA inputs. The ML-Power-5 is a 5-channel amplifier, typically requiring front, rear, and subwoofer RCA inputs from your head unit.
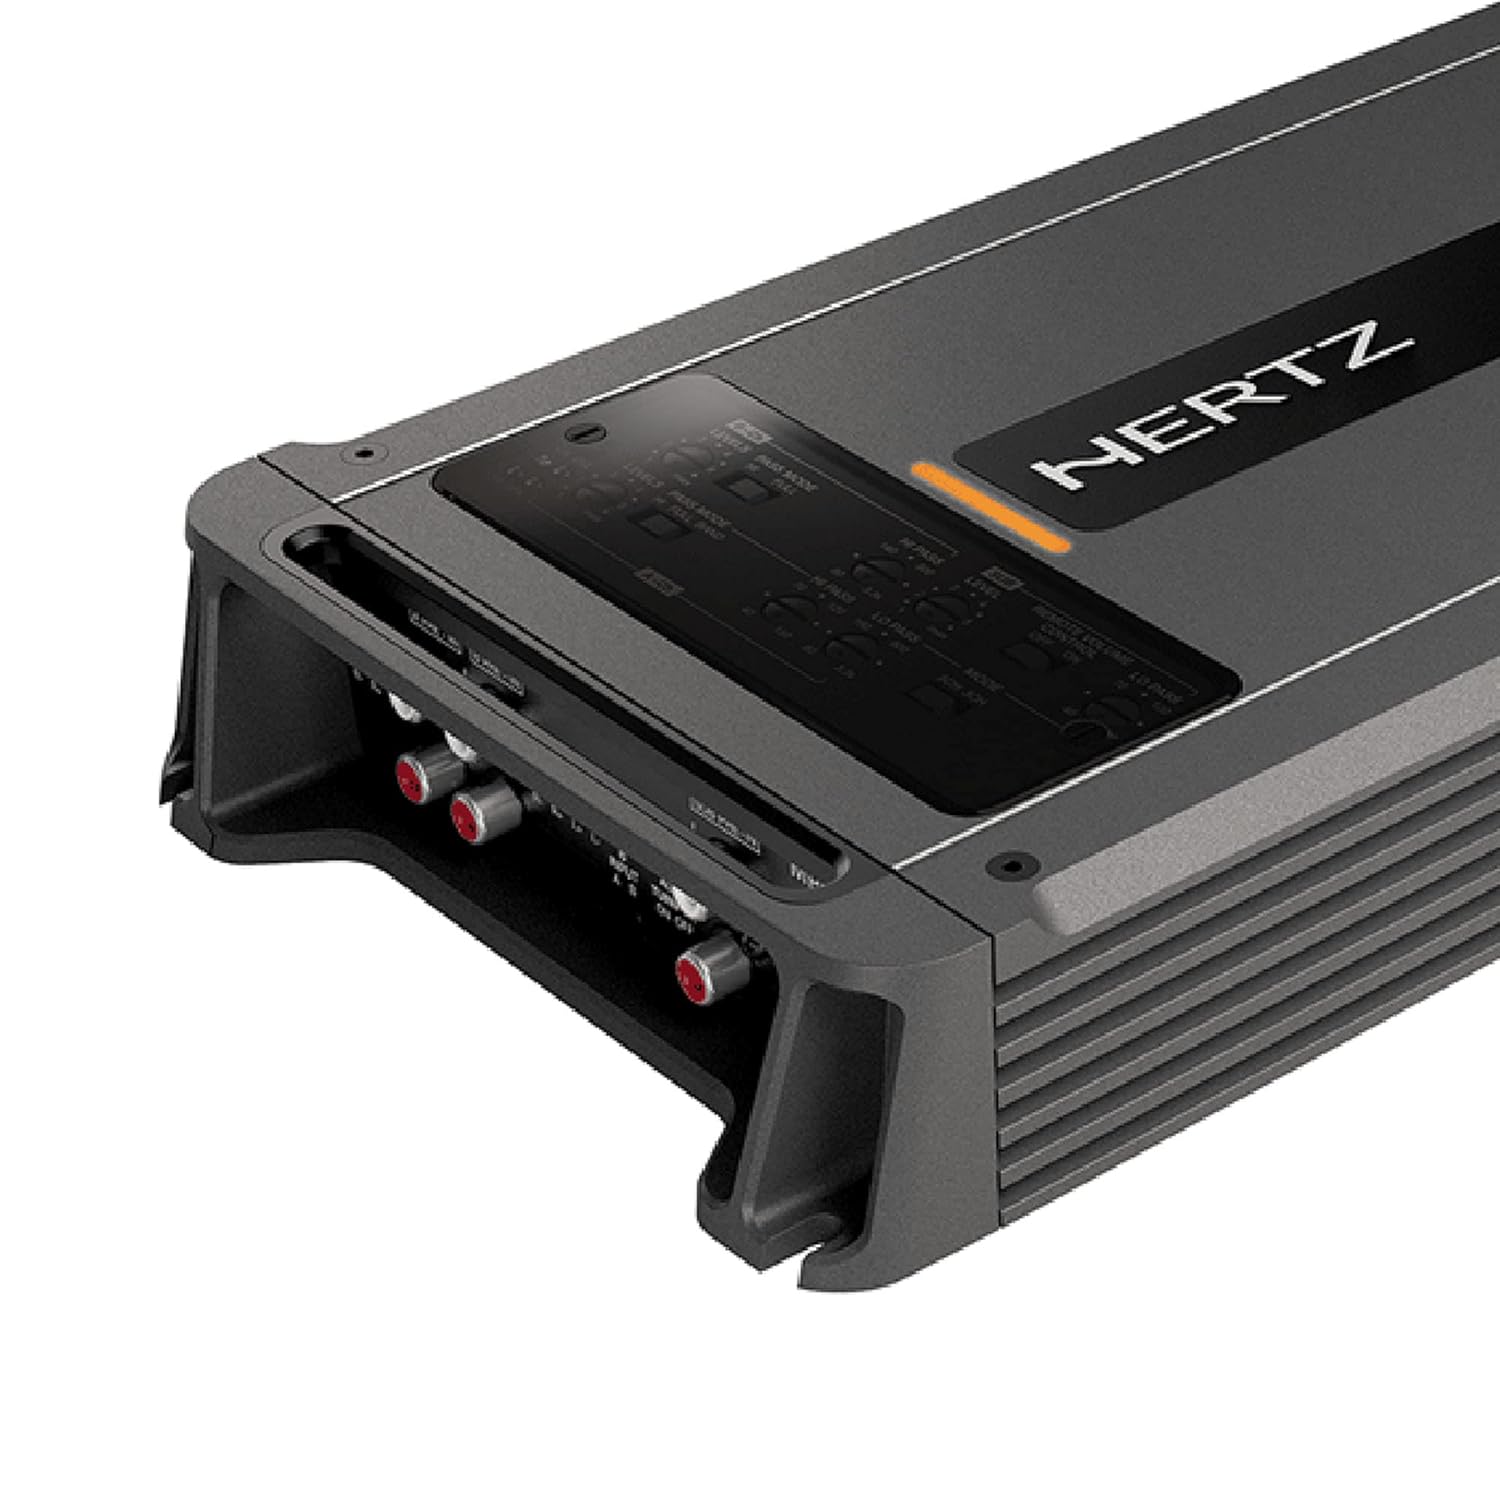
Figur 4.1: Detaljeret view of the input and output connections on the Hertz ML-Power-5 Amplifier, including RCA inputs and power terminals.
4.4 Højttalerforbindelser
Tilslut dine højttalere til amplifier's speaker output terminals. Pay close attention to polarity (+ and -) for each speaker. The ML-Power-5 supports various speaker configurations for its 5 channels (4 full-range channels + 1 subwoofer channel).
5. Betjening
5.1 Indledende opstart
Når alle tilslutninger er foretaget og verificeret, skal du tilslutte bilens negative batteripol igen. Tænd din hovedenhed. amplifier should power on, indicated by an LED indicator.
5.2 Forstærkningsjustering
Forstærkningskontrollen matcher amptransformerens indgangsfølsomhed i forhold til udgangsvolumentage of your head unit. It is not a volume control. To set the gain:
- Drej på amplifier's gain controls to their minimum (fully counter-clockwise) setting.
- Play a familiar piece of music with a strong signal.
- Increase the head unit's volume to about 75-80% of its maximum.
- Langsomt øge amplifier's gain control until you hear slight distortion, then back off slightly until the sound is clear.
5.3 Delefiltreindstillinger
The ML-Power-5 features built-in crossovers (High-Pass Filter - HPF, Low-Pass Filter - LPF) to direct specific frequency ranges to your speakers and subwoofer. Adjust these settings to optimize sound quality and protect your speakers.
- HPF (højpasfilter): Used for full-range speakers to block low frequencies that they cannot reproduce effectively.
- LPF (lavpasfilter): Used for subwoofers to block high frequencies, allowing only bass to pass through.
5.4 Fjernbetjening til bas
Hvis din amplifier came with a remote bass control, connect it to the designated port on the amplifier. This allows for convenient adjustment of the subwoofer level from the driver's seat.

Figure 5.1: The optional remote bass control knob, providing convenient subwoofer level adjustment.
6. Vedligeholdelse
For at sikre din levetid og optimale ydeevne amplivligere:
- Rensning: Rengør med jævne mellemrum ampRengør ydersiden af apparatet med en blød, tør klud. Brug ikke skrappe kemikalier eller slibende rengøringsmidler.
- Ventilation: Ensure that the cooling fins remain free of dust and debris. Use compressed air to clear any blockages if necessary.
- Kabelinspektion: Regularly inspect all power, ground, and speaker cables for any signs of wear, fraying, or loose connections. Tighten any loose terminals.
- Miljøbeskyttelse: Undgå at udsætte amplifier to extreme temperatures, humidity, or direct sunlight for extended periods.
7. Fejlfinding
Hvis du støder på problemer med din ampLifier, se følgende almindelige problemer og løsninger:
| Problem | Mulig årsag | Løsning |
|---|---|---|
| Ingen strøm / Ampkøleren tænder ikke | Sprunget sikring, løs strøm-/stel-/fjernbetjeningsledning, defekt fjernbetjeningsudgang til hovedenhed. | Check amplifier fuses (2 x 40 A). Verify all power, ground, and remote connections are secure. Test remote wire for 12V when head unit is on. |
| Ingen lydudgang | Løse RCA-kabler, forkert forstærkningsindstilling, højttalerledninger frakoblet, amplifier i beskyttelsestilstand. | Ensure RCA cables are securely connected. Re-adjust gain. Check speaker wire connections and polarity. If protection light is on, check for short circuits or overheating. |
| Forvrænget lyd | Gain set too high, incorrect crossover settings, poor ground connection, speaker impedance mismatch. | Reduce gain setting. Adjust crossover frequencies. Verify ground connection is solid. Ensure speaker impedance matches amplifiers muligheder. |
| Amplifier overophedes | Insufficient ventilation, low impedance load, prolonged high volume use. | Sørg for tilstrækkelig luftgennemstrømning omkring ampKontroller højttalerimpedansen. Reducer lydstyrken eller lad amplifier to cool down. The amplifier has Thermal Protection. |
8. Specifikationer
Key technical specifications for the Hertz ML-Power-5 Amplivligere:
| Feature | Detalje |
|---|---|
| Modelnummer | ML-Power-5 |
| RMS Power Output (Channels 1-4) | 100 WRMS x 4 ved 2 ohm |
| RMS Power Output (Channel 5) | 550 WRMS x 1 ved 2 ohm |
| Amplivligere klasse | D-klasse |
| Sikringsvurdering | 2 x 40 A |
| Vægt | 6.8 lbs |
| Produktmål (L x B x H) | 5.91 x 3.94 x 3.94 tommer |
| Voltage | 14.4 volt (nominel) |
| Maksimal forsyning Voltage | 14.4 volt (DC) |
| Minimumsforsyning Voltage | 11 volt (DC) |
| Termisk beskyttelse | Ja |
| Automatisk fjernbetjeningsslukning | Ja |
| CEA-kompatibel | Ja |

Figure 8.1: Technical drawing illustrating the top-down dimensions of the ML-Power-5 Amplivligere.

Figure 8.2: Technical drawing illustrating the side dimensions of the ML-Power-5 Amplivligere.
9. Garanti og support
Hertz-produkter er designet og fremstillet efter de højeste kvalitetsstandarder. For information om garantidækning, vilkår og betingelser henvises til garantikortet, der følger med dit produkt, eller besøg den officielle Hertz-side. website. For technical support, service, or replacement parts, please contact your authorized Hertz dealer or the customer support department listed on the official webwebsted.
Gem venligst dit købsbevis for garantikrav.
Ask a question about this manual
Ask about setup, troubleshooting, compatibility, parts, safety, or missing instructions. Manuals+ will review the question and use this page’s manual context to help answer it.