Nakajima WPT-150
Nakajima WPT-150 elektronisk bærbar skrivemaskine brugsanvisning
Model: WPT-150
Indledning
This manual provides comprehensive instructions for the setup, operation, and maintenance of your Nakajima WPT-150 Electronic Portable Typewriter. Please read this manual thoroughly before using the device to ensure proper function and longevity.
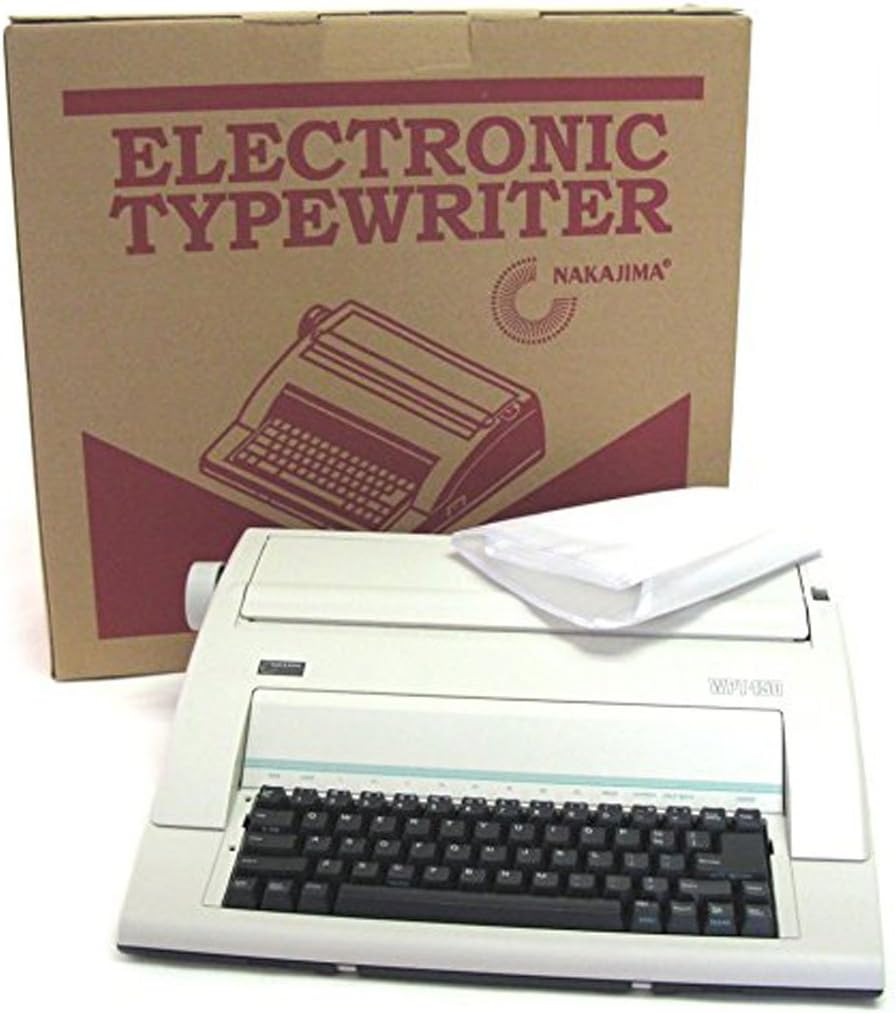
This image displays the Nakajima WPT-150 Electronic Typewriter, a compact and portable device, alongside its brown cardboard packaging box. The typewriter is light-colored with a black keyboard. The box features the text 'ELECTRONIC TYPEWRITER NAKAJIMA' and an illustration of the typewriter.
Opsætning
1. Udpakning
- Carefully remove the typewriter from its packaging.
- Gem den originale emballage til senere transport eller opbevaring.
- Ensure all accessories, including the dust cover, are present.
2. Strømtilslutning
- Connect the power cord to the typewriter and then to a standard electrical outlet.
- Turn on the power switch, typically located on the side or rear of the unit.
3. Montering af bånd
- Open the ribbon cover, usually located above the keyboard.
- Follow the diagrams inside the ribbon compartment or in a separate quick-start guide for correct ribbon cartridge placement.
- Ensure the ribbon is properly threaded and seated.
- Luk bånddækslet.
4. Ilægning af papir
- Insert paper into the paper feed slot at the rear of the carriage.
- Use the paper bail rollers to secure the paper.
- Adjust the paper guide to ensure the paper is straight.
- The typewriter supports a 13-inch paper capacity.
Betjeningsvejledning
Basic Typing Functions
- Indtastning: Press the desired character keys.
- Caps Lock: Tryk på Caps Lock key for all uppercase letters. Press again to release.
- Repeat Keys: Hold down a key to repeat the character.
Pitch and Line Spacing
- Pitch Selection: Select between 10, 12, or 15 pitch for character density. Refer to the control panel for pitch adjustment.
- Linjeafstand: Adjust line spacing to 1, 1 1/2, or 2.
Korrektionshukommelse
- The WPT-150 features a one-line correction memory, capable of storing up to 90 characters.
- To correct a character, press the correction key (usually labeled "Correction" or "Lift-Off") immediately after typing the error. The typewriter will automatically backspace and lift off the incorrect character.
Margin and Tabulation Settings
- Margin Left/Right: Set the left and right margins using the dedicated margin keys or levers.
- Margin Release: Use the margin release function to type beyond the set margins temporarily.
- Tabulation: The typewriter supports 12-position tabulation. Set and clear tabs according to the instructions on the control panel.
Spacing and Movement
- Plads: Advances the carriage one character space.
- Backspace: Moves the carriage back one character space.
- Half Backspace: Moves the carriage back half a character space for precise positioning.
- Express Backspace: Rapidly moves the carriage back multiple spaces.
- Indexing Forward/Reverse: Advances or reverses the paper vertically.
Automatiske funktioner
- Auto Relocation: Automatically returns the carriage to the last typed position after a correction or other operation.
- Auto Carriage Return: Automatically returns the carriage to the left margin when it reaches the right margin.
- Auto Centering: Centers text automatically on the line.
- Auto Underlining: Underlines text as it is typed.
- Auto Paper Select: Automatically adjusts for different paper sizes.
Special Typing Features
- Bold Type: Activates bold typing for emphasized text.
- Required Space/Hyphen: Inserts a non-breaking space or hyphen.
- Indent: Automatically indents a block of text.
- Set Page Length: Allows setting a specific page length for consistent document formatting.
- Super/Subscript: Enables typing characters slightly above or below the normal line for scientific or mathematical notation.
Opretholdelse
Rensning
- Regularly clean the exterior of the typewriter with a soft, dry cloth.
- Use a small brush or compressed air to remove dust and paper fragments from the type slugs and ribbon area.
- Avoid using liquid cleaners directly on electronic components.
Udskiftning af bånd
- When print quality deteriorates, it is time to replace the ribbon cartridge.
- Refer to the ribbon installation instructions in the "Setup" section for proper replacement.
- Ensure you use compatible Nakajima WPT-150 ribbon cartridges.
Støvdæksel
- Always place the provided dust cover over the typewriter when not in use to protect it from dust and debris.
Fejlfinding
If you encounter issues with your Nakajima WPT-150, consider the following general troubleshooting steps:
- Ingen strøm: Check the power cord connection and the electrical outlet. Ensure the power switch is in the "On" position.
- Faint Printing: The ribbon may need replacement or adjustment. Ensure it is correctly installed.
- Taster reagerer ikke: Check for any obstructions under the keys. If multiple keys are unresponsive, power cycle the machine.
- Papirstop: Ensure paper is loaded correctly and not wrinkled. Remove any jammed paper carefully to avoid damaging internal mechanisms.
- Incorrect Formatting: Verify margin, tab, and pitch settings.
For persistent issues, consult a qualified service technician.
Specifikationer
| Mærke | Nakajima |
| Model | WPT-150 |
| Type | Electronic Portable Typewriter |
| Printwheel | 100 tegn |
| Udskrivningshastighed | 12 cps |
| Udskriftsbredde | 9 tommer |
| Papirkapacitet | 13 tommer |
| Muligheder for pitche | 10, 12, 15 |
| Linjeafstand | 1, 1 1/2, 2 |
| Kopier | Original Plus 2 Copies |
| Korrektionshukommelse | One Line (90 characters max) |
| Tabulation | 12-positioner |
| Dimensioner (L x B x H) | 16.2 cm x 14.7 cm x 4.5 cm |
| Vægt | 11.3 lbs |
Garanti og support
The Nakajima WPT-150 Electronic Portable Typewriter comes with a One Year Limited Warranty. Please refer to the warranty card included with your product for specific terms and conditions.
For technical support or warranty claims, please contact Nakajima customer service. Contact information can typically be found on the manufacturer's official webwebstedet eller på produktemballagen.
Ask a question about this manual
Ask about setup, troubleshooting, compatibility, parts, safety, or missing instructions. Manuals+ will review the question and use this page’s manual context to help answer it.