1. Introduktion
This manual provides instructions for the proper installation, operation, and maintenance of the STIGA Alpina Mulching Kit. This kit is designed to convert your ride-on mower (models BT 66, AT1 66, AT1 66 HCB) for mulching operations, allowing grass clippings to be finely cut and returned to the lawn as natural fertilizer. Please read these instructions carefully before installation and use to ensure safe and efficient operation.
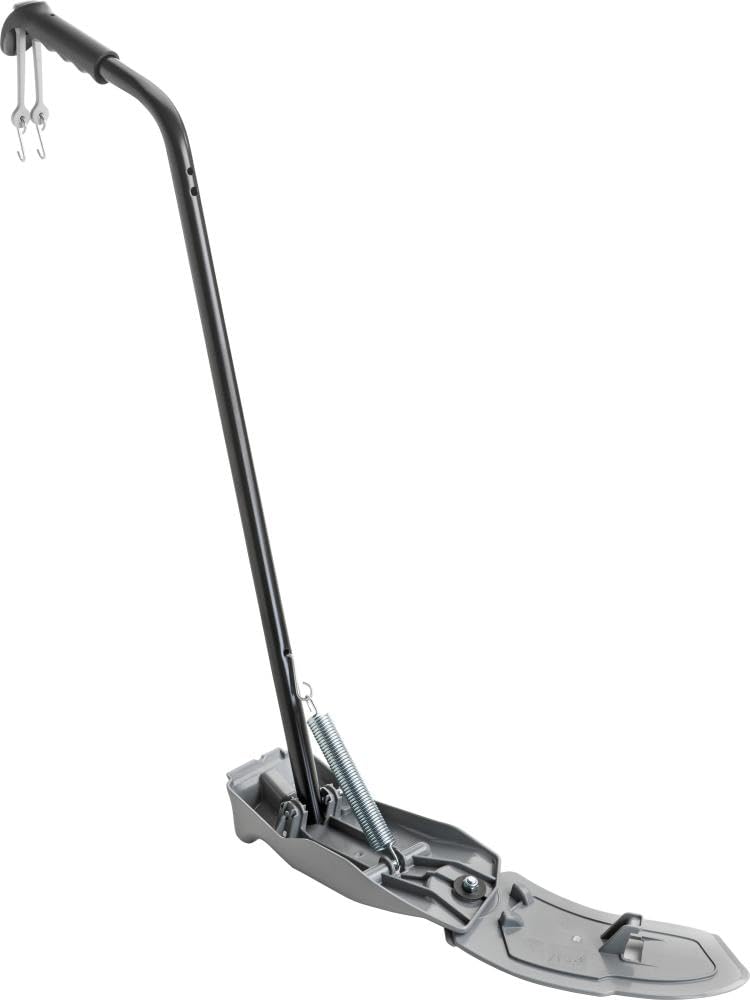
Figure 1: STIGA Alpina Mulching Kit. This image shows the complete mulching kit, including the mulching plug and potentially specialized blades, designed for compatible ride-on mowers.
2. Opsætning og installation
Before beginning installation, ensure the mower engine is off, the spark plug cap is disconnected, and the parking brake is engaged. Always wear appropriate safety gear, including gloves.
2.1 Preparing the Mower
- Park the ride-on mower on a flat, stable surface.
- Sluk motoren og fjern tændingsnøglen.
- Disconnect the spark plug cap to prevent accidental starting.
- Aktiver parkeringsbremsen.
- Raise the cutting deck to its highest position for easier access.
2.2 Installing the Mulching Plug
The mulching plug is inserted into the discharge chute to seal it, ensuring clippings remain under the deck for mulching.
- Locate the grass discharge chute on the side of the mower deck.
- Lift the discharge chute cover.
- Insert the mulching plug firmly into the discharge opening, ensuring a snug fit. The plug should block the opening completely.
- Lower the discharge chute cover. Ensure it closes securely over the mulching plug.

Figure 2: Mulching plug. This image illustrates the mulching plug, a key component of the kit, designed to fit into the mower's discharge chute.
2.3 Blade Installation (If applicable)
Some mulching kits include specialized mulching blades. If your kit includes new blades, follow these steps. Otherwise, proceed to Section 2.4.
- Carefully tilt the mower or lift it using a suitable jack to access the underside of the deck. Ensure the mower is stable and cannot tip.
- Using a wrench, remove the blade retaining bolt and washer. Note the orientation of the existing blade.
- Fjern den gamle klinge.
- Install the new mulching blade, ensuring the cutting edge faces the correct direction (usually indicated by an arrow or "Grass Side" marking).
- Reinstall the washer and blade retaining bolt. Tighten the bolt to the torque specified in your mower's main instruction manual.
- Gentag for alle klinger.
Vigtig: Refer to your ride-on mower's primary instruction manual for specific blade removal and installation procedures and torque specifications.
3. Operating the Mulching Function
For optimal mulching results, follow these guidelines:
- Cut Dry Grass: Mulching works best on dry grass. Wet grass tends to clump and can clog the deck.
- Cut Frequently: For best results, cut grass frequently, removing no more than one-third of the grass blade length at a time. This ensures smaller clippings that decompose quickly.
- Motorhastighed: Operate the mower at full throttle to ensure maximum blade tip speed for effective cutting and recirculation of clippings.
- Skærehøjde: Adjust the cutting height to suit grass conditions. Taller grass may require a higher cutting setting or multiple passes.
- Overlappende pas: Overlap hver klippeovergang let for at sikre jævn dækning og forhindre oversete striber.
- Avoid Excessive Growth: If grass is excessively long, consider bagging or side-discharging first, then mulching the shorter clippings on a second pass.
4. Vedligeholdelse
Regular maintenance of your mulching kit ensures its longevity and optimal performance.
- Rengør dækket: After each use, especially when mulching, clean the underside of the mower deck to remove accumulated grass clippings. This prevents rust and maintains airflow for effective mulching.
- Inspect Mulching Plug: Periodically check the mulching plug for damage, cracks, or wear. Replace if necessary to maintain a proper seal.
- Slibning/udskiftning af klinge: If using specialized mulching blades, ensure they are kept sharp. Dull blades tear grass, leading to an unhealthy lawn and poor mulching performance. Sharpen or replace blades as needed, following your mower's manual.
- Opbevaring: When not in use for extended periods, store the mulching kit components in a clean, dry place.
5. Fejlfinding
| Problem | Mulig årsag | Løsning |
|---|---|---|
| Poor mulching quality (large clippings, clumping) |
|
|
| Excessive vibration during mulching |
|
|
| Grass clippings accumulating under deck |
|
|
6. Specifikationer
- Produktnavn: Alpina Mulching Kit
- Mærke: STIGA (Manufacturer: Alpina)
- Kompatible modeller: BT 66, AT1 66, AT1 66 HCB Ride-on Mowers
- Varens vægt: 1.9 kg (4.19 lbs)
- ASIN: B075QFP5YW
- Dato først tilgængelig: 18. juni 2022
Bemærk: Specifikationerne kan ændres uden forudgående varsel med henblik på produktforbedring.
7. Garanti og support
For warranty information and customer support, please refer to the documentation provided with your original ride-on mower or contact your authorized STIGA/Alpina dealer. Keep your purchase receipt as proof of purchase for any warranty claims.
For further assistance, visit the official STIGA webwebsted eller kontakt deres kundeserviceafdeling. Visit STIGA Official Webwebsted