
1. Introduktion
This manual provides essential information for the safe and effective operation, maintenance, and troubleshooting of the INSIZE ISH-PHB Portable Leeb Hardness Tester. Please read this manual thoroughly before using the device to ensure proper functionality and to prevent damage or injury. Keep this manual for future reference.
2. Sikkerhedsinstruktioner
Observe the following safety precautions to prevent personal injury and damage to the instrument:
- Always operate the device in a stable and dry environment.
- Udsæt ikke enheden for ekstreme temperaturer, fugtighed eller ætsende stoffer.
- Undgå at tabe eller udsætte enheden for kraftige stød.
- Forsøg ikke selv at skille enheden ad eller reparere den. Kontakt kvalificeret servicepersonale.
- Ensure the test surface is clean, smooth, and free from oil, rust, or scale for accurate readings.
- Wear appropriate personal protective equipment (PPE) if required by your work environment.
3. Pakkens indhold
Carefully unpack the box and verify that all items are present and undamaged. If any items are missing or damaged, contact your supplier immediately.
- INSIZE ISH-PHB Portable Leeb Hardness Tester main unit
- Impact device (Type D)
- Standard test block
- Rengøringsbørste
- USB-kabel
- Betjeningsvejledning
- Bæretaske
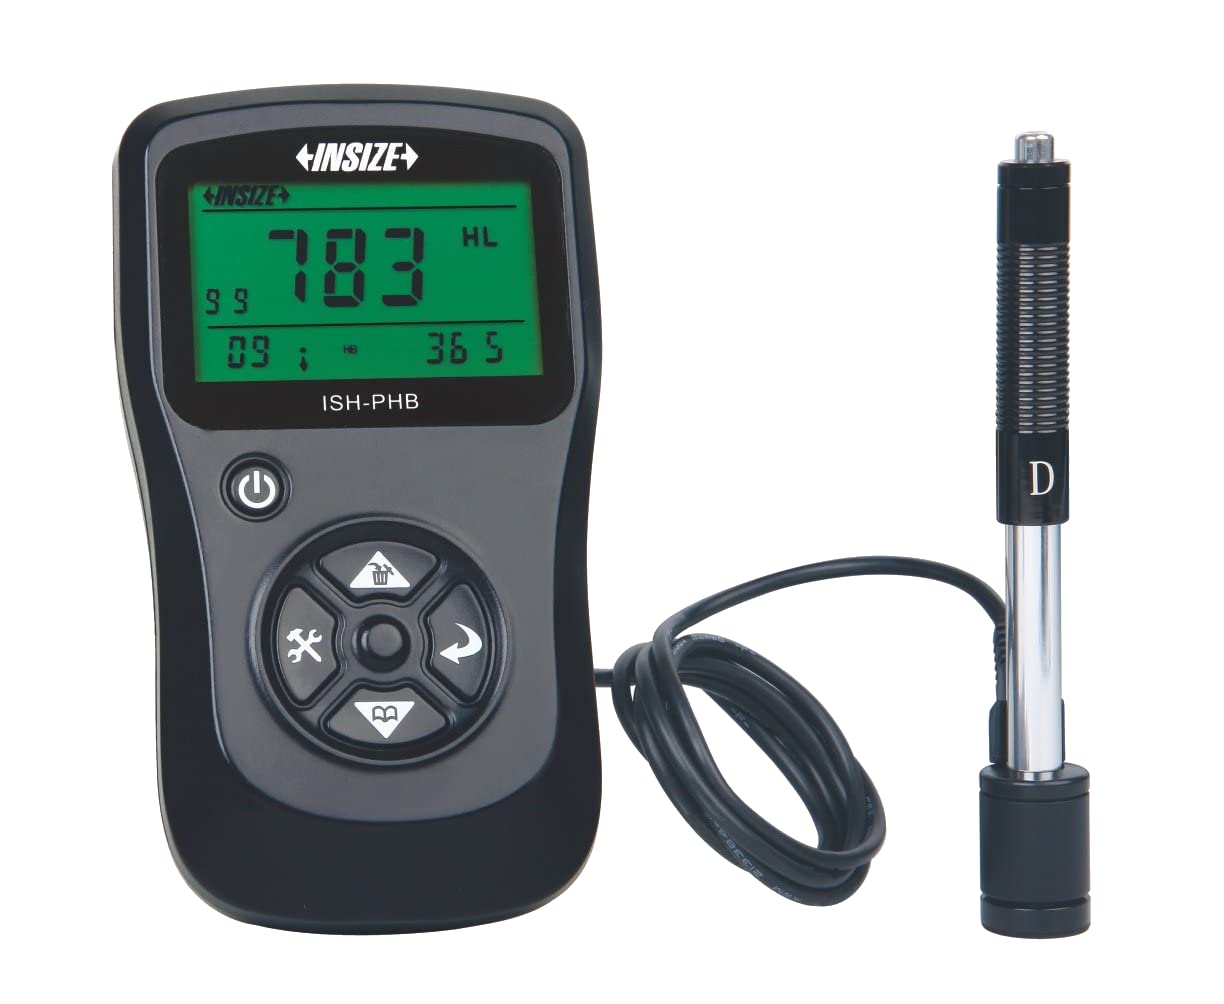
Image showing the main unit of the INSIZE ISH-PHB Portable Leeb Hardness Tester, displaying its screen and control buttons.
4. Opsætning
Follow these steps to prepare your INSIZE ISH-PHB for use:
- Oplad batteriet: Connect the device to a power source using the provided USB cable. Allow the battery to fully charge before first use. The charging indicator will show the status.
- Attach Impact Device: Carefully connect the impact device (Type D) to the main unit. Ensure it is securely fastened.
- Tænd: Tryk på tænd/sluk-knappen, og hold den nede, indtil displayet lyser.
- Select Material and Hardness Scale: Navigate through the menu using the arrow keys to select the appropriate material (e.g., Steel, Cast Iron) and hardness scale (e.g., HRC, HV, HB) for your test specimen.
- Kalibrering (valgfrit): For critical measurements, perform a calibration using the standard test block provided. Refer to the 'Calibration' section in the full manual for detailed steps.
5. Betjeningsvejledning
To perform a hardness test:
- Prepare the Test Surface: Ensure the surface of the material to be tested is clean, smooth, and flat. Remove any paint, rust, or scale. The minimum thickness of the test piece should be sufficient to prevent deformation during impact.
- Load the Impact Device: Push the impact body down into the guide tube until it locks into place.
- Placer enheden: Place the impact device firmly and perpendicularly onto the test surface. Ensure there is no relative movement between the device and the test piece.
- Start test: Press the release button on the impact device. The impact body will strike the surface, and the hardness value will be displayed on the main unit's screen.
- Optagelseslæsning: Note down the displayed hardness value. For best accuracy, take multiple readings (e.g., 3-5) at different points on the test surface and calculate the average.
- Sluk: Efter brug skal du trykke på tænd/sluk-knappen og holde den nede for at slukke enheden.
6. Vedligeholdelse
Regular maintenance ensures the longevity and accuracy of your hardness tester:
- Rensning: Use the provided cleaning brush to remove any debris from the impact device's guide tube after each use. Wipe the main unit with a soft, dry cloth. Do not use abrasive cleaners or solvents.
- Opbevaring: Store the device and its accessories in the carrying case in a dry, dust-free environment when not in use. Avoid extreme temperatures.
- Batteripleje: Recharge the battery regularly, even if the device is not in frequent use, to maintain battery health. Do not allow the battery to fully discharge for extended periods.
- Kalibrering: Periodically check the calibration of the device using the standard test block. If readings deviate significantly, recalibration or service may be required.
7. Fejlfinding
Se tabellen nedenfor for almindelige problemer og løsninger på disse:
| Problem | Mulig årsag | Løsning |
|---|---|---|
| Enheden tænder ikke | Lavt eller afladet batteri | Oplad batteriet ved hjælp af USB-kablet. |
| Unøjagtige aflæsninger |
|
|
| Impact device not loading | Debris in guide tube | Clean the guide tube with the provided brush. |
| Displayet viser fejlmeddelelse | Intern funktionsfejl | Power off the device, wait a few seconds, then power on again. If the error persists, contact customer support. |
8. Specifikationer
Key technical specifications for the INSIZE ISH-PHB Portable Leeb Hardness Tester:
| Feature | Detalje |
|---|---|
| Mærke | Insize |
| Model | ISH-PHB |
| Hårdhedsskalaer | HL, HB, HRB, HRC, HRA, HV, HS |
| Slaganordning | Type D (standard) |
| Måleområde | Varies by material and scale (refer to full technical datasheet) |
| Nøjagtighed | ±6 HLD (when HL=800) |
| Vise | LCD med baggrundsbelysning |
| Strømforsyning | Genopladeligt Li-ion batteri |
| Driftstemperatur | 0°C til 40°C (32°F til 104°F) |
| Dimensioner | Compact and portable (specific dimensions not provided in source) |
9. Garanti og support
INSIZE products are manufactured to high-quality standards and are warranted against defects in materials and workmanship for a period typically specified at the point of purchase. Please retain your proof of purchase for warranty claims.
For technical support, service, or warranty inquiries, please contact your authorized INSIZE distributor or visit the official INSIZE website for contact information. Do not attempt to repair the device yourself, as this may void the warranty.