1. Introduktion
This manual provides detailed instructions for the installation, operation, and maintenance of your Zebronics H61 Motherboard. Please read this manual thoroughly before proceeding with installation to ensure proper setup and functionality.
The Zebronics H61 Motherboard is designed to support Intel LGA 1155 socket processors (i7/i5/i3/Pentium/Celeron series) and DDR3 dual-channel memory. It features an Intel H61 chipset, providing a stable and efficient platform for your computing needs.
2. Sikkerhedsoplysninger
- Afbryd altid strømforsyningen, før du installerer eller fjerner komponenter.
- Handle the motherboard by its edges to avoid electrostatic discharge (ESD) damage. Use an anti-static wrist strap if available.
- Sørg for ordentlig ventilation i computerens kabinet for at forhindre overophedning.
- Udsæt ikke bundkortet for fugt eller ekstreme temperaturer.
- Refer to the component manufacturer's manuals for specific installation instructions for your CPU, RAM, and other peripherals.
3. Pakkens indhold
Bekræft at alle varer er til stede i pakken:
- Zebronics H61 Motherboard
- I / O-skjold
- SATA-datakabel(er)
- Driver CD (for operating systems that do not automatically install drivers)
- Brugervejledning (dette dokument)
4. Specifikationer
| Feature | Beskrivelse |
|---|---|
| Model | H61 |
| Chipsæt | Intel H61 Express |
| CPU socket | LGA 1155 |
| Kompatible processorer | Intel i7/i5/i3/Pentium/Celeron processors (2nd and 3rd Generation) |
| Hukommelsessokler | 2 x DDR3 Dual-channel slots |
| Hukommelsesstøtte | DDR3 1066/1333/1600MHz, up to 16GB |
| Grafikgrænseflade | 1 x PCI-Express x16 slot |
| Udvidelsesslots | 1 x PCI Express x1-slot |
| Opbevaring | 4 x SATA II ports |
| LAN | Realtek 8106E 10/100 Mbps Ethernet |
| Lyd | 6-Channel HD Audio Codec onboard (5.1 surround sound support) |
| Bagerste I/O-porte | 1 x HDMI, 1 x VGA, 6 x USB 2.0, 1 x RJ45, 1 x 3-in-1 Audio Jacks (Line-in, Line-out, Mic-in), PS/2 (Keyboard/Mouse) |
| Formfaktor | ATX |
| Dimensioner | 25 x 20 x 3 cm |
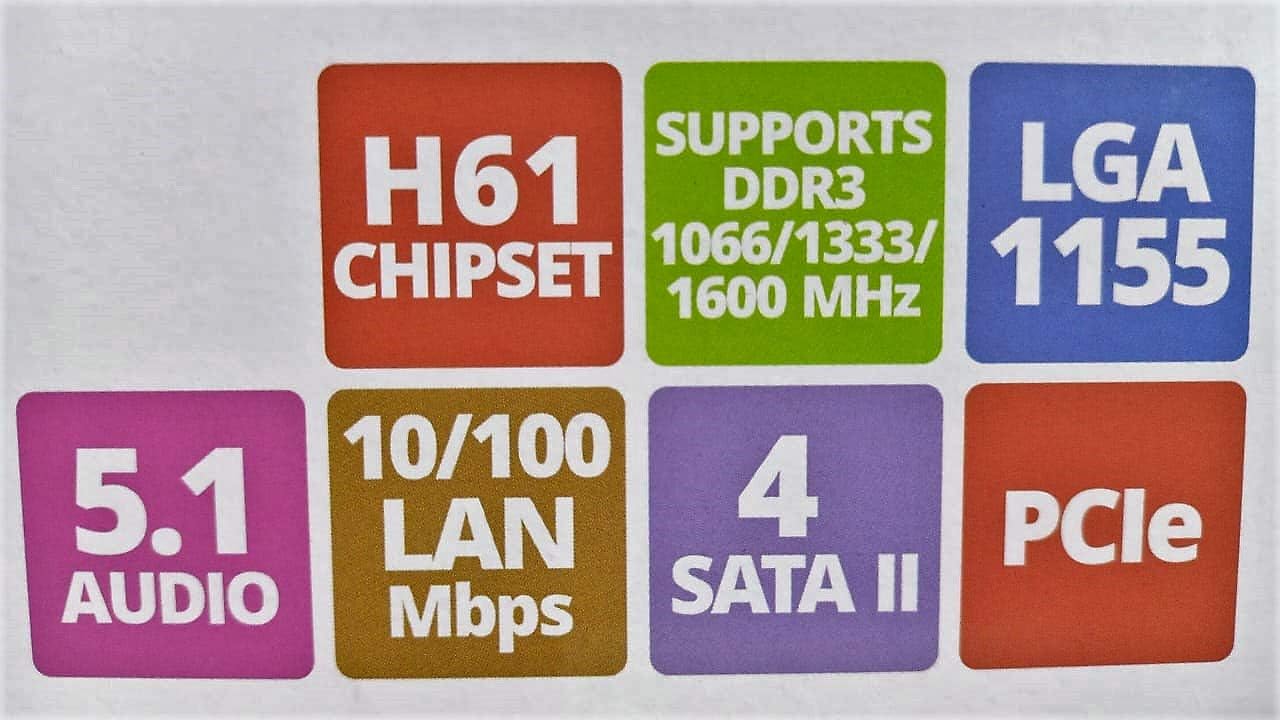
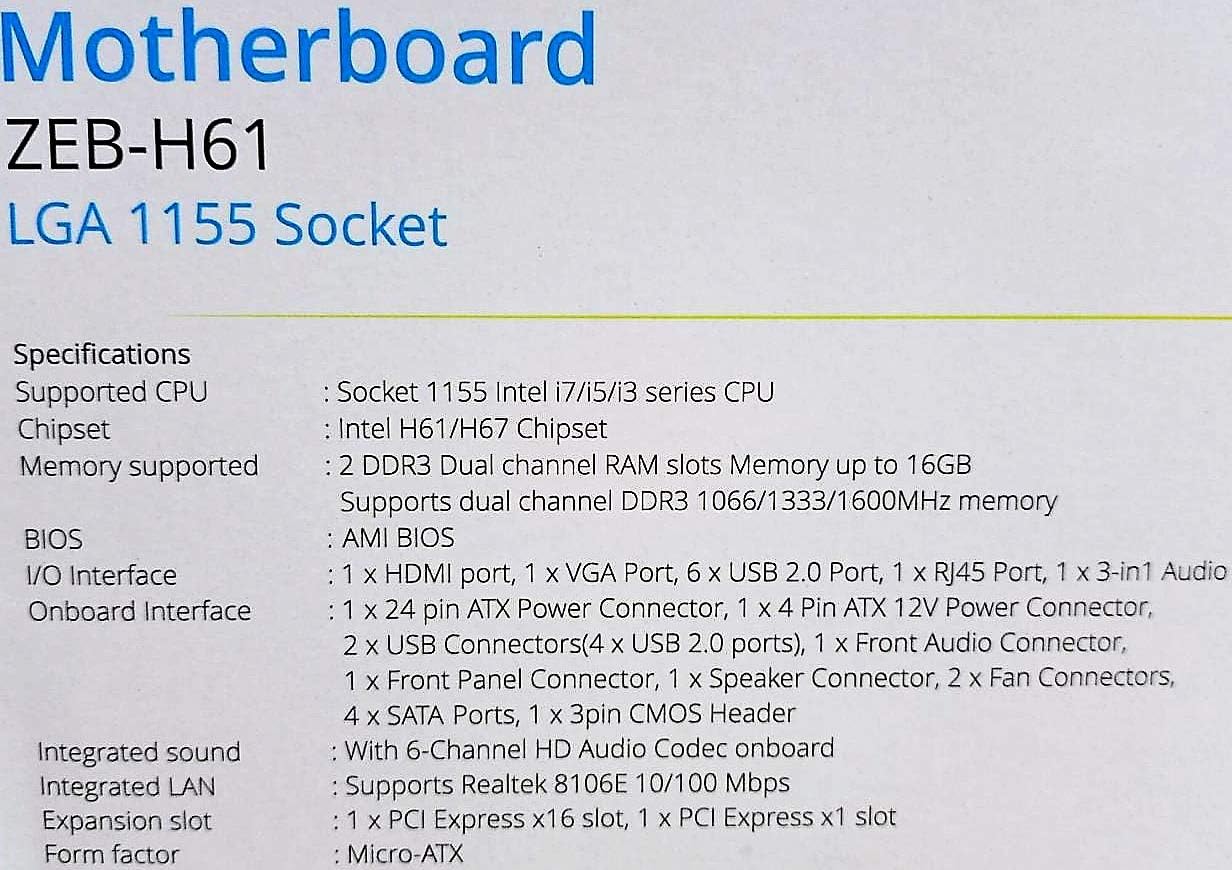
Image: Detailed specifications of the Zebronics H61 Motherboard, including chipset, CPU socket, memory support, and I/O interfaces.

Image: Visual representation of key features such as H61 Chipset, DDR3 support, LGA 1155 socket, 5.1 Audio, 10/100 LAN, 4 SATA II ports, and PCIe.
5. Opsætning og installation
5.1 Bundkortlayout

Billede: Top-down view of the Zebronics H61 Motherboard, showing the CPU socket, RAM slots, PCIe slot, and various headers.

Image: Another top-down perspective of the Zebronics H61 Motherboard, highlighting component placement.
5.2 Bageste I/O-panel

Image: Rear I/O panel of the Zebronics H61 Motherboard, displaying ports for PS/2 keyboard/mouse, VGA, HDMI, USB 2.0, LAN, and audio jacks.
Billede: En nærmere view of the rear I/O ports, detailing the VGA, HDMI, USB, LAN, and audio connections.
5.3 Trin til installation af komponenter
- Installer CPU'en:
- Åbn håndtaget til CPU-soklen.
- Carefully align the CPU with the socket, ensuring the golden triangle on the CPU matches the mark on the socket.
- Placer forsigtigt CPU'en i soklen uden at tvinge den.
- Luk håndtaget for at fastgøre CPU'en.
- Påfør termisk pasta, og installer CPU-køleren i henhold til producentens anvisninger.
- Installer RAM:
- Åbn klipsene i begge ender af DDR3-hukommelsespladserne.
- Juster hukommelsesmodulet med stikket, og sørg for, at hakket på modulet passer til nøglen i stikket.
- Tryk godt ned i begge ender af hukommelsesmodulet, indtil klipsene klikker på plads.
- Installer grafikkort (valgfrit):
- Locate the PCI-Express x16 slot.
- Fjern det tilsvarende dæksel til udvidelsesslotten fra pc'ens kabinet.
- Align the graphics card with the slot and press down firmly until it is seated correctly.
- Fastgør kortet til pc-kabinettet med en skrue.
- Tilslut lagringsenheder:
- Connect SATA data cables from the motherboard's SATA ports to your hard drives or SSDs.
- Ensure power cables from the power supply are connected to these devices.
- Tilslut strømforsyning:
- Tilslut 24-bens ATX-strømstikket fra din strømforsyning til bundkortet.
- Connect the 4-pin ATX 12V power connector (CPU power) to the motherboard.
- Tilslut frontpanelets overskrifter:
- Connect the power switch, reset switch, HDD LED, and power LED cables from your PC case to the corresponding pins on the motherboard's front panel header. Refer to the motherboard diagram for pin assignments.
- Connect front USB and audio headers.
6. Betjeningsvejledning
6.1 Første opstart og BIOS-opsætning
- Når du har samlet alle komponenter, skal du tilslutte din skærm, tastatur og mus.
- Tænd din computer.
- Tryk på den angivne tast (normalt DEL or F2) repeatedly during startup to enter the BIOS/UEFI setup utility.
- Kontroller i BIOS, at alle installerede komponenter (CPU, RAM, lager) registreres korrekt.
- Konfigurer opstartsrækkefølgen for at installere dit operativsystem fra et USB-drev eller et optisk drev.
- Gem ændringerne, og afslut BIOS. Systemet genstarter.
6.2 Driverinstallation
After installing your operating system, install the necessary drivers for optimal performance. Drivers can be found on the included driver CD or downloaded from the official Zebronics webwebsted.
- Chipsæt-drivere
- Graphics Drivers (if using integrated graphics or a dedicated GPU)
- LAN-drivere
- Lyd-drivere
- USB Drivers (if applicable)
7. Vedligeholdelse
- Hold det rent: Regularly clean dust from inside your PC case, especially from fans and heatsinks, to ensure proper airflow and prevent overheating. Use compressed air.
- BIOS-opdateringer: Check the Zebronics website periodically for BIOS updates. BIOS updates can improve system stability, compatibility, and performance. Follow update instructions carefully.
- Driver opdateringer: Hold dine drivere opdaterede for at sikre kompatibilitet og optimal ydeevne med dit operativsystem og dine applikationer.
- CMOS-batteri: The motherboard uses a CR2032 battery to retain BIOS settings. If your system frequently loses time or BIOS settings, the battery may need replacement.
8. Fejlfinding
- No Power / System Does Not Boot:
- Ensure all power cables (24-pin ATX, 4-pin ATX 12V) are securely connected to the motherboard.
- Check if the power supply unit (PSU) is switched on and functioning.
- Kontroller forbindelsen til strømafbryderen på frontpanelet.
- Prøv at genindsætte RAM-moduler og grafikkort.
- Ingen visning på skærmen:
- Ensure the monitor is connected to the correct video output (either integrated graphics on the motherboard or dedicated graphics card).
- Kontroller skærmens strømforsyning og indgangsvalg.
- Reseat the graphics card (if installed) and RAM modules.
- Systemustabilitet / Nedbrud:
- Tjek CPU- og GPU-temperaturerne. Overophedning kan forårsage ustabilitet.
- Ensure RAM modules are properly seated and compatible. Test with one RAM stick if multiple are installed.
- Opdater drivere og BIOS til de nyeste versioner.
- Kør hukommelsesdiagnosticeringsværktøjer for at kontrollere for defekt RAM.
- CMOS Battery Issue (Loss of Time/Settings):
- If the system loses time or BIOS settings after being powered off, the CMOS battery (CR2032) may need replacement.
- To reset CMOS: Disconnect power, remove the CMOS battery, short the battery socket's positive and negative terminals for 30 seconds, then reinsert the battery.
9. Garanti og support
For warranty information and technical support, please refer to the official Zebronics webwebstedet eller kontakt deres kundeserviceafdeling. Gem din købskvittering som købsbevis i tilfælde af garantikrav.
Zebronics Official Webwebsted: www.zebronics.com