1. Vigtige sikkerhedsoplysninger
Læs alle instruktioner omhyggeligt, inden installationen påbegyndes. Manglende overholdelse af disse instruktioner kan resultere i elektrisk stød, brand eller personskade.
- Always disconnect power at the main circuit breaker before working on the fan.
- Ensure all electrical connections are made in accordance with local codes and ordinances, and the National Electrical Code.
- The fan must be mounted to a structurally sound ceiling joist or outlet box capable of supporting the fan's weight (8.1 kg / 17.86 lbs).
- Bøj ikke knivbeslagene under installation eller rengøring.
- Hold hænderne væk fra ventilatorbladene, når ventilatoren er i drift.
- Denne ventilator er kun designet til indendørs brug.
2. Pakkens indhold
Kontroller, at alle komponenter er til stede, før monteringen påbegyndes.
- Loftsventilatormotorsamling
- 5 vendbare ventilatorblade
- Klingebeslag
- Light Kit Assembly with Tulip-shaped Lamps
- Trækkæder til ventilatorhastighed og lysstyring
- Mounting Hardware and Canopy
- Downrod
3. Opsætning og installation
Assembly is required for this ceiling fan. Follow these steps for proper installation.
3.1 Montering af ventilatoren
The Hunter Classic Plus fan is designed for ceiling mount installation. Ensure the electrical box is securely fastened to the building structure and can support the fan's weight.
- Sluk for strømmen ved afbryderen.
- Attach the mounting bracket to the ceiling electrical box.
- Feed the electrical wires through the center hole of the mounting bracket.
- Secure the downrod to the motor assembly, ensuring the set screw is tightened.
- Carefully lift the fan assembly and hang it from the mounting bracket using the provided hook or ball-and-socket system.
3.2 Ledningsforbindelser
Connect the fan's electrical wires to the household wiring according to the wiring diagram provided in the full installation guide. Typically, this involves connecting:
- Green or bare copper wire (ground) from the fan to the household ground wire.
- White wire (neutral) from the fan to the household neutral wire.
- Black wire (hot) from the fan to the household hot wire.
- Blue wire (light kit hot) from the fan to the household hot wire (if separate light control is desired).
3.3 Montering af klinger og lyssæt
- Attach each blade to a blade bracket using the provided screws.
- Fastgør knivenhederne til motorhuset.
- Connect the light kit wiring to the fan motor's light kit wires.
- Attach the light kit housing and install the tulip-shaped lamps.
- Monter glasskærmene.
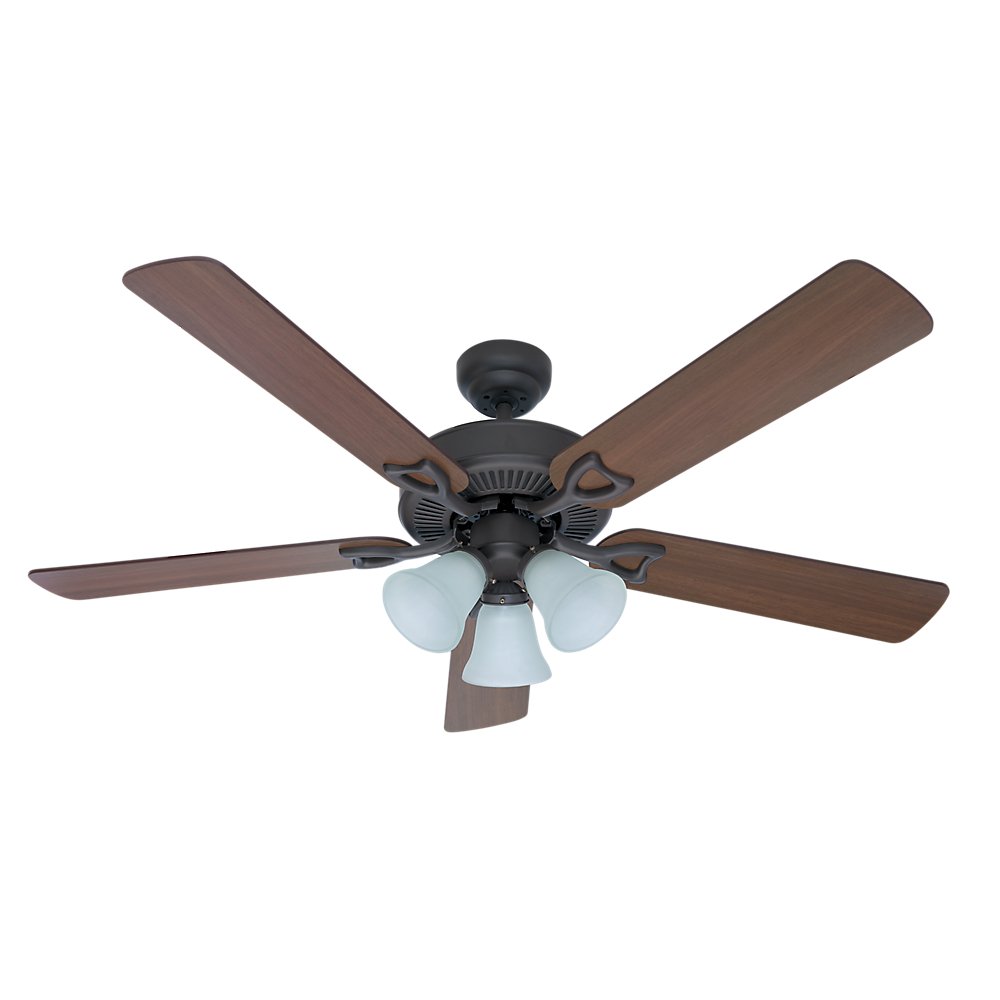
Figure 1: Hunter Classic Plus 52-inch Ceiling Fan (Model 21913) with bronze finish and integrated light kit. This image shows the fan fully assembled, highlighting its traditional style and reversible blades.
4. Betjeningsvejledning
The Hunter Classic Plus ceiling fan is operated using pull chains.
4.1 Blæserhastighedskontrol
One pull chain controls the fan speed. Pull the chain repeatedly to cycle through the available speeds:
- 1st Pull: Høj hastighed
- 2nd Pull: Middel hastighed
- 3rd Pull: Lav hastighed
- 4th Pull: Slukket
4.2 Lysstyring
The second pull chain controls the integrated light kit. Pull the chain to turn the light On or Off.
4.3 Reversibel motorfunktion
The fan features a reversible Whisperwind motor for year-round comfort. A small switch on the fan motor housing (usually located above the light kit) controls the direction of blade rotation.
- Sommertilstand (rotation mod uret): Pushes air downward, creating a cooling breeze.
- Vintertilstand (rotation med uret): Draws air upward, circulating warm air trapped near the ceiling.
Sluk altid ventilatoren, og vent, indtil bladene er stoppet helt, før du ændrer rotationsretningen.
5. Vedligeholdelse
Regelmæssig vedligeholdelse sikrer optimal ydeevne og forlænger levetiden på din loftsventilator.
- Rensning: Tør ventilatorbladene og motorhuset regelmæssigt af med en blød klud.amp klud. Brug ikke slibende rengøringsmidler eller opløsningsmidler, da de kan beskadige overfladen.
- Tilspændingsskruer: Check all screws, especially those on the blade attachments and mounting hardware, at least twice a year. Tighten any loose screws to prevent wobbling and noise.
- Pærer: Replace light bulbs as needed. Ensure the power is off before replacing bulbs. Refer to the light kit's specifications for the correct bulb type and wattage.
- Ingen smøring nødvendig: The Whisperwind motor is permanently lubricated and does not require oiling.
6. Fejlfinding
Before attempting any repairs, ensure the power is disconnected at the circuit breaker.
6.1 Fan Does Not Start
- Check that the circuit breaker is on.
- Sørg for, at alle ledningsforbindelser er sikre.
- Verify the pull chain is in the 'On' position.
6.2 Fan Wobbles
- Ensure all blade screws are tight.
- Check that the mounting bracket and downrod are securely fastened.
- Verify that the blades are balanced. A blade balancing kit (often sold separately) can help correct wobbling.
6.3 Light Kit Does Not Work
- Check that the light pull chain is in the 'On' position.
- Ensure light kit wire connections are secure.
- Replace any burnt-out light bulbs.
7. Specifikationer
| Feature | Specifikation |
|---|---|
| Modelnummer | 21913 |
| Mærke | Jæger |
| Ventilatorens diameter | 52 tommer (132 cm) |
| Antal blade | 5 |
| Bladtype | Vendbar |
| Motortype | Whisperwind Reversible Motor |
| Kontroltype | Træk kæde |
| Integreret lyssæt | Yes, with Tulip-shaped Lamps |
| Strømkilde | El-kabel |
| Wattage | 120 watt |
| Materiale | Legeret stål |
| Farve | Bronze |
| Varens vægt | 8.1 kg (17.86 lbs) |
| Montering påkrævet | Ja |
| Batterier påkrævet | Ingen |
8. Garanti og support
8.1 Garantioplysninger
The Hunter Classic Plus ceiling fan (Model 21913) comes with the following warranty:
- Motor: 5 års garanti.
- Andre dele: 1-year warranty on all other components of the Hunter fan.
Gem venligst dit købsbevis for garantikrav.
8.2 Kundesupport
For technical assistance, replacement parts, or warranty inquiries, please contact Hunter Customer Service:
- Webwebsted: Visit the official Hunter Fan webwebsted for supportressourcer og kontaktoplysninger.
- Telefon: Refer to your product packaging or the Hunter Fan webwebsted for de mest aktuelle kundeservicetelefonnumre i din region.