
InnoGear AD150
InnoGear 150ml Ultralyd Æterisk Oliediffuser AD150 Brugermanual
Model: AD150 | Brand: InnoGear
Indledning
This manual provides detailed instructions for the safe and effective use of your InnoGear 150ml Ultrasonic Essential Oil Diffuser, Model AD150. Please read this manual thoroughly before operation and retain it for future reference.

Image: The InnoGear 150ml Ultrasonic Essential Oil Diffuser, showcasing its compact design and LED light feature.
Sikkerhedsoplysninger
For at sikre sikker drift og forhindre skader skal følgende forholdsregler overholdes:
- Undgå direkte hudkontakt med ufortyndede æteriske olier.
- Hold diffuseren utilgængeligt for børn og kæledyr.
- Sørg for tilstrækkelig ventilation i det område, hvor diffusoren anvendes.
- Always follow essential oil safety guidelines provided by the oil manufacturer.
- Do not exceed the maximum water fill line (150ml) to prevent water from entering the air outlet.
- Use only the provided power adapter (DQS121V-240050-U).
- The diffuser features a waterless auto shut-off system. It will automatically turn off when the water level is too low.
- Made of high-quality food-grade PP material, the diffuser is BPA-free and safe for use around babies and pregnant individuals.

Image: The diffuser is constructed from BPA-free materials and includes a waterless auto shut-off for safety.
Pakkens indhold
- 1 x InnoGear 150ml Aroma Diffuser
- 1 x DQS121V-240050-U Power Adapter
- 1 x Brugermanual (dette dokument)
Opsætningsinstruktioner
- Placer diffusoren: Position the diffuser on a flat, stable surface away from direct sunlight or heat sources.
- Fjern låget: Løft forsigtigt diffusorens topdæksel.
- Tilsæt vand: Fill the water tank with clean tap water up to the 150ml maximum fill line. Do not overfill.
- Tilføj æterisk olie: Add 5-10 drops of your preferred essential oil directly into the water tank. Adjust the quantity based on personal preference and room size.
- Udskift dækslet: Sæt topdækslet sikkert tilbage på diffusoren. Sørg for, at det er korrekt justeret.
- Tilslut strøm: Plug the power adapter into the diffuser's power input port, then plug the adapter into a standard electrical outlet.
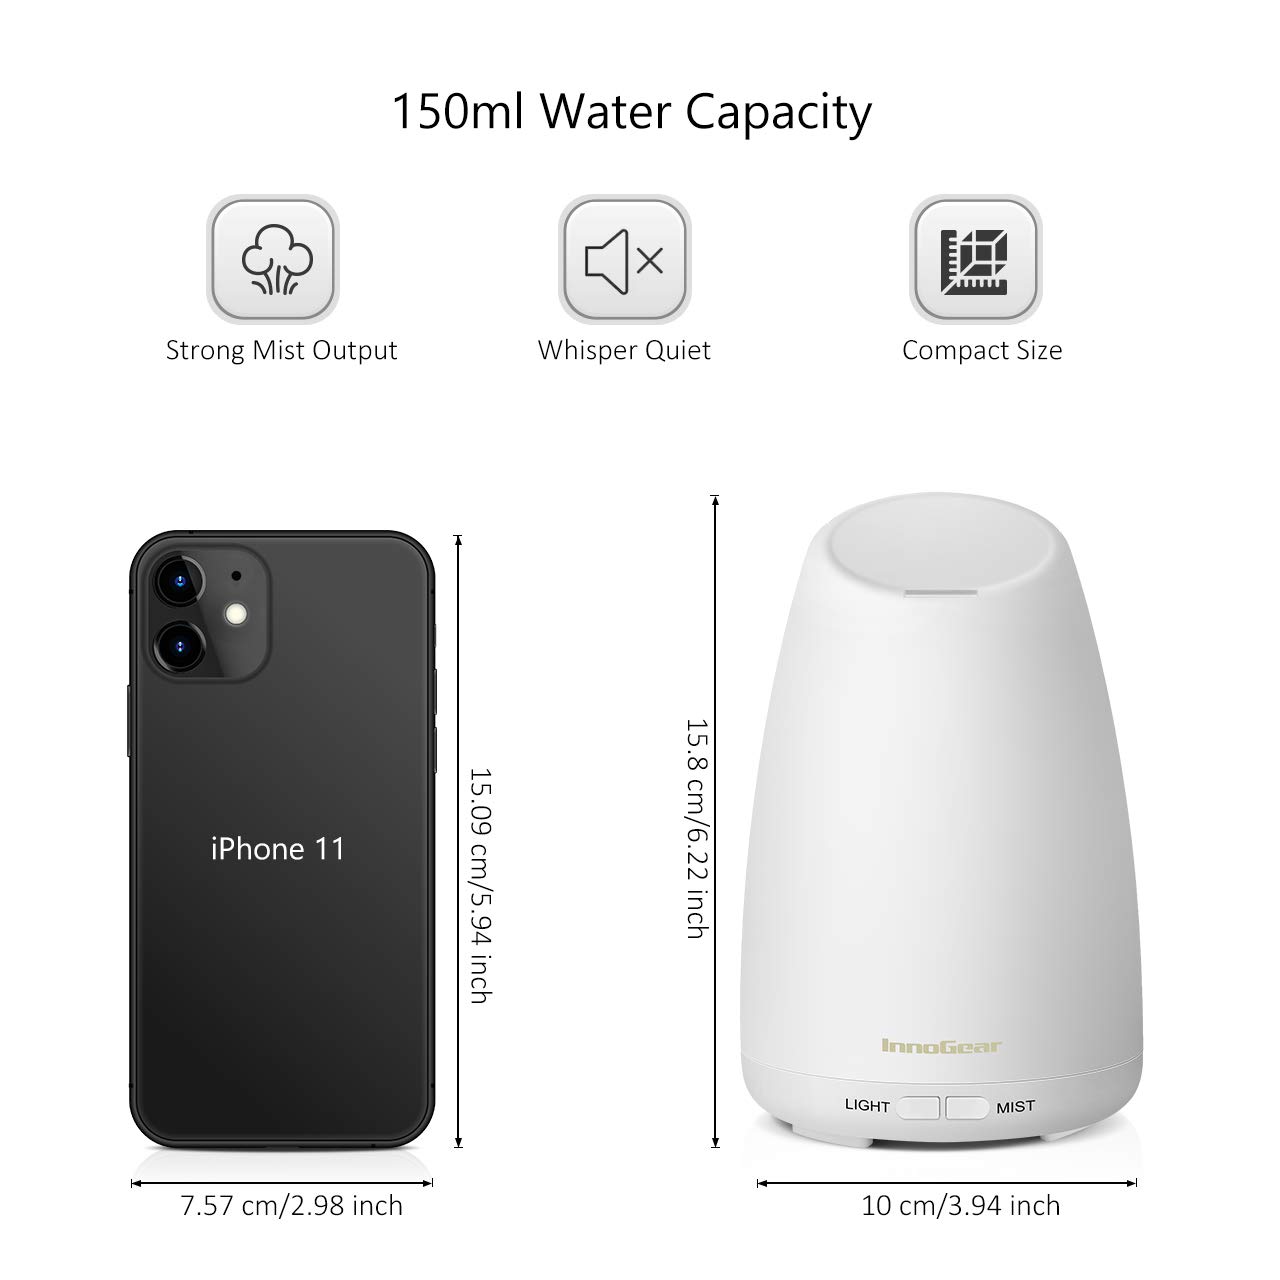
Image: The diffuser's compact size and 150ml water capacity, suitable for everyday use.
Betjeningsvejledning
The diffuser features two buttons: LYS og TÅGE.
Tågekontrol:
- Tryk på TÅGE knap én gang for Kontinuerlig tågetilstand. The indicator light will be rød. This mode provides mist continuously for approximately 5-6 hours.
- Tryk på TÅGE button a second time for Intermitterende tågetilstand. The indicator light will be grøn. This mode cycles mist on and off, extending operation to approximately 9-11 hours.
- Tryk på TÅGE button a third time to turn off the mist function.

Image: Mist button functionality, showing red light for continuous mist and green light for intermittent mist.
Lysstyring:
- Tryk på LYS button once to turn on the 7-color cycling LED light.
- Tryk på LYS button again to fix the light to a specific color. Subsequent presses will cycle through the available colors.
- Tryk og hold på LYS -knappen i 2 sekunder for at slukke lysfunktionen.

Image: The diffuser providing soft light, ideal for nighttime use or as a night light.
Vedligeholdelse og rengøring
Regular cleaning helps maintain optimal performance and extends the lifespan of your diffuser. Clean the diffuser after every 3-5 uses, or when changing essential oils.
- Tag stikket ud og tøm: Disconnect the power adapter and remove the top cover. Carefully pour out any remaining water from the drain side of the tank. Avoid pouring water into the air outlet.
- Wipe the Tank: Brug en vatpind eller en blød kludampened with clean water to gently wipe the inside of the water tank and the ultrasonic plate.
- Rengør låget: Wipe the inside and outside of the top cover with a soft, damp klæde.
- Tør grundigt: Ensure all parts are completely dry before reassembling or storing the diffuser.
Vigtig: Do not use corrosive detergents or harsh chemicals to clean the diffuser. Do not immerse the diffuser base in water.

Image: Visual instructions for cleaning the diffuser, emphasizing proper water drainage and wiping.
Fejlfinding
| Problem | Mulig årsag | Løsning |
|---|---|---|
| Ingen eller lav tågeproduktion. |
|
|
| Diffuser automatically shuts off. |
|
|
| No power/lights. |
|
|
Specifikationer
| Modelnummer | AD150 |
| Vandtankkapacitet | 150 ml |
| Materiale | Upper parts PP + lower base ABS (BPA-free) |
| Indgangseffekt | AC 100-240V 50/60HZ |
| Ultralydsteknologi | 2.4 MHz |
| Dimensioner | Approximately 6.22 inches (15.8 cm) height, 3.94 inches (10 cm) diameter |
| Vægt | Cirka 11.68 ounce |
| Særlige funktioner | 7-Color LED Night Lights, Waterless Auto Shut-Off |
Garanti og support
For product support, warranty information, or inquiries, please visit the official InnoGear webwebstedet eller kontakt deres kundeservice. Gem din købskvittering til garantikrav.
Du kan finde mere information og kontaktoplysninger på InnoGear Store on Amazon.
Ask a question about this manual
Ask about setup, troubleshooting, compatibility, parts, safety, or missing instructions. Manuals+ will review the question and use this page’s manual context to help answer it.