
1. Introduktion
This manual provides essential information for the safe and efficient assembly, operation, and maintenance of your tectake Greenhouse. Please read these instructions carefully before beginning assembly or use to ensure proper functionality and longevity of your product. Keep this manual for future reference.
The tectake Greenhouse is designed to provide an optimal environment for cultivating various plants, offering protection from adverse weather conditions and harmful UV radiation. Its robust anodized aluminum frame and thermal insulating polycarbonate sheets ensure durability and stable growing conditions.
2. Sikkerhedsinstruktioner
- Forsamling: Always assemble the greenhouse on a level, stable surface. Ensure all components are securely fastened according to the assembly instructions. It is recommended to have at least two people for assembly.
- Beliggenhed: Choose a sheltered location, away from strong winds or potential falling objects. Ensure adequate clearance around the greenhouse for access and maintenance.
- Forankring: Securely anchor the greenhouse to the ground to prevent it from being lifted or damaged by strong winds. Additional anchoring kits may be purchased separately if required.
- Ventilation: Ensure proper ventilation, especially during hot weather, to prevent overheating and excessive humidity inside the greenhouse. Utilize the roof window and sliding door for air circulation.
- Børn og kæledyr: Keep children and pets away from the assembly area. Do not allow children to play unsupervised inside or around the greenhouse.
- Skarpe kanter: Be cautious of sharp edges on aluminum profiles and polycarbonate sheets during assembly. Wear appropriate protective gloves.
- Snebelastning: In areas with heavy snowfall, regularly remove snow from the roof to prevent structural damage.
3. Pakkens indhold
Before starting assembly, verify that all parts listed below are present and undamaged. Refer to the detailed assembly instructions provided separately for a complete list of individual components and hardware.
- Greenhouse Frame (Anodized Aluminum Profiles)
- Polycarbonate Sheets (Thermal Insulating)
- Sliding Door Components
- Roof Window Components
- Assembly Material (Screws, nuts, bolts, clips, seals)
- Detailed Assembly Instructions (Separate document)

Billede 3.1: Overview of product details, including dimensions, technical data, and a list of contents. This image illustrates the main components and measurements of the greenhouse.
4. Opsætning og montering
The tectake Greenhouse requires assembly. A detailed, step-by-step assembly instruction manual is included with your product. Please follow these instructions carefully.
- Forberedelse: Clear the assembly area. Ensure you have all necessary tools (e.g., screwdriver, wrench, measuring tape, level).
- Fundament: A solid, level foundation is crucial for the stability of your greenhouse. Consider a concrete base, treated timber frame, or a robust paving slab foundation.
- Rammeenhed: Assemble the aluminum frame sections according to the numbered steps in the separate manual. Do not overtighten screws until the entire frame is aligned.
- Panel installation: Carefully insert the polycarbonate sheets into the frame channels. Ensure they are correctly oriented for optimal thermal insulation and UV protection.
- Door and Window: Install the sliding door and roof window mechanisms as instructed. Test their operation to ensure smooth movement.
- Forankring: Once assembled, securely anchor the greenhouse to your chosen foundation using appropriate fixings.

Billede 4.1: An assembled tectake greenhouse, demonstrating its structure and use in a garden. This image highlights the overall design and features like the sliding door and roof window.

Billede 4.2: Detaljeret views of key greenhouse components. This image shows the roof window mechanism, the robust polycarbonate panels, secure frame joints, and the smooth-operating sliding door, illustrating the quality of construction.
5. Betjeningsvejledning
To maximize the benefits of your greenhouse and ensure healthy plant growth, consider the following operational guidelines:
- Ventilation: The greenhouse is equipped with a sliding door and a roof window for natural ventilation. Open these during warm periods to regulate temperature and humidity, preventing mold and overheating.
- Temperaturkontrol: Monitor the internal temperature. In colder months, the thermal insulating panels help retain heat. In warmer months, ensure adequate ventilation to prevent excessive heat buildup. Consider shading solutions if temperatures become too high.
- Fugtighedsstyring: Proper ventilation also helps manage humidity levels, which is crucial for preventing fungal diseases in plants.
- Vanding: Water plants as needed, considering the increased humidity and reduced evaporation rates inside a greenhouse compared to outdoor conditions.
- UV beskyttelse: The polycarbonate panels offer protection against harmful UV rays, safeguarding your plants while allowing beneficial light to pass through.
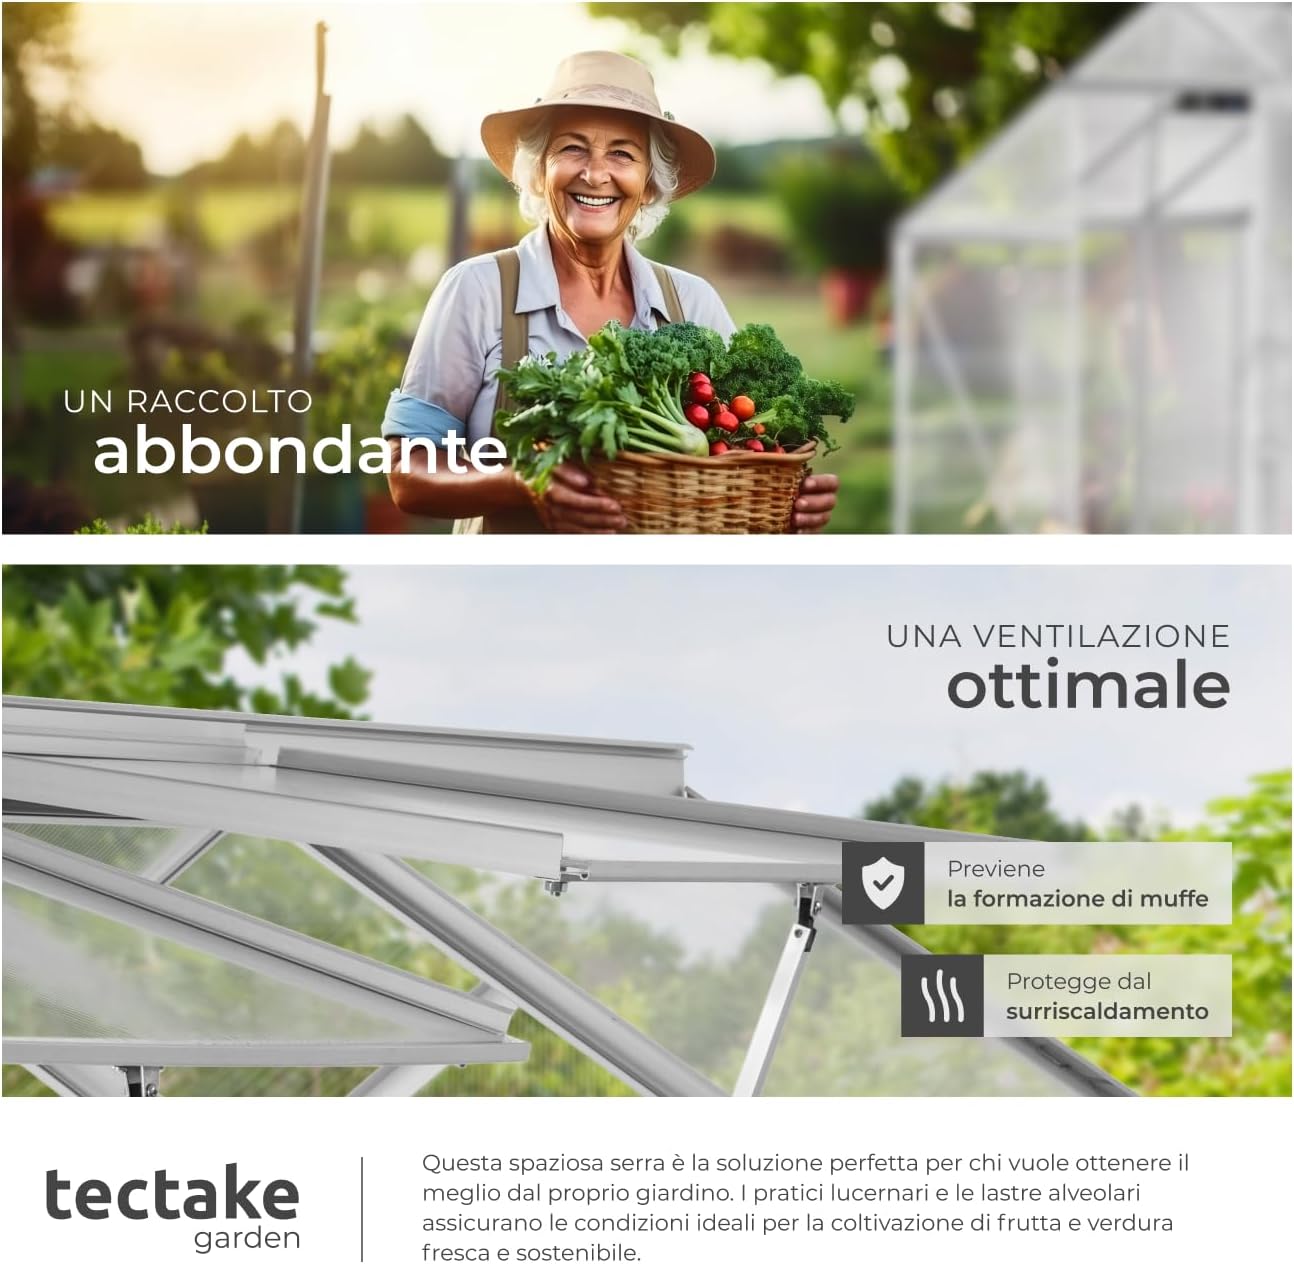
Billede 5.1: The open roof window of the greenhouse, illustrating its function for optimal ventilation. This feature helps prevent mold formation and protects plants from overheating by allowing air circulation.
6. Vedligeholdelse
Regular maintenance will extend the life of your greenhouse and ensure its continued performance.
- Rensning: Clean the polycarbonate panels periodically with mild soap and water using a soft cloth or sponge. Avoid abrasive cleaners or brushes that could scratch the surface. Rinse thoroughly.
- Rammeinspektion: Annually inspect the aluminum frame for any signs of corrosion, loose bolts, or damage. Tighten any loose fasteners.
- Tætninger og pakninger: Check seals and gaskets around panels, doors, and windows for wear or damage. Replace if necessary to maintain insulation and weatherproofing.
- Dør- og vinduesmekanismer: Lubricate the sliding door and roof window mechanisms annually to ensure smooth operation. Keep tracks clear of debris.
- Dræning: Ensure that the base of the greenhouse has proper drainage to prevent water accumulation.

Billede 6.1: The greenhouse demonstrating its resistance to various weather conditions. The image on the left shows the robust aluminum frame in sunny weather, while the right image depicts the greenhouse enduring rain, highlighting its weather-resistant design.
7. Fejlfinding
Her er nogle almindelige problemer og deres potentielle løsninger:
- Overdreven kondensering: Increase ventilation by opening the door and roof window. Ensure proper air circulation around plants.
- Overophedning: Ensure roof window and door are open during hot periods. Consider adding shade cloth or whitewash to the exterior of the panels during peak summer.
- Drafts/Heat Loss: Inspect seals and panel connections for gaps. Re-secure or replace damaged seals. Ensure the door closes tightly.
- Door/Window Sticking: Clean tracks of debris. Apply a silicone-based lubricant to the sliding mechanisms.
- Strukturel ustabilitet: Check all frame connections and anchoring points. Tighten any loose bolts. Ensure the greenhouse is on a level foundation.
8. Specifikationer
| Feature | Specifikation |
|---|---|
| Overordnede mål (L x B x H) | 250 x 185 x 195 cm |
| Eave Højde | 125 cm |
| Entrance Dimensions (W x H) | 60 x 160 cm |
| Roof Window Dimensions (W x H) | 58 x 58 cm |
| Overfladeareal | 4.41 m² |
| Bind | 7.7 m³ |
| Vægt | Ca. 26 kg |
| Rammemateriale | Anodiseret aluminium |
| Dækmateriale | 4mm Polycarbonate (Thermal Insulating, UV Resistant) |
Note: All measurements are approximate and subject to minor variations.
9. Garanti og support
For information regarding warranty coverage, claims, or technical support, please refer to the documentation provided at the time of purchase or contact your retailer. Keep your proof of purchase for any warranty-related inquiries.