
1. Vigtige sikkerhedsinstruktioner
Læs venligst disse instruktioner omhyggeligt, inden du bruger apparatet, og gem dem til senere brug. Manglende overholdelse af disse sikkerhedsinstruktioner kan medføre brand, elektrisk stød eller personskade.
- Always ensure the appliance is disconnected from the power supply before cleaning or maintenance.
- Do not immerse the main body of the appliance (above the minimum water level mark) in water or other liquids.
- Dette apparat er ikke beregnet til brug af personer (inklusive børn) med nedsatte fysiske, sensoriske eller mentale evner, eller mangel på erfaring og viden, medmindre de er blevet under opsyn eller instruktion i brugen af apparatet af en person, der er ansvarlig for deres sikkerhed. .
- Børn skal være under opsyn for at sikre, at de ikke leger med apparatet.
- Use the appliance only for its intended purpose, which is sous vide cooking.
- Do not operate the appliance if it has a damaged cord or plug, or if it malfunctions or has been damaged in any manner. Contact customer support for assistance.
- Always place the appliance in a suitable pot or container on a stable, heat-resistant surface.
- Ensure the water level is always between the 'MIN' and 'MAX' marks on the immersion circulator.
- Rør ikke ved varme overflader. Brug håndtag eller knopper.
2. Produktet er slutview
The ProfiCook PC-SV 1126 is a high-quality sous vide cooker designed for precise temperature control, ensuring perfectly cooked food every time. It features an LED multifunction display, a touch control panel, and an integrated fastening clamp for easy use with various pots.
Komponenter
- Sous Vide Immersion Cirkulator
- Integrated Fastening Clamp
- LED Multifunction Display
- Tryk på Kontrolpanel

Image: The ProfiCook PC-SV 1126 Sous Vide Cooker, a sleek black and stainless steel device with an LED display.

Image: Close-up of the LED multifunction display showing current temperature, selected temperature, and timer settings.

Image: The integrated fastening clamp securely attaching the sous vide cooker to the side of a cooking pot.
3. Opsætning
Før første brug skal du sørge for at fjerne al emballage, og at apparatet er rent.
3.1 Udpakning og første inspektion
- Carefully remove the sous vide cooker from its packaging.
- Kontroller for synlige skader. Brug ikke produktet, hvis det er beskadiget, og kontakt kundesupport.
- Wipe the stainless steel part of the circulator with a damp klæde.
3.2 Placement and Water Filling
- Place a suitable cooking pot or heat-resistant container on a stable, level, and heat-resistant surface.
- Attach the sous vide cooker to the side of the pot using the integrated fastening clamp. Ensure it is securely fixed.
- Fill the pot with water. The water level must be between the 'MIN' and 'MAX' marks indicated on the sous vide cooker. Do not overfill or underfill.
- Sæt apparatet i en jordforbundet stikkontakt. Displayet lyser.

Image: The sous vide cooker immersed in a pot of water, illustrating the water circulation for even temperature distribution.
4. Betjeningsvejledning
The PC-SV 1126 allows for precise temperature control for various cooking methods.
4.1 Basic Sous Vide Cooking
- Lave mad: Season your food and place it in a vacuum-sealable bag. Remove as much air as possible and seal the bag.
- Indstil temperatur: With the appliance plugged in, use the touch control panel to set your desired cooking temperature. The temperature can be set between 20°C and 100°C in 0.5°C increments.
- Indstil timer: Set the desired cooking time using the touch control panel. The timer can be set up to 99 hours.
- Start opvarmning: Press the start button. The appliance will begin heating the water to the set temperature. The LED display will show the current water temperature.
- Tilføj mad: Once the water reaches the target temperature, carefully place the sealed food bag into the water bath. Ensure the bag is fully submerged and not blocking the water circulation.
- Madlavningsproces: The timer will begin counting down once the target temperature is reached. The appliance will maintain the precise temperature throughout the cooking process.
- Afslut madlavningen: When the timer expires, the appliance will alert you. Carefully remove the food bag from the water bath.
- Sear (Optional): For many foods, especially meats, a quick sear in a hot pan after sous vide cooking will create a desirable crust.
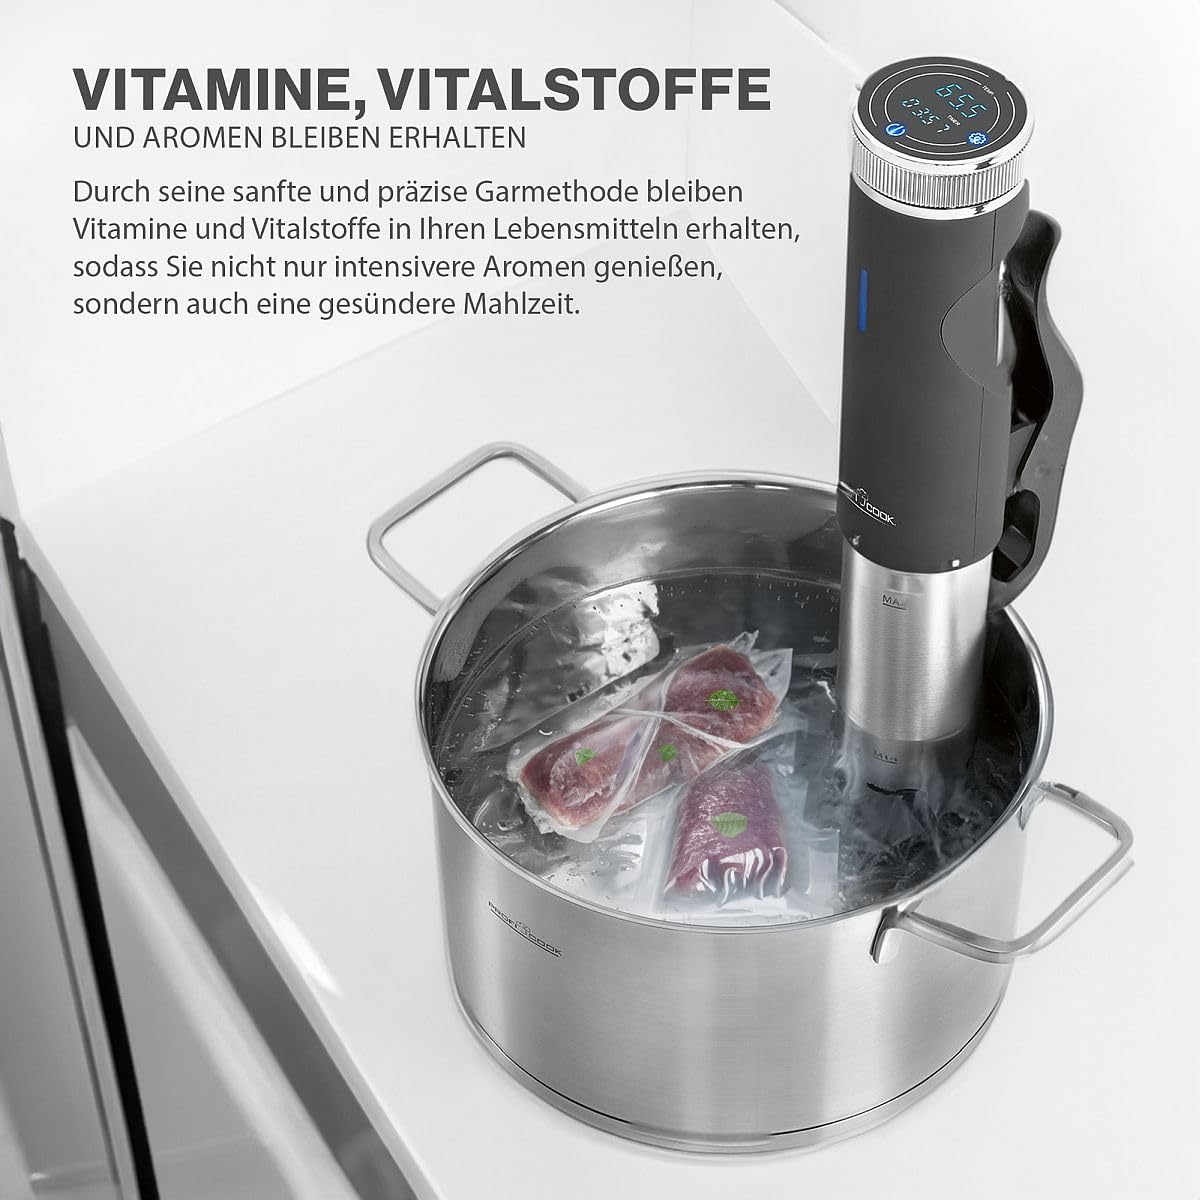
Image: A vacuum-sealed bag of meat being carefully placed into the water bath with the sous vide cooker.
4.2 Specialfunktioner
The PC-SV 1126 also offers additional functions for versatility:
- Yoghurtmaskine: This function allows you to maintain the ideal temperature for making homemade yogurt. Refer to specific yogurt recipes for temperature and time settings.
- Hold dig varm: Use this function to keep cooked food warm at a safe temperature.
- Afrimning: The appliance can be used to gently defrost food at a controlled temperature.

Image: The sous vide cooker operating in a pot, demonstrating its use for making yogurt.
5. Rengøring og vedligeholdelse
Regular cleaning and maintenance will ensure the longevity and optimal performance of your sous vide cooker.
5.1 Generel rengøring
- Tag altid stikket ud af stikkontakten, og lad det køle helt af før rengøring.
- Aftør ydersiden af apparatet med adamp klæde. Brug ikke slibende rengøringsmidler eller skuresvampe.
- The stainless steel part of the immersion circulator can be cleaned with a mild detergent and water. Rinse thoroughly.
- Do not immerse the top part of the appliance (where the display and controls are located) in water.
5.2 Afkalkning
Over time, mineral deposits (limescale) may build up on the heating element, especially in areas with hard water. Descaling is recommended periodically.
- Fill a pot with water and add white vinegar (approximately 1 part vinegar to 4 parts water).
- Attach the sous vide cooker and set the temperature to 60°C (140°F).
- Run the appliance for 30 minutes to 1 hour, or until the limescale deposits are dissolved.
- Unplug the appliance, let it cool, and rinse the stainless steel part thoroughly with clean water.
5.3 Opbevaring
Opbevar apparatet på et rent, tørt sted, når det ikke er i brug.
6. Fejlfinding
If you encounter issues with your PC-SV 1126, refer to the following table:
| Problem | Mulig årsag | Løsning |
|---|---|---|
| Apparatet tændes ikke. | Ikke tilsluttet; stikkontakten er defekt. | Sørg for, at stikket er sat korrekt i en stikkontakt, der virker. Kontroller afbryderen. |
| Vandet varmes ikke op. | Temperature not set; heating element malfunction. | Verify the desired temperature is set and the start button is pressed. If the problem persists, contact support. |
| Fejlmeddelelse på displayet. | Low water level; internal error. | Check water level and add water if below 'MIN' mark. If error persists, unplug and replug the device. Contact support if the issue continues. |
| Upræcis temperaturaflæsning. | Limescale buildup on sensor. | Perform descaling as described in the maintenance section. |
7. Tekniske specifikationer
| Feature | Specifikation |
|---|---|
| Modelnummer | PC-SV 1126 (501126) |
| Magt | 800 watt |
| Voltage | 220V |
| Temperaturområde | 20°C - 100°C (i trin af 0.5°C) |
| Timer | Op til 99 timer |
| Vandcirkulation | 7-8 Liters/minute |
| Dimensioner (L x B x H) | 11 x 44.5 x 13 cm (Product) / 12P x 46l x 14H cm (Item) |
| Vægt | 1.45 kilo |
| Materiale | Rustfrit stål |
| Kontrolmetode | Tryk på kontrol |

Image: Diagram showing the dimensions of the ProfiCook PC-SV 1126 Sous Vide Cooker.
8. Garanti og support
The ProfiCook PC-SV 1126 Sous Vide Cooker comes with a 2-year availability for spare parts, ensuring long-term usability and support for your appliance.
For technical assistance, warranty claims, or to inquire about spare parts, please refer to the contact information provided with your purchase documentation or visit the official ProfiCook webwebsted.