
1. Introduktion
The Midiplus X3 mini is a compact and versatile USB MIDI keyboard controller designed for music production and performance. This manual provides essential information for setting up, operating, and maintaining your X3 mini controller, ensuring optimal performance and longevity.
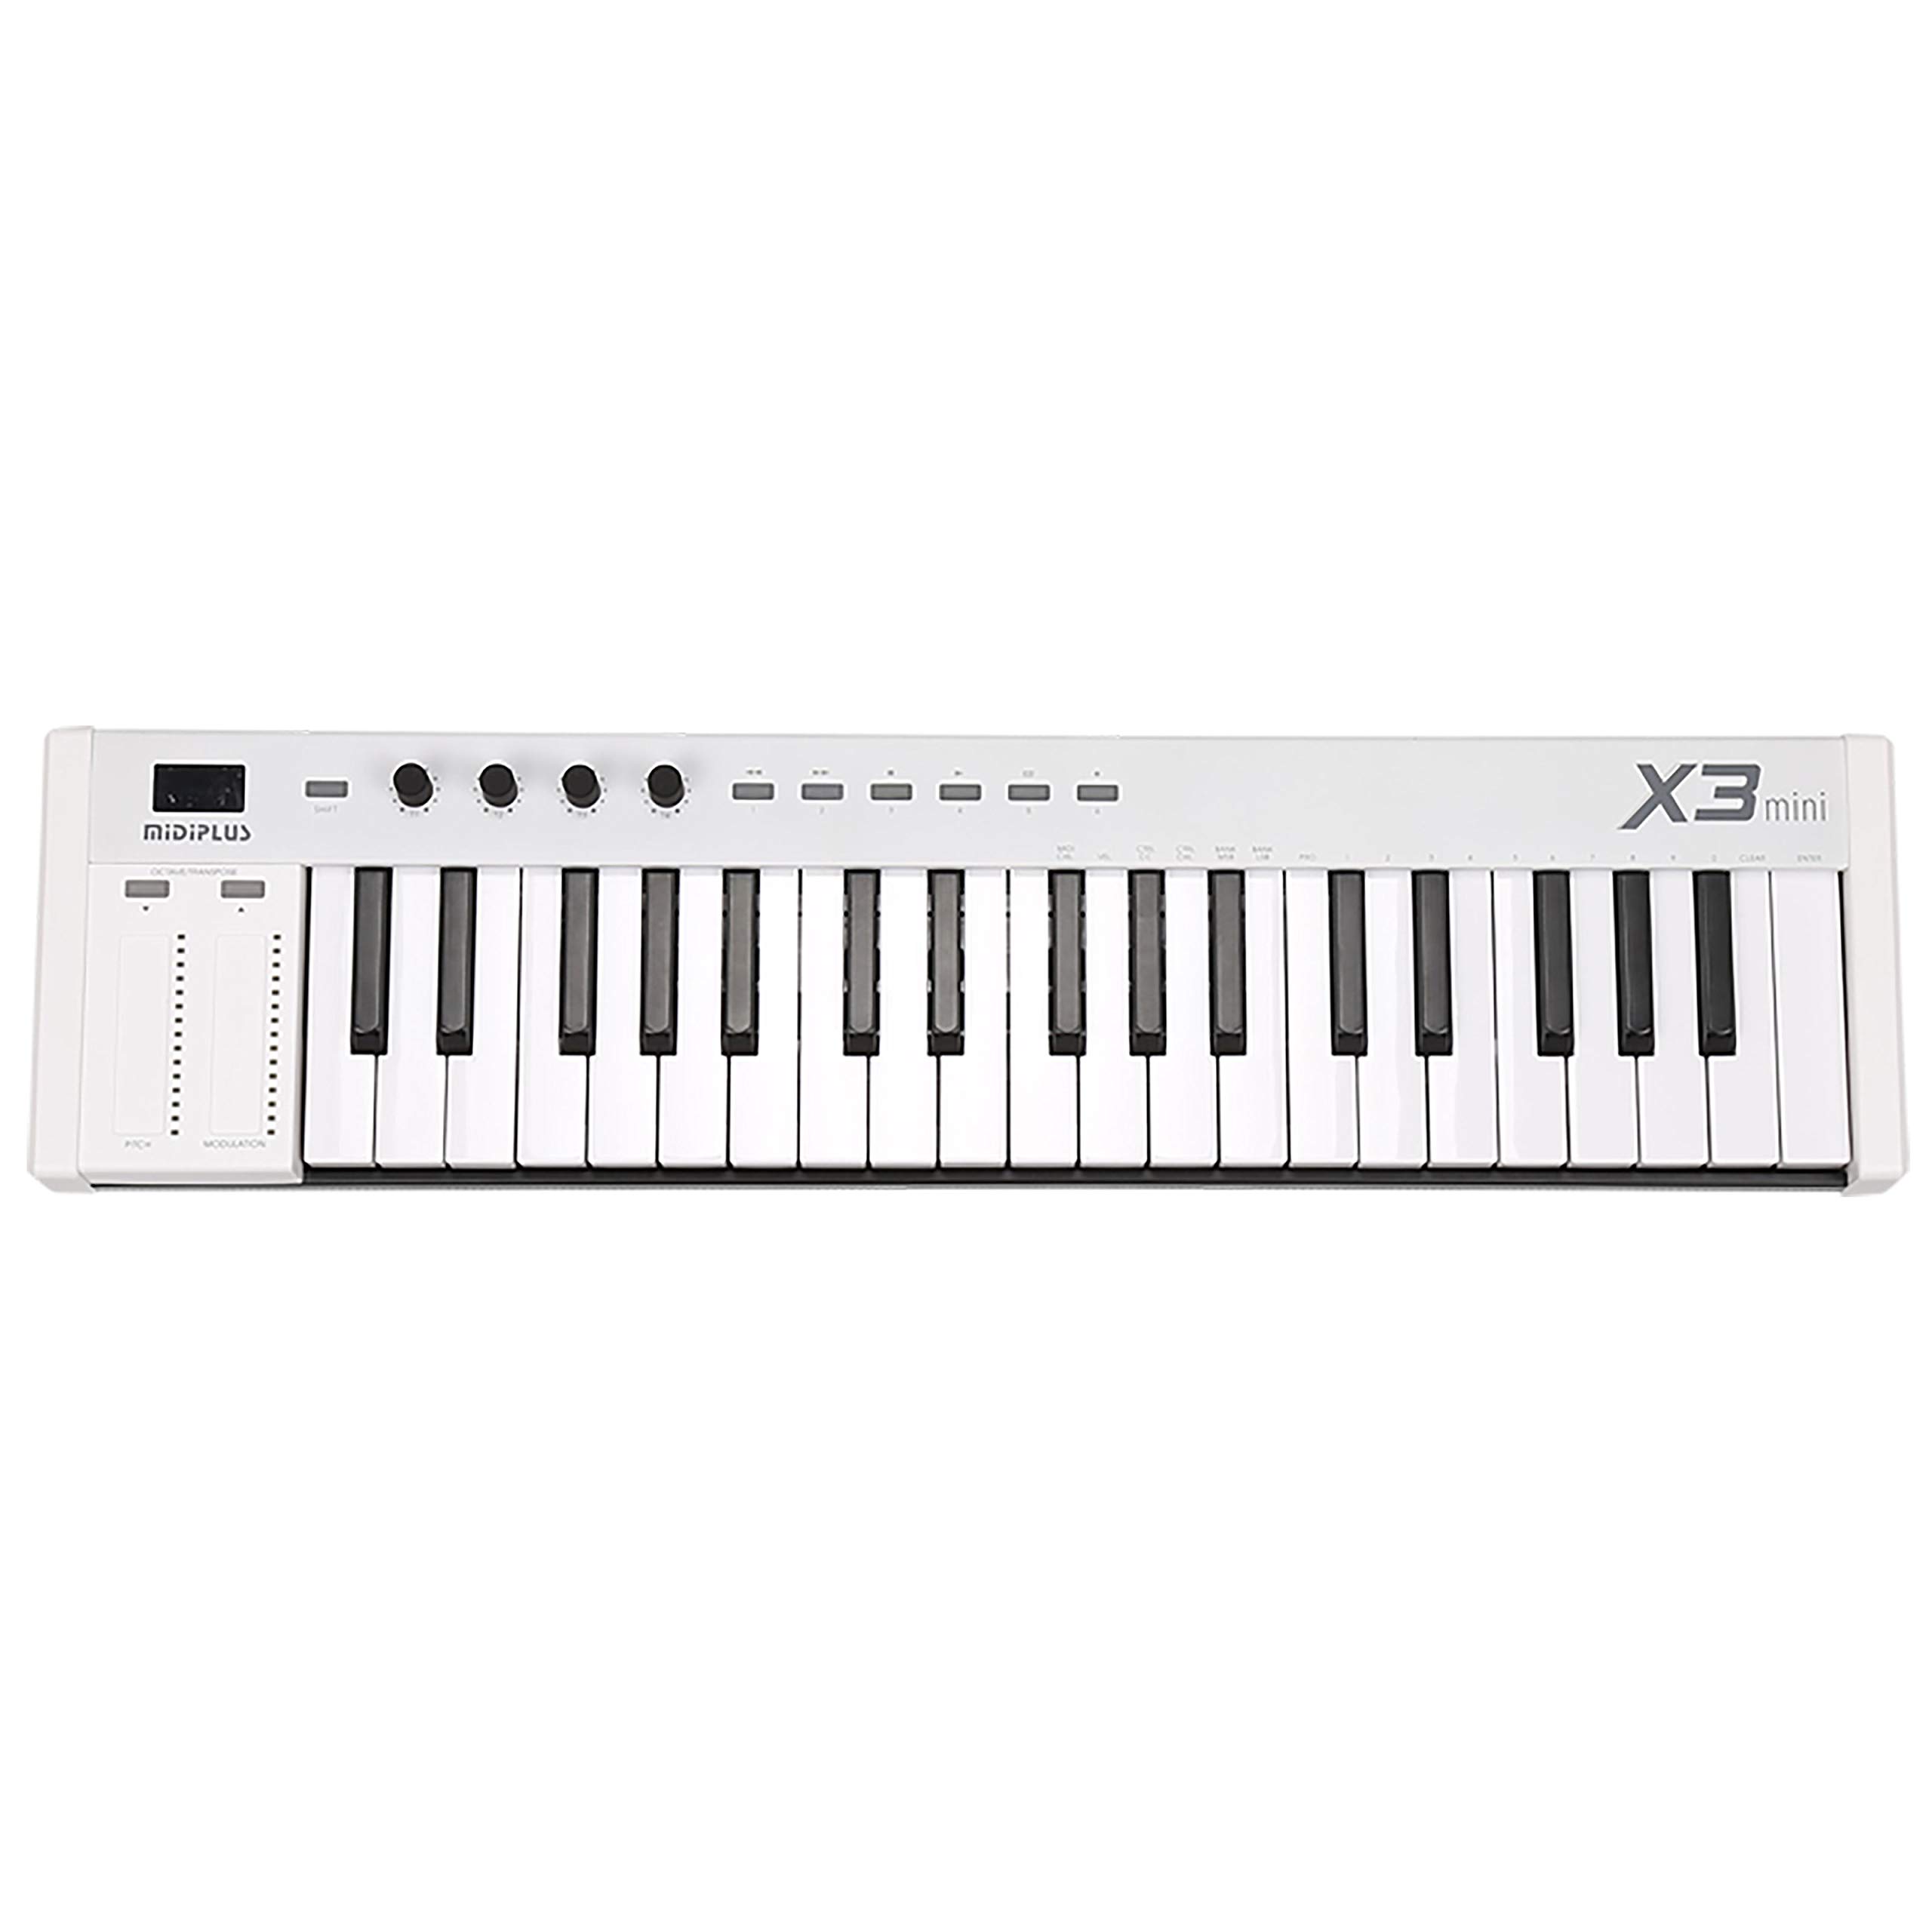
Figure 1: The Midiplus X3 mini USB MIDI Keyboard Controller, a compact and portable device for music production.
2. Sikkerhedsoplysninger
- Strømkilde: This device is powered via USB. Ensure your USB port provides stable power. Do not attempt to power the device with an external power supply not specified by the manufacturer.
- Fugtighed: Keep the device away from water or excessive moisture to prevent electric shock or damage.
- Varme: Avoid placing the device near heat sources or in direct sunlight, as this may cause overheating and malfunction.
- Rensning: Brug en blød, tør klud til rengøring. Brug ikke flydende rengøringsmidler eller aerosoler.
- Service: Forsøg ikke selv at åbne eller servicere enheden. Overlad al service til kvalificeret personale.
3. Pakkens indhold
Kontroller venligst, at alle følgende varer er inkluderet i din pakke:
- Midiplus X3 mini USB MIDI Keyboard Controller
- USB kabel
- Brugervejledning (dette dokument)
4. Produktet er slutview
4.1 Betjeningselementer på frontpanelet

Figur 2: Detalje view of the control panel, showing the pitch bend and modulation touch strips, the Shift button, and the four customizable knobs (T1-T4).
- 25 Force-Sensitive Keys: Standard mini-keys that respond to playing dynamics.
- Pitch Bend Strip: A touch-sensitive strip for bending the pitch of notes.
- Modulationsstrimmel: A touch-sensitive strip for applying modulation effects.
- SHIFT knap: Activates secondary functions for other controls.
- OCTAVE/TRANSPOSE Buttons: Adjust the octave range or transpose the keyboard.
- T1-T4 Customizable Knobs: Four rotary knobs that can be assigned to various MIDI Continuous Controller (CC) messages.
- Customizable Playback Buttons: Buttons that can be assigned to specific MIDI functions.
- 3-cifret LED-display: Viser aktuelle indstillinger og værdier.

Figure 3: A closer look at the 25 force-sensitive mini-keys and the 'X3 mini' model designation.
4.2 Bagpaneltilslutninger

Figure 4: The rear panel connections, including the USB port for power and data, the MIDI Out port for external MIDI devices, and the Sustain pedal input.
- USB-port: Tilsluttes din computer for strøm og MIDI-dataoverførsel.
- MIDI OUT-port: A standard 5-pin DIN connector for sending MIDI data to external hardware synthesizers or modules.
- SUSTAIN Pedal Input: Connect a standard sustain pedal (not included) for expressive playing.
5. Opsætning
- Tilslut til computer: Use the provided USB cable to connect the X3 mini's USB port to an available USB port on your computer. The device is USB-powered and does not require an external power adapter.
- Driver installation: The Midiplus X3 mini is a class-compliant device, meaning no special drivers are required for most operating systems (Windows, macOS, Linux). Your computer should automatically recognize the device.
- Software opsætning: Open your Digital Audio Workstation (DAW) or music software. Navigate to the MIDI settings or preferences and ensure the "Midiplus X3 mini" is selected as a MIDI input device.
- Sustainpedal (valgfri): If using a sustain pedal, connect it to the SUSTAIN input jack on the rear panel.
- External MIDI Devices (Optional): If connecting to an external hardware synthesizer or module, use a standard 5-pin MIDI cable to connect the X3 mini's MIDI OUT port to the MIDI IN port of your external device.
6. Betjeningsvejledning
6.1 Grundlæggende afspilning
Once connected and recognized by your software, simply press the keys to play notes. The keys are force-sensitive, meaning the velocity (how hard you press) will affect the sound's dynamics.
6.2 Oktav og Transponering
Brug OCTAVE/TRANSPOSE buttons to shift the keyboard's pitch range up or down. The 3-digit LED display will indicate the current octave or transpose setting.
6.3 Pitch Bend og Modulation
The touch-sensitive Pitch Bend og Modulation strips on the left side allow for real-time expressive control over your sounds. The Pitch Bend strip typically returns to center when released, while the Modulation strip retains its last position.
6.4 Customizable Knobs and Buttons
De T1-T4 Knobs og Customizable Playback Buttons can be assigned to control various parameters within your music software or external MIDI devices. Refer to your software's manual for instructions on MIDI CC mapping. To access secondary functions or reassign controls, press and hold the FLYTTE button while interacting with the desired control.
7. Vedligeholdelse
- Rensning: Regularly wipe the surface of the controller with a soft, dry, lint-free cloth. Avoid using abrasive cleaners, solvents, or waxes.
- Opbevaring: When not in use, store the X3 mini in a clean, dry environment, away from extreme temperatures and direct sunlight.
- Transport: If transporting the device, use appropriate padding or a carrying case to protect it from physical damage.
8. Fejlfinding
- Ingen lyd:
- Ensure the X3 mini is properly connected via USB and recognized by your computer.
- Verify that your DAW or music software has the X3 mini selected as a MIDI input.
- Check that the instrument track in your software is armed for recording or monitoring and has a sound loaded.
- Confirm your audio output (speakers/headphones) are connected and functioning.
- Enhed ikke genkendt:
- Try connecting the X3 mini to a different USB port on your computer.
- Genstart din computer, og prøv at oprette forbindelse igen.
- Sørg for, at dit operativsystem er opdateret.
- Kontrolelementer reagerer ikke:
- Check if the controls are correctly mapped within your music software.
- Ensure the SHIFT button is not inadvertently held down, which might change control behavior.
9. Specifikationer
| Nøgler | 25 force-sensitive mini-keys |
| Vise | 3-cifret LED-display |
| Kontrolelementer | SHIFT button, OCTAVE/TRANSPOSE buttons, 4 customizable knobs (T1-T4), Customizable playback buttons, Pitch bend strip, Modulation strip |
| Forbindelser | USB port, MIDI OUT (5-pin DIN), Sustain pedal input |
| Magt | USB-drevet |
| Chauffør | Class-compliant (no driver needed) |
| Dimensioner (L x B x H) | 21.89 x 5.39 x 2.01 tommer (556 x 137 x 51 mm) |
| Vægt | 4.03 pund (1.83 kg) |
10. Garanti og support
For garantioplysninger og teknisk support henvises til den officielle Midiplus-side. webwebstedet eller kontakt din lokale forhandler. Gem din købskvittering som købsbevis i tilfælde af garantikrav.