1. Introduktion
Thank you for choosing the Stryker SR-94HPC 10 Meter Radio. This compact and powerful radio is designed for reliable communication, featuring AM/FM modulation, a full-color TFT display, and robust construction. This manual provides essential information for the proper setup, operation, and maintenance of your SR-94HPC radio to ensure optimal performance and longevity.
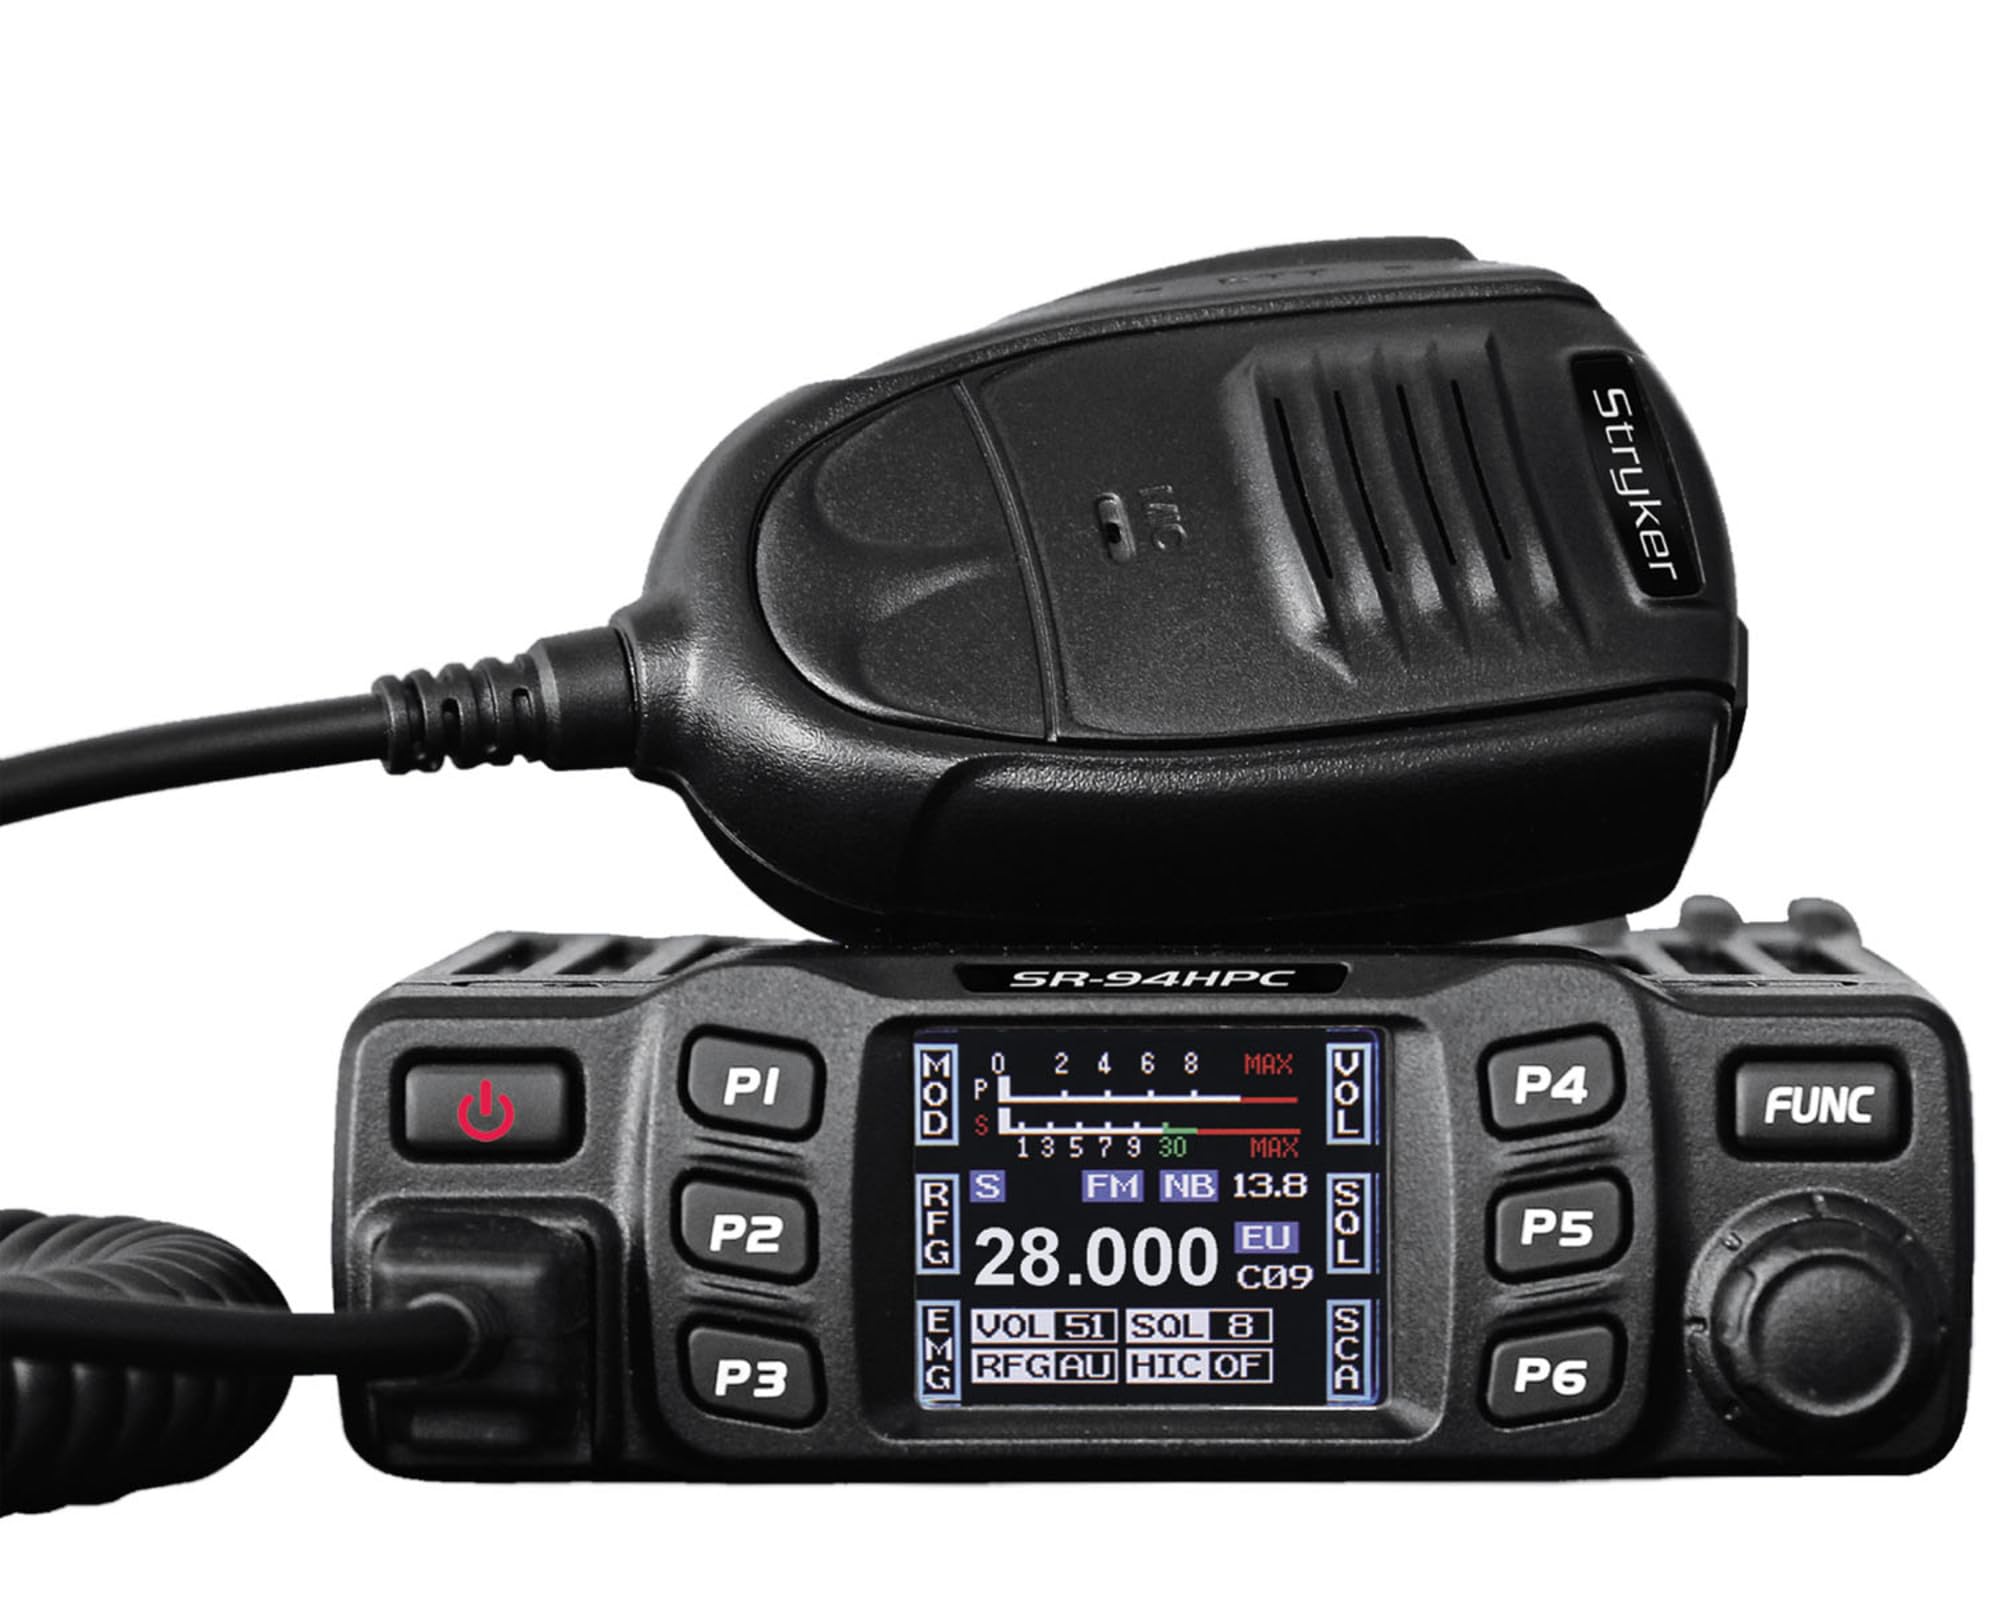
Figure 1: Stryker SR-94HPC 10 Meter Radio. This image shows the compact design of the radio, featuring its front panel with controls and the full-color TFT display.
2. Vigtige sikkerhedsoplysninger
Please read and understand all safety instructions before operating the radio. Failure to do so may result in injury, damage to the radio, or voiding the warranty.
- Strømkilde: Connect the radio only to a 12V or 24V DC power source as specified. Incorrect voltage kan beskadige enheden.
- Antenne: Always connect a properly tuned antenna before transmitting. Transmitting without an antenna or with a poorly tuned antenna can cause damage to the radio's final transistors.
- Varmeafledning: Ensure adequate ventilation around the radio, especially the heat sink, to prevent overheating during prolonged transmission.
- Vandeksponering: While the radio has some water resistance, avoid direct exposure to water or extreme moisture.
- Kørselssikkerhed: Betjen ikke radioen på en måde, der distraherer dig fra kørslen. Prioriter trafiksikkerhed.
- Forslag 65 Advarsel: Dette produkt kan udsætte dig for kemikalier, der af staten Californien er kendt for at forårsage kræft og fosterskader eller andre reproduktionsskader. For mere information, gå til www.P65Warnings.ca.gov.
3. Pakkens indhold
Bekræft at alle varer er til stede i pakken:
- Stryker SR-94HPC 10 Meter Radio Unit
- Mikrofon
- Strømkabel
- Monteringsbeslag og hardware
- Brugervejledning (dette dokument)
4. Betjeningselementer og funktioner
The SR-94HPC features a user-friendly interface with a full-color TFT display and intuitive controls. Familiarize yourself with the following:
- Full-Color TFT Display: Viser frekvens, vol.tage, S units, functions, and other operational data. The display is designed for clarity and ease of reading while driving.
- Channel Selector/Encoder: Used to change channels and navigate menu options.
- Lydstyrkekontrol: Justerer lydudgangsniveauet.
- Squelch kontrol: Eliminerer baggrundsstøj, når der ikke er noget signal.
- Mode knap: Switches between AM and FM modulation modes.
- Funktionsknapper: Access various radio features and settings. Refer to the on-screen menu for specific functions.
- Mikrofonstik: Front-panel connection for the supplied microphone.
- PTT (Push-To-Talk)-knap: Placeret på mikrofonen, bruges til at sende.
5. Opsætning
Follow these steps for initial setup of your SR-94HPC radio:
- Montering: Securely mount the radio using the provided bracket and hardware in a location that allows for good ventilation and easy access to controls. Ensure the wrap-around cast aluminum heat sink has clear airflow.
- Antenneforbindelse: Connect a 10-meter antenna with a UHF, SO-239 connector to the antenna port on the rear of the radio. Ensure the antenna is properly tuned for the 28.000 ~ 29.700MHz frequency range to prevent damage to the radio.
- Strømtilslutning: Connect the supplied power cable to the radio's power input. Connect the other end to a stable 12V or 24V DC power source in your vehicle or base station. Observe correct polarity (red to positive, black to negative).
- Mikrofonforbindelse: Sæt mikrofonen i det dedikerede mikrofonstik på radioens frontpanel.
- Første gang tændt: Once all connections are secure, turn on the radio. The TFT display should illuminate, showing the current operating status.
6. Betjeningsvejledning
This section details the basic operation of your Stryker SR-94HPC radio.
6.1 Tænd/sluk
Press and hold the power button (usually integrated with the volume knob or a dedicated button) to turn the radio on or off. A quick tap of the power button may mute the audio.
6.2 Kanalvalg
Rotate the Channel Selector knob to change the operating frequency or channel. The selected channel will be displayed on the TFT screen.
6.3 Modulation Mode
Press the Mode button to toggle between AM (Amplitude Modulation) and FM (Frequency Modulation) modes. The active mode will be indicated on the display.
6.4 Justering af lydstyrke og squelch
- Bind: Juster lydstyrkeknappen til det ønskede lytteniveau.
- Squelch: Rotate the Squelch knob clockwise until background noise disappears. Rotate counter-clockwise to hear weaker signals. The SR-94HPC may also feature an automatic squelch control (ASC) setting, which can be adjusted via the menu.
6.5 Transmission
To transmit, press and hold the PTT button on the microphone. Speak clearly into the microphone. Release the PTT button to receive. Ensure the antenna is properly connected and tuned before transmitting to avoid damage.
6.6 Vis information
The full-color TFT display provides real-time information, including:
- Frequency/Channel: Current operating frequency or channel number.
- Voltage: Input voltage to the radio.
- S Units: Signal strength indicator for received signals.
- Strømudgang: Indication of transmitted power.
- SWR: Standing Wave Ratio, indicating antenna tuning efficiency.
7. Vedligeholdelse
Proper maintenance ensures the longevity and reliable operation of your SR-94HPC radio.
- Rensning: Use a soft, dry cloth to clean the radio's exterior and display. Avoid abrasive cleaners or solvents.
- Antennesystem: Regularly check your antenna and coaxial cable for damage. Periodically verify your antenna's SWR (Standing Wave Ratio) to ensure efficient power transfer and prevent damage to the radio. An SWR meter can be used for this purpose.
- Køleplade: Ensure the wrap-around cast aluminum heat sink on the rear of the radio remains free of obstructions to allow for proper heat dissipation, especially during high-power transmissions.
- Forbindelser: Kontrollér regelmæssigt alle kabelforbindelser (strøm, antenne, mikrofon) for at sikre, at de er fastgjorte og fri for korrosion.
8. Fejlfinding
Hvis du støder på problemer med din SR-94HPC, kan du se følgende almindelige problemer og løsninger:
| Problem | Mulig årsag | Løsning |
|---|---|---|
| Radioen tænder ikke. | No power connection; incorrect voltage; sprunget sikring. | Check power cable connections; verify 12V/24V DC source; inspect and replace fuse if necessary. |
| Ingen lyd fra højttaleren. | Volume too low; squelch set too high; speaker disconnected. | Increase volume; decrease squelch; check speaker connection. |
| "Error" message on display during transmission. | High SWR (Standing Wave Ratio); antenna not connected or poorly tuned. | Check antenna connection; tune antenna using an SWR meter. Do not transmit until SWR is acceptable. |
| Poor transmission or reception range. | Antenna issues; environmental interference; low power setting. | Verify antenna tuning and condition; check for local interference; ensure power output is set correctly. |
If the problem persists after attempting these solutions, please contact Stryker customer support for assistance.
9. Specifikationer
Detailed technical specifications for the Stryker SR-94HPC 10 Meter Radio:
| Feature | Specifikation |
|---|---|
| Modulationstilstand | AM/FM |
| Frekvensområde | 28.000 ~ 29.700MHz (FM), 28.000 ~ 29.700MHz (AM) |
| Frekvenstolerance | ±5.0 ppm |
| Input bindtage | 12V / 24V DC |
| Frekvenskontrol | PLL-synthesizer |
| Driftstemperaturområde | -4°F til +131°F (-20°C til +55°C) |
| Antenne Connector | UHF, SO-239 |
| Strømudgang | 4 Watts FM/AM / 10 Watts AM/FM (PEP up to 45+ watts) |
| Transmissionsforstyrrelser | Inferior to 4nW (-54dBm) |
| Frekvensrespons | 300-3000Hz |
| Moduleret signalforvrængning | Under 5% |
| Udgangsimpedans | 50 ohm |
| Billedafvisning | 70dB |
| Afvisning af tilstødende kanal | 60dB |
| IF-frekvenser | 1st: 10.695MHz, 2nd: 455KHz |
| Dimensioner (BxDxH) | 4.88" x 6.42" x 1.54" (12.4 cm x 16.3 cm x 3.9 cm) |
| Vægt | Ca. 1.48 lbs (0.67 kg) |
| Særlige funktioner | Backlit Keys, Full-color TFT Display |
10. Garanti og support
Stryker Radios are manufactured to high-quality standards. For warranty information, please refer to the warranty card included with your product or visit the official Stryker Radios webwebstedet. Behold din købskvittering som købsbevis.
For technical support, troubleshooting assistance beyond this manual, or service inquiries, please contact Stryker customer support through their official channels. Contact information can typically be found on the manufacturer's webwebsted.