1. Introduktion
This manual provides detailed instructions for the installation, operation, and maintenance of your A-ZONE 16-Channel 1080P AHD DVR Security System. This system is designed to provide comprehensive surveillance for your home or business, featuring high-definition cameras and a robust Digital Video Recorder (DVR) with a pre-installed 2TB Hard Disk Drive (HDD).
Læs venligst denne manual grundigt, inden du bruger systemet, for at sikre korrekt opsætning og funktionalitet. Gem denne manual til senere brug.

Billede 1.1: Overview of the A-ZONE 16-Channel 1080P AHD DVR Security System, showing the DVR unit, various cameras, and accessories.
2. Pakkens indhold
Bekræft, at alle nedenstående varer er til stede i din pakke. Hvis der mangler eller er beskadigede varer, bedes du kontakte kundesupport.
- 1x 16-Channel 1080P AHD DVR Unit with 2TB HDD
- 12x HD 960P 1.3MP Fixed Cameras
- 4x HD 1.3MP Varifocal Cameras (IR 2.8-12mm Lens)
- 1x DC 12V/5A All-in-one Power Adapter
- 1x DC 12V/2A DVR Power Adapter
- 1x 1 to 8 Power Splitter Cable
- 1 x USB mus
- 1x fjernbetjening
- 1x Screw Bag for mounting
- 1x Software CD
- 1x Brugermanual (dette dokument)
- 1x garantikort
- 1x Warning Sticker

Billede 2.1: Detaljeret view of the A-ZONE security system package contents, including the DVR, various cameras, power supplies, and accessories.
3. System overview
3.1 Digital Video Recorder (DVR)
The DVR is the central unit of your security system, responsible for recording, storing, and managing video footage from all connected cameras. It features 16 channels, supporting 1080P AHD input, and comes with a pre-installed 2TB HDD for ample opbevaring.
3.2 Security Cameras
The system includes a combination of fixed and varifocal cameras, all offering HD 1.3MP (960P) resolution. These cameras are designed for both indoor and outdoor environments.
- Fixed Cameras: Provide a consistent field of view, ideal for monitoring specific areas.
- Varifocal Cameras: Allow manual adjustment of the focal length (2.8-12mm) to zoom in or out, providing flexibility in coverage.
3.2.1 IP67-beskyttelse
All cameras are rated IP67, indicating high resistance to dust and water ingress. This ensures reliable operation in various weather conditions, making them suitable for outdoor installation.

Image 3.1: An A-ZONE camera highlighting its IP67 protection, demonstrating its durability against water and dust.
3.2.2 Infrared (IR) LED Night Vision
The cameras are equipped with IR LEDs to provide clear night vision, ensuring continuous surveillance even in low-light or complete darkness. The system utilizes 42LED 14mil and 36LED 14mil infrared light boards for enhanced night performance.

Image 3.2: Illustration of the IR LED capabilities of A-ZONE cameras, demonstrating improved night vision clarity compared to standard cameras.
4. Opsætningsvejledning
4.1 Fysisk installation
- Planlæg kameraplacering: Identify optimal locations for each camera to maximize coverage and minimize blind spots. Consider power source proximity and cable routing.
- Monter kameraer: Use the provided screws and mounting hardware to securely attach cameras to walls or ceilings. Adjust the camera angle as needed. For varifocal cameras, adjust the lens for desired zoom and focus after mounting.
- Kør kabler: Connect each camera to the DVR using appropriate video and power cables. Ensure cables are protected from environmental elements and potential damage.
4.2 DVR-forbindelse
- Tilslut kameraer: Plug the video cables from each camera into the corresponding video input ports on the back of the DVR.
- Tilslut strøm: Use the 1 to 8 power splitter cable to power multiple cameras from the DC 12V/5A power adapter. Connect the DC 12V/2A DVR power adapter to the DVR.
- Tilslut skærm: Connect a monitor to the DVR via HDMI or VGA port to view the live feed and access DVR settings.
- Tilslut netværk (valgfrit): Til fjernbetjening viewing, connect the DVR to your router using an Ethernet cable.
- Tilslut USB-mus: Sæt USB-musen i en USB-port på DVR'en for at navigere.
- Tænd: Plug in all power adapters. The DVR will boot up automatically.
5. Betjeningsvejledning
5.1 Indledende opsætning og konfiguration
Upon first boot, the DVR may guide you through an initial setup wizard to configure basic settings such as date/time, network, and recording preferences. Follow the on-screen prompts.
5.2 DVR Interface Navigation
Use the USB mouse or remote control to navigate the DVR's graphical user interface (GUI). Common functions include:
- Levende View: Display real-time footage fra alle tilsluttede kameraer.
- Afspilning: Review optaget footage stored on the 2TB HDD.
- Optagelsesindstillinger: Configure continuous, scheduled, or motion-triggered recording.
- Netværksindstillinger: Configure IP address, port forwarding (if necessary), and P2P settings.
- Systemindstillinger: Manage users, system logs, and perform firmware updates.
5.3 Fjernadgang (P2P)
The system supports P2P (Peer-to-Peer) technology for easy remote access from various devices. This allows you to view live footage and playback recordings from anywhere with an internet connection.
- Download app: Install the official A-ZONE mobile application on your Android or Apple smartphone/tablet, or the client software on your Windows PC.
- Registrer/Log ind: Create an account or log in to the application.
- Tilføj enhed: Scan the QR code displayed on your DVR's monitor (usually found in network settings) or manually enter the device ID to add your DVR to the app.
- View Footage: Once added, you can instantly view live footage and access recorded videos.

Image 5.1: P2P remote access feature, enabling viewing on Windows PCs, Android, and Apple devices.
5.4 Bevægelsesdetektion og advarsler
Configure motion detection zones and sensitivity settings within the DVR interface. When motion is detected, the system can trigger various actions, including:
- Starting recording
- Sending email alerts to a configured address
- Push notifications to your mobile device (via the app)
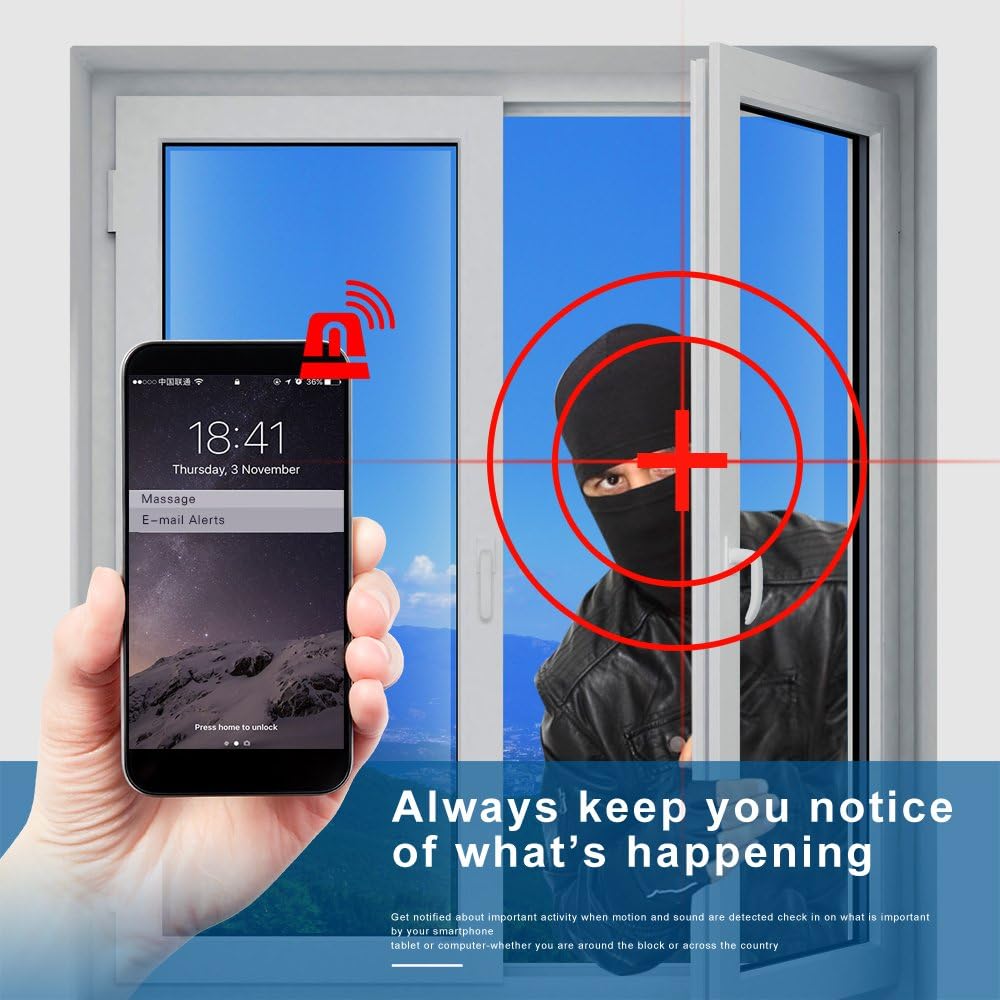
Billede 5.2: Eks.ample of an email alert notification received on a smartphone when motion is detected by the security system.
5.5 Videoopløsning
The system supports high-definition video capture. While the cameras are 1.3MP (960P), the DVR can manage and display various resolutions. Ensure your monitor and settings are configured to utilize the optimal resolution for clear viewing.

Image 5.3: Visual comparison of different video resolutions, illustrating the clarity provided by 960P (1280x960) resolution.
6. Vedligeholdelse
- Kamerarensning: Rengør kameralinser regelmæssigt med en blød, tør kludamp klud til at fjerne støv, snavs eller vandpletter, der kan blokere view.
- Kabelinspektion: Regularly check all cables for signs of wear, damage, or loose connections. Ensure outdoor cable connections are properly sealed to prevent moisture ingress.
- DVR-ventilation: Ensure the DVR unit has adequate ventilation to prevent overheating. Keep vents clear of obstructions.
- Firmwareopdateringer: Tjek producentens website periodically for firmware updates for your DVR. Updates can improve performance, add features, and enhance security.
- HDD-sundhed: The 2TB HDD is crucial for recording. The DVR system typically includes features to monitor HDD health. Refer to the DVR settings for disk management and error checking.
7. Fejlfinding
This section addresses common issues you might encounter with your A-ZONE security system.
7.1 No Video Signal / Blank Screen
- Tjek strøm: Ensure the DVR and all cameras are properly powered on.
- Kabelforbindelser: Verify that all video cables are securely connected between cameras and the DVR. Check the monitor connection to the DVR.
- Inputkilde: Confirm your monitor is set to the correct input source (HDMI/VGA).
7.2 Poor Image Quality / Out of Focus
- Ren linse: Sørg for, at kameralinserne er rene og fri for pletter eller snavs.
- Varifocal Adjustment: For varifocal cameras, manually adjust the zoom and focus rings on the camera lens until the image is clear.
- Opløsningsindstillinger: Check the DVR's display settings to ensure the output resolution matches your monitor's capabilities.
7.3 Fjernbetjening Viewproblemer
- Netværks forbindelse: Verify the DVR is connected to the internet and has a stable network connection.
- P2P Status: Check the P2P status in the DVR's network settings. It should show as 'Online'.
- App/software: Ensure your mobile app or PC client software is up-to-date. Try reinstalling the app if issues persist.
- Firewall/Router: Your router's firewall settings might be blocking the connection. Consult your router's manual or ISP for assistance with port forwarding if P2P fails.
7.4 Night Vision Problems
- IR lysdioder: Check if the IR LEDs on the cameras are illuminating in dark conditions. They typically emit a faint red glow.
- Strømforsyning: Ensure cameras are receiving adequate power, as insufficient power can affect IR performance.
- Forhindringer: Remove any obstructions directly in front of the camera that might reflect IR light back into the lens, causing glare.
7.5 DVR Not Recording
- HDD-status: Check the HDD status in the DVR settings. Ensure it is detected, formatted, and healthy.
- Optagelsesplan: Verify that the recording schedule is correctly configured for continuous, motion-triggered, or scheduled recording.
- Diskplads: Ensure there is sufficient free space on the 2TB HDD. The system typically overwrites older footage når den er fuld.
8. Specifikationer
| Feature | Specifikation |
|---|---|
| DVR-kanaler | 16 kanaler |
| Videooptagelsesopløsning | 1024p (DVR), 960P (Cameras) |
| Inkluderet HDD | 2TB |
| Kameraopløsning | 1.3 Megapixel (960P) |
| Kameratyper | Fixed, Varifocal (2.8-12mm IR Lens) |
| Forbindelsesteknologi | Wired, Wireless (for remote access) |
| Forbindelsesprotokol | Wi-Fi (for remote access) |
| International Protection Rating | IP67 (Kameraer) |
| Low Light teknologi | Night Color (IR LEDs) |
| Alert Type | Kun bevægelse |
| Strømkilde | AC/DC |
| Voltage | 12 volt |
| Varens vægt | 30.9 Pounds (System) |
| Pakkedimensioner | 19.69 x 16.3 x 11.5 tommer |
| UPC | 190907537430 |
9. Garanti og support
For warranty information, please refer to the warranty card included in your package or visit the official A-ZONE website. If you encounter any issues that cannot be resolved using this manual, please contact A-ZONE customer support for assistance. Be prepared to provide your product model and purchase details.
Customer support contact details are typically found on the warranty card or the manufacturer's webwebsted.