
Indledning
Thank you for choosing the Mitzu MC-202 Universal Battery Charger. This manual provides essential information for the safe and efficient operation of your charger. Please read it thoroughly before use and retain it for future reference.
Sikkerhedsoplysninger
- Use this charger only with Ni-MH and Ni-CD rechargeable batteries. Do not attempt to charge alkaline, lithium, or other non-rechargeable battery types, as this may cause explosion, leakage, or personal injury.
- Opladeren må ikke skilles ad, ændres eller repareres.
- Undgå at udsætte opladeren for vand, fugt eller ekstreme temperaturer.
- Opbevares utilgængeligt for børn.
- Tag opladeren ud af stikkontakten, når den ikke er i brug, eller før rengøring.
- Ensure proper battery polarity (+/-) when inserting batteries into the charger.
- If the charger or batteries become excessively hot during charging, discontinue use immediately and unplug the device.
Pakkens indhold
- 1 x Mitzu MC-202 Universal Battery Charger
- Note: Some product bundles may include 2 x 1300 mAh AA Ni-MH rechargeable batteries. Please check your specific product packaging.
Produkt overview
The Mitzu MC-202 is a compact and easy-to-use charger designed for Ni-MH and Ni-CD batteries. It features two charging slots for AA/AAA batteries and one slot for a 9V battery, along with a charging indicator.

Billede: Front view of the Mitzu MC-202 universal battery charger with two AA batteries inserted. The charger is white with red indicator lights above each AA slot.

Billede: Tilbage view of the Mitzu MC-202 battery charger, featuring a foldable power plug and a label detailing its specifications and model number.
Opsætning
- Pak opladeren ud: Carefully remove the Mitzu MC-202 charger from its packaging.
- Undersøg for skader: Kontrollér opladeren for synlige skader. Må ikke anvendes, hvis den er beskadiget.
- Forbered batterier: Ensure the batteries you intend to charge are Ni-MH or Ni-CD type.
Betjeningsvejledning
- Indsæt batterier:
- For AA/AAA batteries: Insert up to two AA or AAA Ni-MH/Ni-CD batteries into the designated slots, ensuring correct polarity (+ and -). The positive (+) end of the battery should align with the positive (+) terminal in the charger, and the negative (-) end with the negative (-) terminal.
- For 9V battery: Insert one 9V Ni-MH/Ni-CD battery into the dedicated 9V slot, matching the polarity.
- Tilslut til strøm: Fold out the charger's power plug and insert it into a standard electrical outlet (100-240V AC, 50-60Hz).
- Skærmopladning: The charging indicator light(s) will illuminate to show that charging is in progress. The charger monitors the charging status for convenience.
- Fjern batterier: Once charging is complete (the indicator light may change or turn off, depending on the specific model's behavior), unplug the charger from the outlet and carefully remove the charged batteries.

Billede: A hand inserting a Mitzu AA battery into a remote control, illustrating the correct orientation for battery placement. This principle applies to inserting batteries into the charger as well.
Opretholdelse
- Rensning: Tag opladeren ud af stikkontakten før rengøring. Tør opladerens yderside af med en blød, tør klud. Brug ikke flydende rengøringsmidler eller opløsningsmidler.
- Opbevaring: Opbevar opladeren et køligt, tørt sted væk fra direkte sollys og fugt, når den ikke er i brug.
- Batteripleje: For optimal battery life, avoid overcharging and completely discharging rechargeable batteries.
Fejlfinding
| Problem | Mulig årsag | Løsning |
|---|---|---|
| Opladerens indikatorlampe lyser ikke. |
|
|
| Batteries do not charge or charge slowly. |
|
|
| Charger or batteries become very hot. |
|
|
Specifikationer
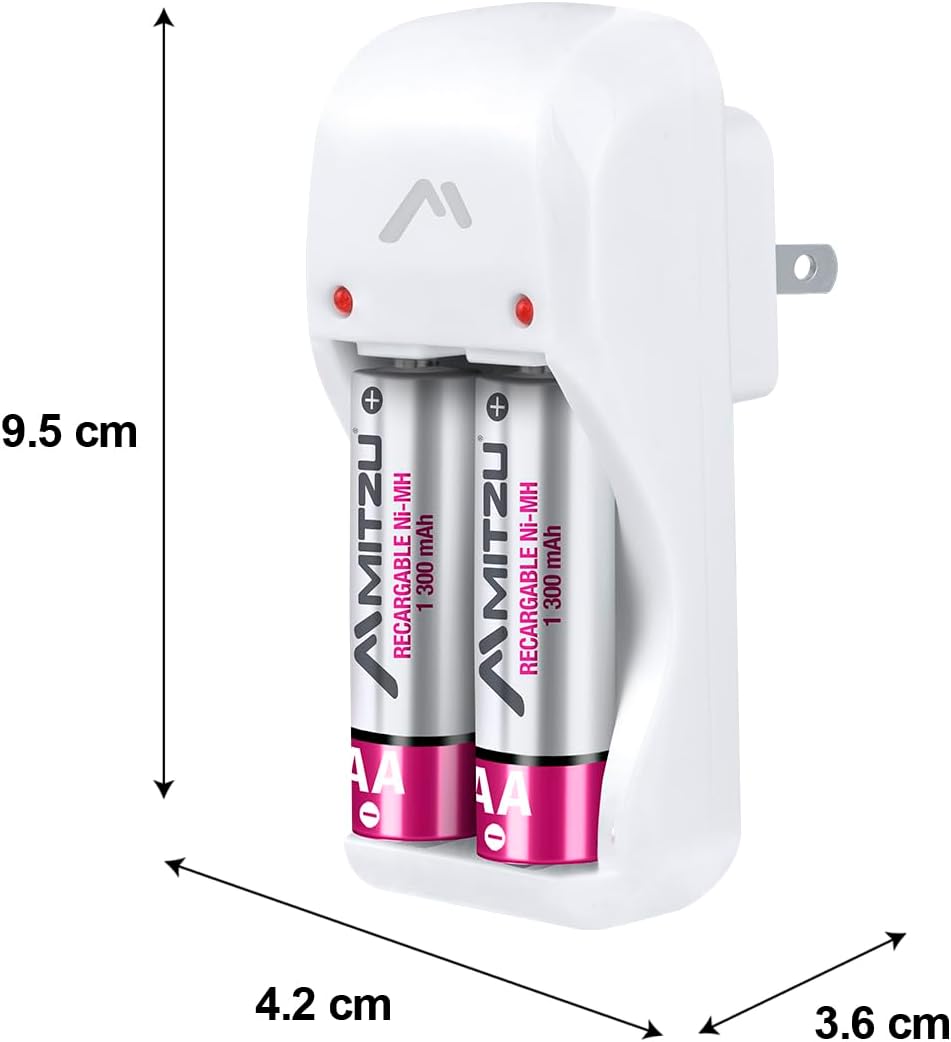
Billede: Mitzu MC-202 charger with dimensions labeled: approximately 9.5 cm height, 4.2 cm width, and 3.6 cm depth.
| Feature | Detalje |
|---|---|
| Mærke | Mitzu |
| Model | MC-202 |
| Varenummer | MC-202 |
| Input | 100-240V AC, 50-60Hz, 0.5W |
| Output 1 (AA/AAA) | 1.2V DC, 120mA x 2 |
| Output 2 (9V) | 8.4V DC, 35mA x 1 |
| Kompatible batterityper | Ni-MH, Ni-CD |
| Kompatible batteristørrelser | AA, AAA, 9V |
| Product Dimensions (Charger Unit) | 9.5 cm (Højde) x 4.2 cm (Bredde) x 3.6 cm (Dybde) |
| Pakkedimensioner | 44 x 26 x 22.5 cm |
| Produktets vægt | 450 g |
| Battery Capacity (for included AA batteries, if applicable) | 1300 mAh (NiMH) |
| Batterier medfølger | No (for charger unit only; some product bundles may include batteries) |
Garanti og support
For warranty information or technical support, please refer to the contact details provided on your product packaging or visit the official Mitzu webwebstedet. Behold din købskvittering som købsbevis.
Mitzu Official Store: Visit Mitzu Store on Amazon.com.mx