Indledning
This manual provides detailed instructions for the safe installation, operation, and maintenance of your Globe Electric 65186 Dobson 1-Light Flush Mount Ceiling Light. Please read all instructions carefully before beginning installation and retain this manual for future reference.
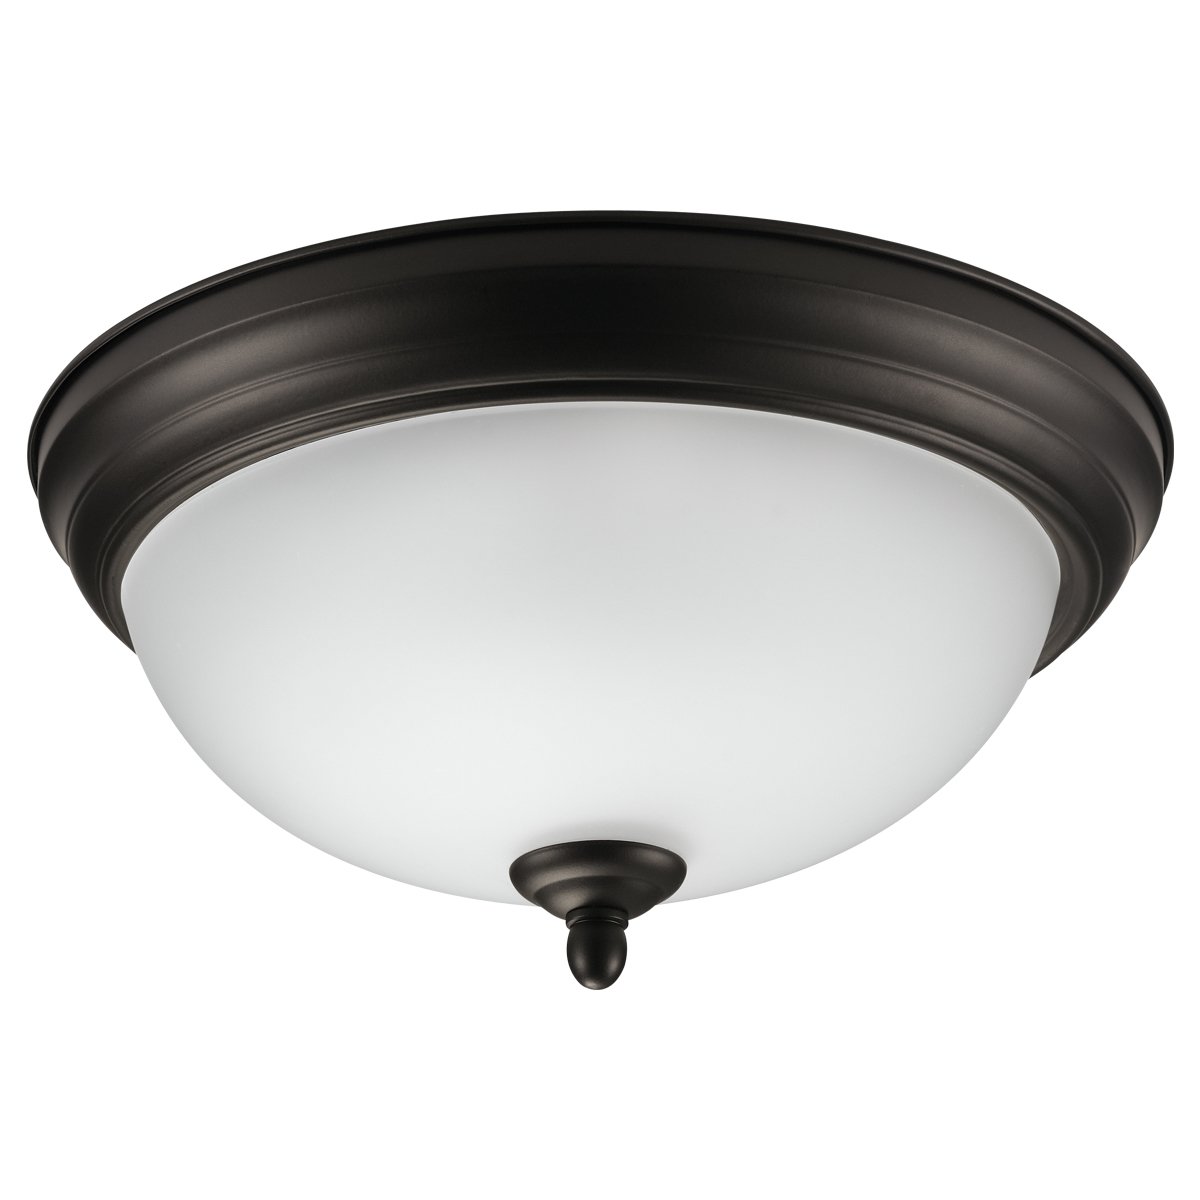
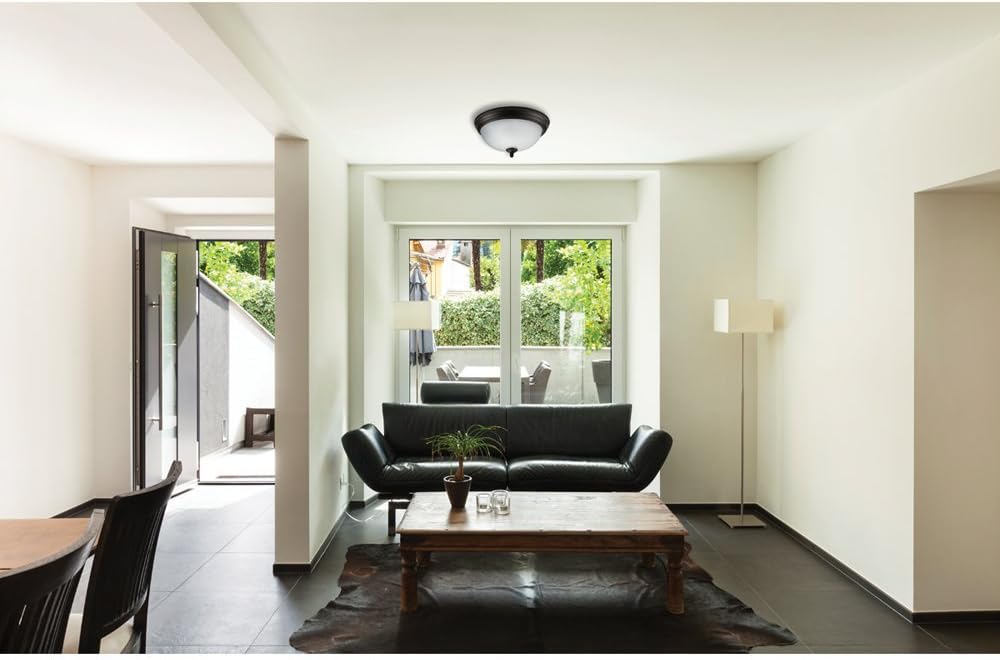
Figure 1: Globe Electric 65186 Dobson 1-Light Flush Mount Ceiling Light. This image shows the complete light fixture with its dark bronze finish and frosted glass shade.
Sikkerhedsoplysninger
ADVARSEL: For at undgå elektrisk stød skal du sørge for, at strømmen er afbrudt ved afbryderen før installation eller service. Al ledningsføring skal være i overensstemmelse med nationale og lokale el-forskrifter. Hvis du er usikker på ledningsføringen, skal du kontakte en kvalificeret elektriker.
- Installer ikke denne lampe i våde omgivelser. Kun egnet til indendørs brug.
- Brug kun den specificerede pæretype og wattage for at forhindre overophedning.
- Håndter glaskomponenter forsigtigt for at forhindre brud.
- Hold brandfarlige materialer væk fra lysarmaturet.
Pakkens indhold
Kontroller, at alle komponenter er til stede, før installationen påbegyndes:
- 1 x Light Fixture (Dark Bronze finish)
- 1 x Frosted Glass Shade
- 1 x Mounting Hardware Kit (includes screws, wire nuts, etc.)
- 1 x brugsanvisning
Note: 1x Medium Base/E26 A-Type 60W Bulb is ikke medfølger og skal købes separat.
Opsætning og installation
Follow these steps for proper installation of your flush mount ceiling light:
- Sluk for strømmen: Locate the circuit breaker controlling the light fixture's power supply and turn it off. Confirm power is off by attempting to turn on the light switch.
- Forbered monteringsoverfladen: Ensure the ceiling junction box is securely mounted and capable of supporting the fixture's weight.
- Fastgør monteringsbeslag: Secure the mounting bracket (included in hardware kit) to the junction box using the provided screws.
- Ledningsforbindelser: Connect the fixture's wires to the corresponding house wires (black to black, white to white, ground to ground) using the provided wire nuts. Ensure all connections are secure.
- Secure Fixture to Bracket: Carefully align the fixture with the mounting bracket and secure it using the provided screws.
- Installer pære: Screw in one E26 A-Type 60W maximum bulb (sold separately) into the socket.
- Fastgør glasskærm: Carefully place the frosted glass shade onto the fixture and secure it according to the design (typically by twisting or using decorative nuts).
- Gendan strøm: Tænd for strømmen igen ved afbryderen.
Figur 2: Intern view of the light fixture, illustrating the E26 bulb base and ironwork chassis for secure bulb installation.
Installationsvideoguide
Video 1: This video demonstrates the installation process for a similar flush mount ceiling light, providing a visual guide to complement the written instructions.
Betjeningsvejledning
Once installed, your Globe Electric 65186 Dobson light fixture is ready for use.
- Tænd/sluk: Operate the light using your standard wall switch.
- Dæmpbar funktion: This fixture is fully dimmable. If connected to a compatible dimmer switch (sold separately), you can adjust the light intensity to create your desired ambiance.
- Pære type: The fixture requires one E26 A-Type bulb. For optimal performance and safety, do not exceed the maximum wattage på 60W.
Opretholdelse
Regelmæssig vedligeholdelse sikrer din lampes levetid og optimale ydeevne.
- Rensning: Turn off power before cleaning. Wipe the fixture with a soft, dry cloth. Do not use abrasive cleaners or solvents, as they may damage the finish or glass.
- Udskiftning af pære: Turn off power before replacing the bulb. Allow the bulb to cool completely. Unscrew the old bulb and replace it with a new E26 A-Type 60W maximum bulb.
- Inspektion: Kontrollér regelmæssigt alle elektriske forbindelser og monteringsbeslag for tæthed.
Fejlfinding
Hvis du støder på problemer med din lampe, kan du se følgende almindelige problemer og løsninger:
| Problem | Mulig årsag | Løsning |
|---|---|---|
| Lyset tændes ikke. | 1. Power is off at the circuit breaker. 2. Løs ledningsforbindelse. 3. Defekt pære. | 1. Check and reset the circuit breaker. 2. Turn off power, check and secure all wire connections. 3. Udskift pæren. |
| Lyse flimrer. | 1. Løs pære. 2. Incompatible dimmer switch. 3. Løs ledningsforbindelse. | 1. Spænd pæren. 2. Ensure dimmer switch is compatible with the bulb type. 3. Turn off power, check and secure all wire connections. |
| Lyset er for svagt. | 1. Lavt wattage pære. 2. Dimmer setting is too low. | 1. Udskift med en højere watttage pære (op til 60W). 2. Adjust the dimmer switch to a higher setting. |
Specifikationer
- Mærke: Globe Electric
- Modelnummer: 65186
- Farve: Oliebronze
- Materiale: Metal, glas
- Stil: Moderne
- Lysarmaturform: Tæt på loft / Planmontering
- Produktdimensioner: 27.9L x 27.9W x 13.3H Centimetres (11L x 11W x 5.2H inches)
- Indendørs/udendørs brug: Indendørs
- Strømkilde: Hardwire Electric
- Kontrolmetode: Berøring (via vægkontakt)
- Antal lyskilder: 1
- Voltage: 120 volt
- Wattage: 60 watt (maksimalt)
- Pære base: E26
- Embellishment Feature: Dæmpbar
- Varens vægt: 1.25 kg
- Montering påkrævet: Ingen
Garanti og support
This Globe Electric product comes with a 2 års producentgaranti.
For technical support, warranty claims, or further assistance, please contact Globe Electric customer service. Refer to the product packaging or the official Globe Electric webhjemmeside for de seneste kontaktoplysninger.
Manufacturer Contact Information: Pointe-Claire, QC H9R 1A8, CA