1. Introduktion
This manual provides essential information for the proper installation, operation, and maintenance of your Goodmans GSCOUTHD HD Dash Camera. Please read this manual thoroughly before using the device to ensure optimal performance and safety. This dash camera is designed to record video footage while driving, offering features such as 1080p HD recording, a wide-angle lens, GPS tracking, and impact detection.
2. Pakkens indhold
Carefully unpack the box and ensure all items are present. If any items are missing or damaged, please contact your retailer.

Image: All components included in the Goodmans GSCOUTHD Dash Camera package.
- Goodmans GSCOUTHD HD Dash Camera
- Sugekopmontering
- Biloplader (USB-adapter)
- USB kabel
- 8 GB MicroSD-kort
- Brugervejledning (dette dokument)
3. Produktet er slutview
Gør dig bekendt med kameraets komponenter og betjeningselementer.
Billede: Forfra og vinklet view of the dash camera.

Billede: Side view of the dash camera with control buttons and ports.

Billede: Bagside view of the dash camera displaying the LCD screen.
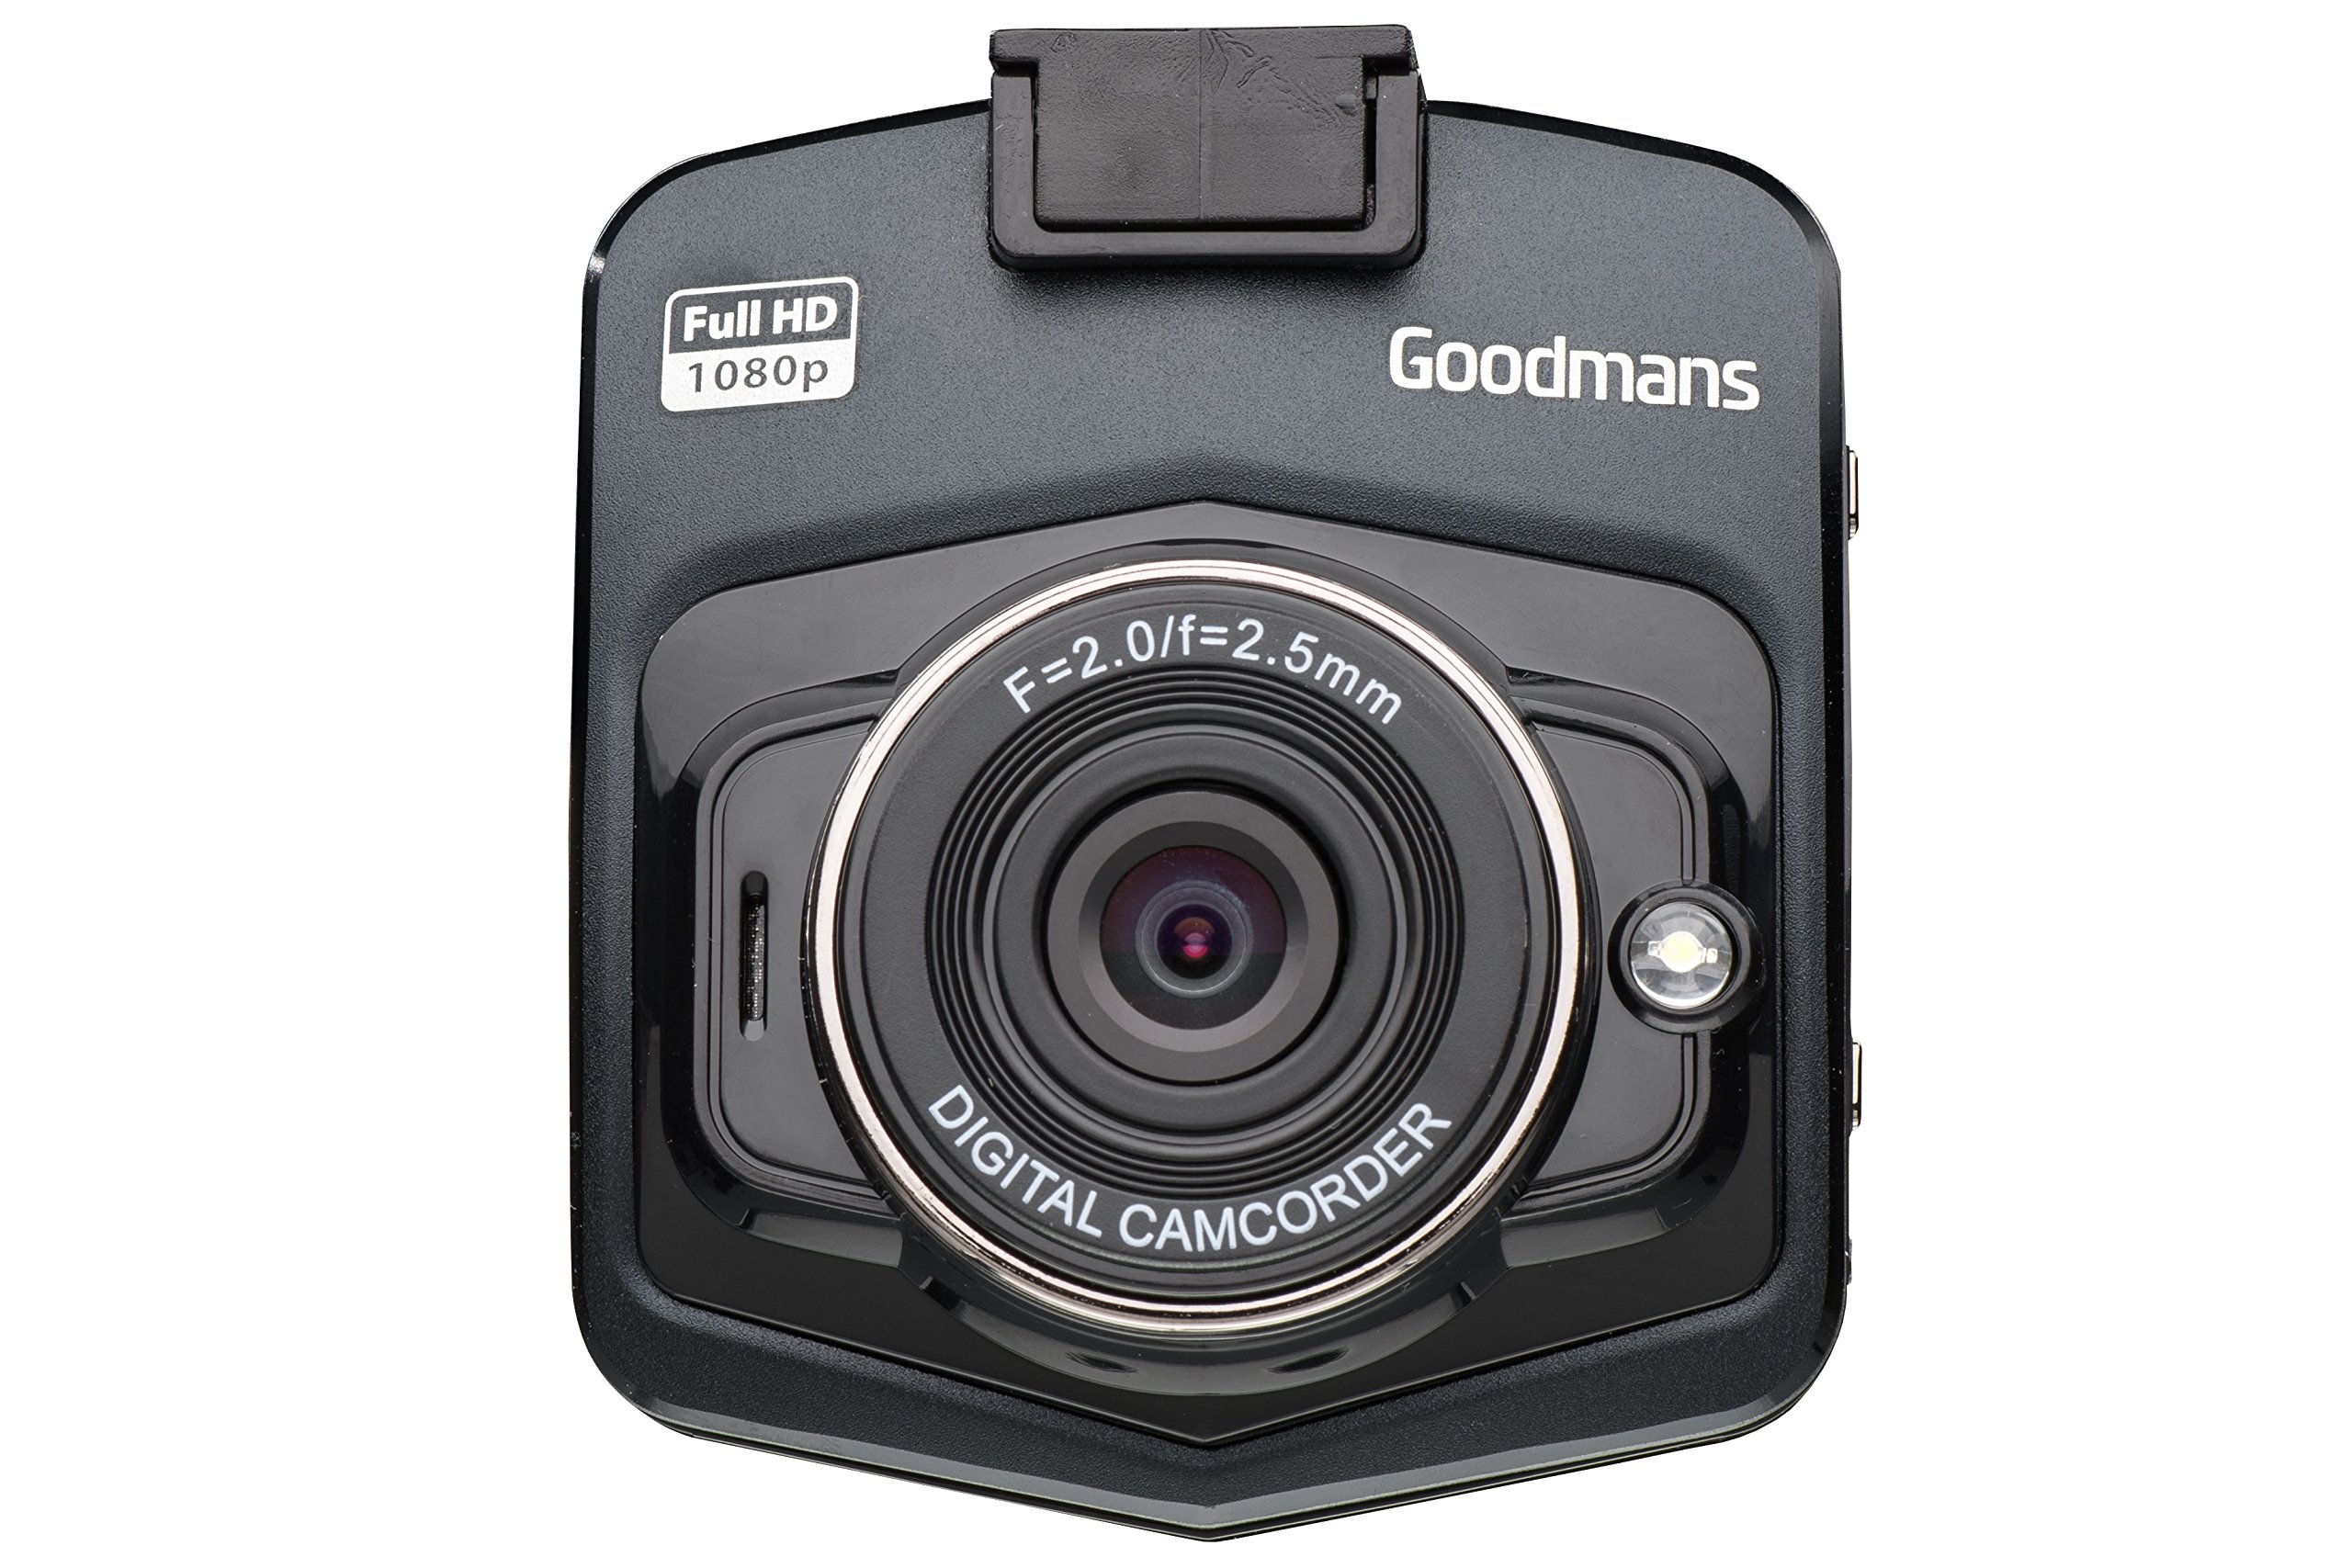
Kamerakomponenter:
- Linse: Wide-angle lens for capturing a broad view af vejen.
- LCD skærm: 2.4-tommer skærm til liveoptagelser view, menu navigation og afspilning.
- Power knap: Tænder/slukker enheden.
- Mode-knap (M): Switches between video recording, still photo, and playback modes.
- OK knap: Bekræfter valg eller starter/stopper optagelse.
- Op/Ned knapper: Navigates through menu options or playback.
- MicroSD Card Slot (TF): Til isætning af hukommelseskortet.
- Mini USB-port: Til strømforsyning og dataoverførsel.
- Nulstil knap: (Small pinhole) For factory reset if needed.
- Højttaler/mikrofon: Til lydoptagelse og -afspilning.
4. Opsætning
4.1. Opladning af enheden
Before first use, fully charge the dash camera's internal battery. Connect the camera to the car charger or a USB power source using the provided USB cable. The charging indicator will illuminate during charging and turn off when fully charged.
4.2. Isætning af MicroSD -kortet
The camera requires a MicroSD card (8GB included) for recording. Ensure the camera is powered off before inserting or removing the card.
- Find MicroSD-kortstikket på siden af kameraet.
- Indsæt MicroSD-kortet med de gyldne kontakter vendt mod kameraets bagside, indtil det klikker på plads.
- For at fjerne det skal du forsigtigt skubbe kortet ind, indtil det klikker. Slip det derefter, hvorefter det springer ud.
4.3. Montering af dashkameraet
The suction cup mount allows for secure attachment to your vehicle's windshield.

Image: Dash camera mounted on the suction cup.
- Rengør det område på din forrude, hvor du har til hensigt at montere kameraet.
- Attach the camera to the suction cup mount.
- Tryk sugekoppen godt mod forruden, og vip håndtaget for at fastgøre den.
- Juster kameravinklen for at sikre et klart billede view of the road, avoiding obstruction from wipers or the rearview spejl.
4.4. Tilslutning til strøm
For continuous operation, connect the dash camera to your vehicle's 12V power outlet using the provided car charger.
- Sæt bilopladeren i bilens 12V-stikkontakt (cigarettænder).
- Connect the small end of the USB cable to the camera's Mini USB port and the other end to the car charger.
- The camera will typically power on automatically when the vehicle's ignition is turned on and begin recording.
5. Betjeningsvejledning
5.1. Tænd/sluk
- Manuel tænding: Tryk og hold tænd/sluk-knappen nede i et par sekunder.
- Manuel slukning: Tryk og hold tænd/sluk-knappen nede, indtil skærmen slukker.
- Automatisk tænd/sluk: When connected to the car charger, the camera will power on and off with the vehicle's ignition.
5.2. Optagelsestilstande
Kameraet understøtter forskellige optagetilstande:
- Videooptagelse: The default mode. Press the OK button to start/stop recording. Videos are saved in segments (e.g., 1, 3, or 5 minutes) to the MicroSD card.
- Loop-optagelse: When the memory card is full, the camera will automatically overwrite the oldest unlocked files.
- Støddetektion (G-sensor): I tilfælde af et pludseligt stød eller sammenstød låser den indbyggede G-sensor automatisk den aktuelle video. file to prevent it from being overwritten. These files gemmes i en separat mappe.
- Stillbillede-tilstand: Press the Mode button to switch to photo mode. Press OK to take a picture.
5.3. Menu navigation
To access the camera settings:
- Stop enhver aktiv optagelse.
- Tryk på Mode-knappen for at komme ind i menuen.
- Use the Up/Down buttons to navigate through options.
- Press OK to select an option or enter a sub-menu.
- Press the Mode button again to exit the menu.
5.4. GPS-funktionalitet
Det integrerede GPS-modul registrerer din kørerute, hastighed og positionsdata. Disse oplysninger kan viewed using compatible playback software on a computer (software not included, typically available from manufacturer's webwebsted).
5.5. Afspilning
Til review recorded videos or photos on the camera:
- Press the Mode button repeatedly until you enter Playback mode.
- Use the Up/Down buttons to browse through files.
- Press OK to play a selected video or view et billede.
- Press the Mode button to exit Playback mode.
6. Vedligeholdelse
6.1. Rengøring af kameraet
- Brug en blød, tør klud til at rengøre kamerahuset.
- Brug en linserengøringsklud og en specialiseret linserengøringsopløsning til linsen for at undgå ridser.
- Brug ikke slibende rengøringsmidler eller opløsningsmidler.
6.2. Administration af hukommelseskort
- It is recommended to format the MicroSD card periodically (e.g., once a month) to maintain optimal recording performance and prevent data corruption. This can usually be done through the camera's menu settings.
- Always ensure important files sikkerhedskopieres før formatering.
- Use high-quality MicroSD cards (Class 10 or higher) for reliable recording.
6.3. Batteripleje
- Avoid exposing the camera to extreme temperatures, which can degrade battery life.
- If the camera is not used for an extended period, charge it periodically to prevent deep discharge.
7. Fejlfinding
If you encounter issues with your dash camera, refer to the following common problems and solutions:
| Problem | Mulig årsag/løsning |
|---|---|
| Kameraet tænder ikke. |
|
| "Card Error" or "No Memory Card" message. |
|
| Camera does not record. |
|
| Dårlig videokvalitet. |
|
| Suction mount detaches. |
|
8. Specifikationer
| Feature | Specifikation |
|---|---|
| Mærke | Goodmans |
| Modelnummer | GSCOUTHD |
| Farve | Sort |
| Display Type | LCD |
| Skærmstørrelse | 2.4 tommer |
| Videooptagelsesopløsning | 1080p HD |
| Effektiv stillopløsning | 2.1 megapixel |
| Særlige funktioner | Integrated GPS, Impact Detection (G-Sensor), Wide Angle Lens |
| Forbindelsesteknologi | USB |
| Kompatible enheder | Bil |
| Inkluderede komponenter | Hukommelseskort (8 GB) |
| Strømkilde | Rechargeable Battery, Car Charger |
9. Garanti og support
For warranty information and technical support, please refer to the warranty card included in your product packaging or visit the official Goodmans website. You can find more information about Goodmans in-car cameras at www.goodmans.co.uk/in-car-cameras.