
1. Produktet er slutview
The Legrand On-Q WP3404WH10 is a 4-port single gang keystone wall plate designed to support up to four keystone inserts. This white, screw-in plastic wall plate is suitable for various low-voltage applications, including data, voice, audio, and video connections. It is constructed from high-impact flame-retardant plastic, ensuring durability and safety. The design features a matte finish and is slightly larger than standard wall plates to help cover minor drywall imperfections.
- Kompatibilitet: Supports most keystone insert combinations.
- Materiale: High-impact flame-retardant plastic.
- Slutte: Matte white.
- Dimensioner: Approximately 4.69 inches (H) x 2.94 inches (W).
- Certificeringer: RoHS Compliant, UL Listed (ANSI/UL 1863).

Figur 1: Forside view of the Legrand On-Q 4-Port Keystone Wall Plate. This image shows the white plastic wall plate with four square openings for keystone inserts and two screw holes for mounting.
2. Installationsvejledning
This section outlines the steps for installing the Legrand On-Q 4-Port Keystone Wall Plate. Ensure all power is off before beginning any electrical work.
2.1 Nødvendigt værktøj og materialer
- Skruetrækker (Phillips-skruetrækker anbefales)
- Lav voltage mounting bracket or single gang wall box
- Keystone inserts (e.g., RJ45, HDMI, Coaxial)
- Associated cabling
2.2 Trin-for-trin installation
- Forbered vægåbningen: Ensure a standard single gang wall box or low voltage mounting bracket is properly installed in the wall.
- Install Keystone Inserts: Before mounting the wall plate, snap the desired keystone inserts into the four openings on the wall plate. Ensure they are oriented correctly (not upside down) to avoid difficulty in seating them fully. Apply firm, even pressure until each keystone clicks securely into place.
- Connect Cabling: Connect the appropriate cables to the rear of each keystone insert.
- Monter vægpladen: Align the wall plate with the mounting holes of the wall box or bracket. Secure the plate using the provided screws. Do not overtighten.
- Test forbindelser: Once installed, test all connections to ensure proper functionality.

Figure 2: Installation in progress. A screwdriver is used to secure the wall plate to the wall, with keystone jacks already inserted.
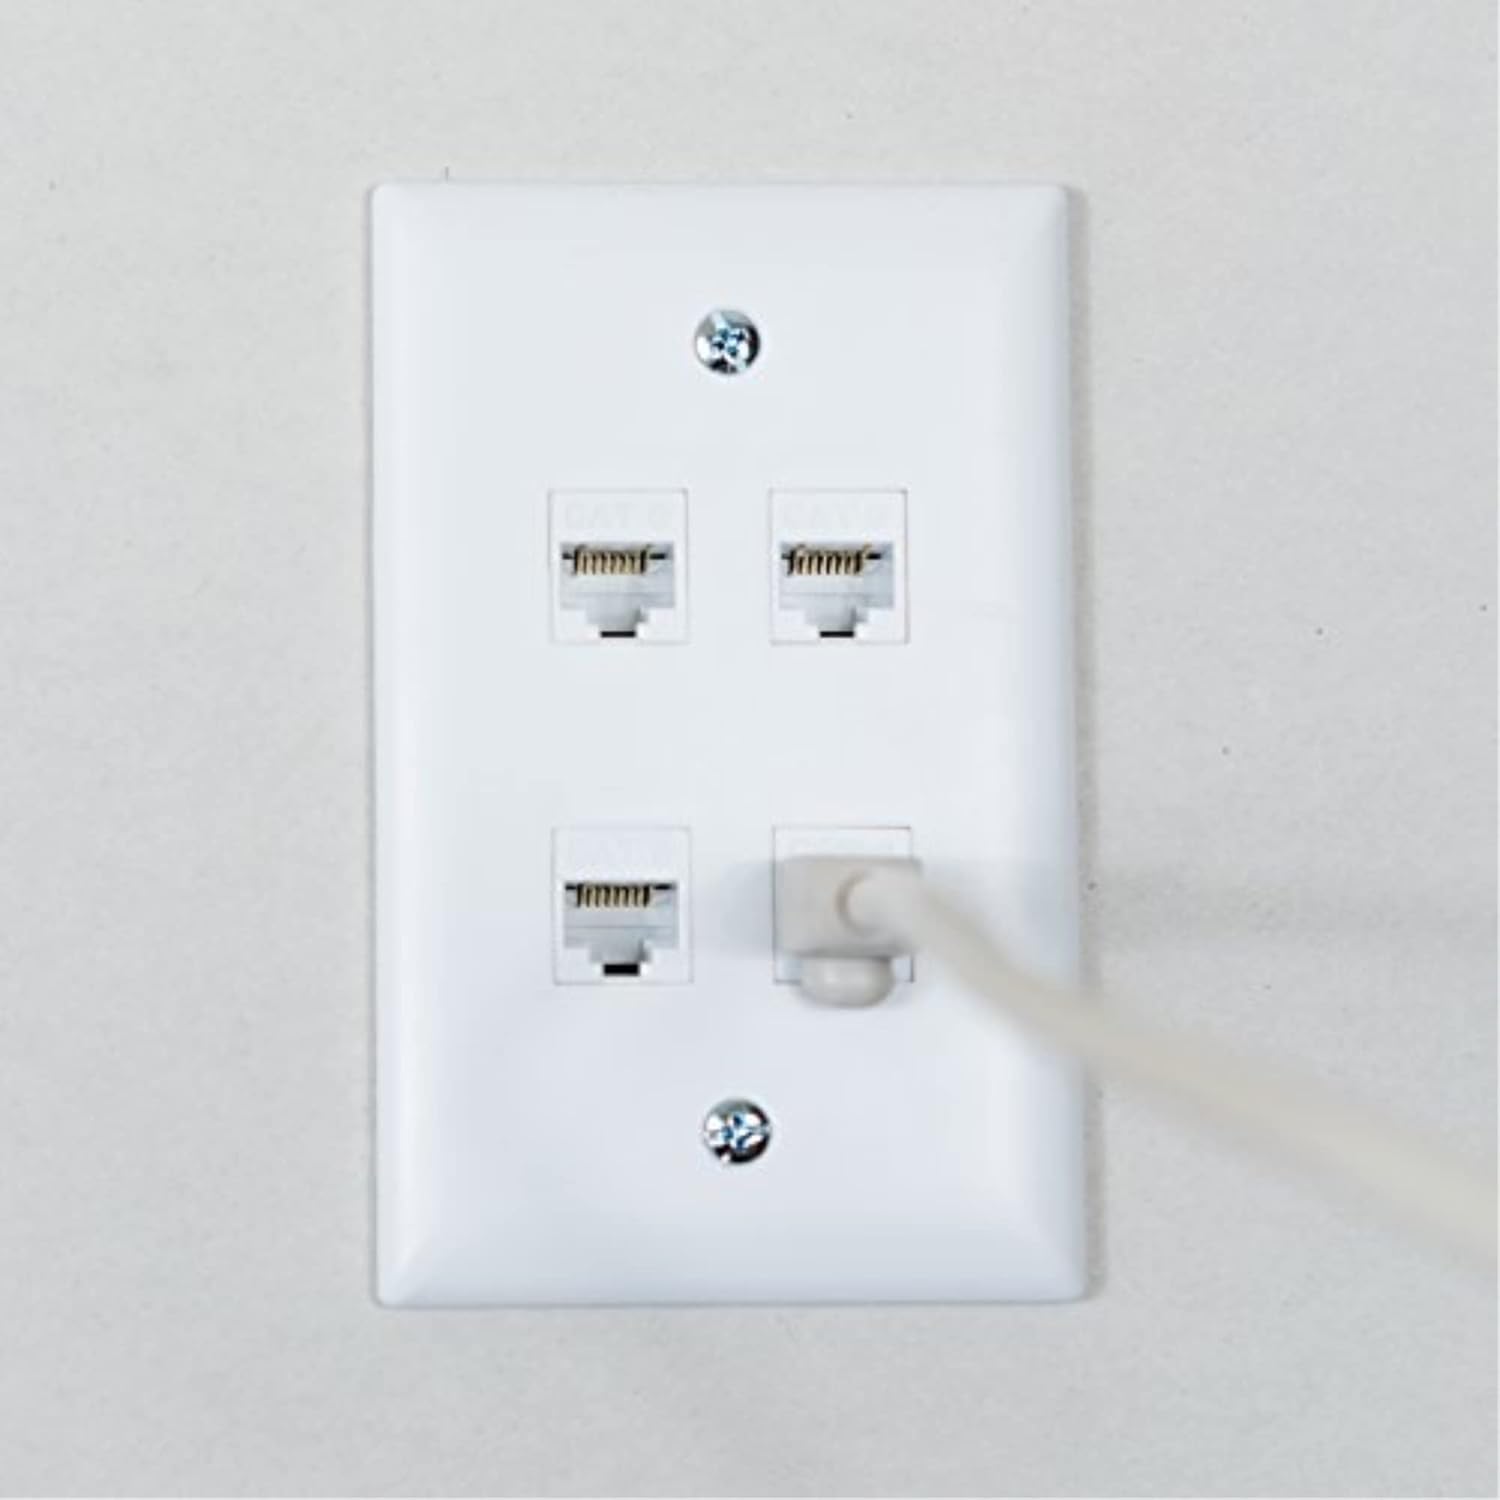
Figure 3: A network cable connected to one of the installed keystone jacks on the wall plate, demonstrating usage.
3. Betjening
The Legrand On-Q 4-Port Keystone Wall Plate functions as a passive interface for your keystone-compatible connections. Once installed and populated with keystone inserts, its operation involves simply plugging in the corresponding cables (e.g., Ethernet, HDMI, coaxial) into the front of the keystone jacks.
- Tilslutning af enheder: Insert the appropriate cable connector into the front port of the keystone jack until it clicks into place.
- Frakobling af enheder: To remove a cable, gently press the release tab (if present on the connector) and pull the cable straight out. Avoid pulling on the cable itself without releasing the tab to prevent damage to the keystone jack or cable.
4. Vedligeholdelse
The Legrand On-Q Keystone Wall Plate requires minimal maintenance to ensure its longevity and appearance.
- Rensning: Brug en blød, tør eller let damp cloth to wipe the surface of the wall plate. Avoid abrasive cleaners, solvents, or harsh chemicals, as these can damage the finish.
- Inspektion: Periodically check the wall plate and keystone inserts for any signs of damage or loose connections. Ensure mounting screws remain snug.
5. Fejlfinding
This section addresses common issues that may arise during installation or use.
| Problem | Mulig årsag | Løsning |
|---|---|---|
| Keystone insert does not snap into place easily. |
|
|
| Cables do not connect securely to keystone jacks. |
|
|
| Wall plate appears loose after installation. |
|
|
6. Specifikationer
| Attribut | Detalje |
|---|---|
| Modelnummer | WP3404WH10 |
| Mærke | On-Q (Legrand) |
| Antal havne | 4 Keystone openings |
| Gang Type | Enkelt bande |
| Farve | Hvid |
| Materiale | High Impact Flame Retardant Plastic |
| Monteringstype | Screw-In (for Single Gang Wall Box or LV Bracket) |
| Product Dimensions (H x W) | 4.69 x 2.94 cm |
| Finish Type | Plastic, Matte |
| Certificeringer | UL Listed (ANSI/UL 1863), RoHS Compliant |
| Varens vægt | 8 ounce |
| UPC | 804428121497 |

Figure 4: Diagram showing the approximate dimensions of the wall plate: 4.69 inches in height and 2.94 inches in width.
7. Garanti og support
For specific warranty information regarding your Legrand On-Q WP3404WH10 wall plate, please refer to the documentation included with your purchase or visit the official Legrand On-Q website. General product support and technical assistance can also be found through the manufacturer's resources.
Fabrikant: Legrand On-Q
Webwebsted: www.legarand.us/onq (Dette er et generelt link, specifikke supportsider kan variere)


