1. Produktet er slutview
The Helix 50 Key Lockable Key Cabinet is designed to provide secure and organized storage for up to 50 keys. Constructed from durable solid alloy with a white powder-coated finish, this cabinet is suitable for various environments, including offices and entryways. It features robust metal key hooks and a secure cylinder lock to ensure the safety of your keys.
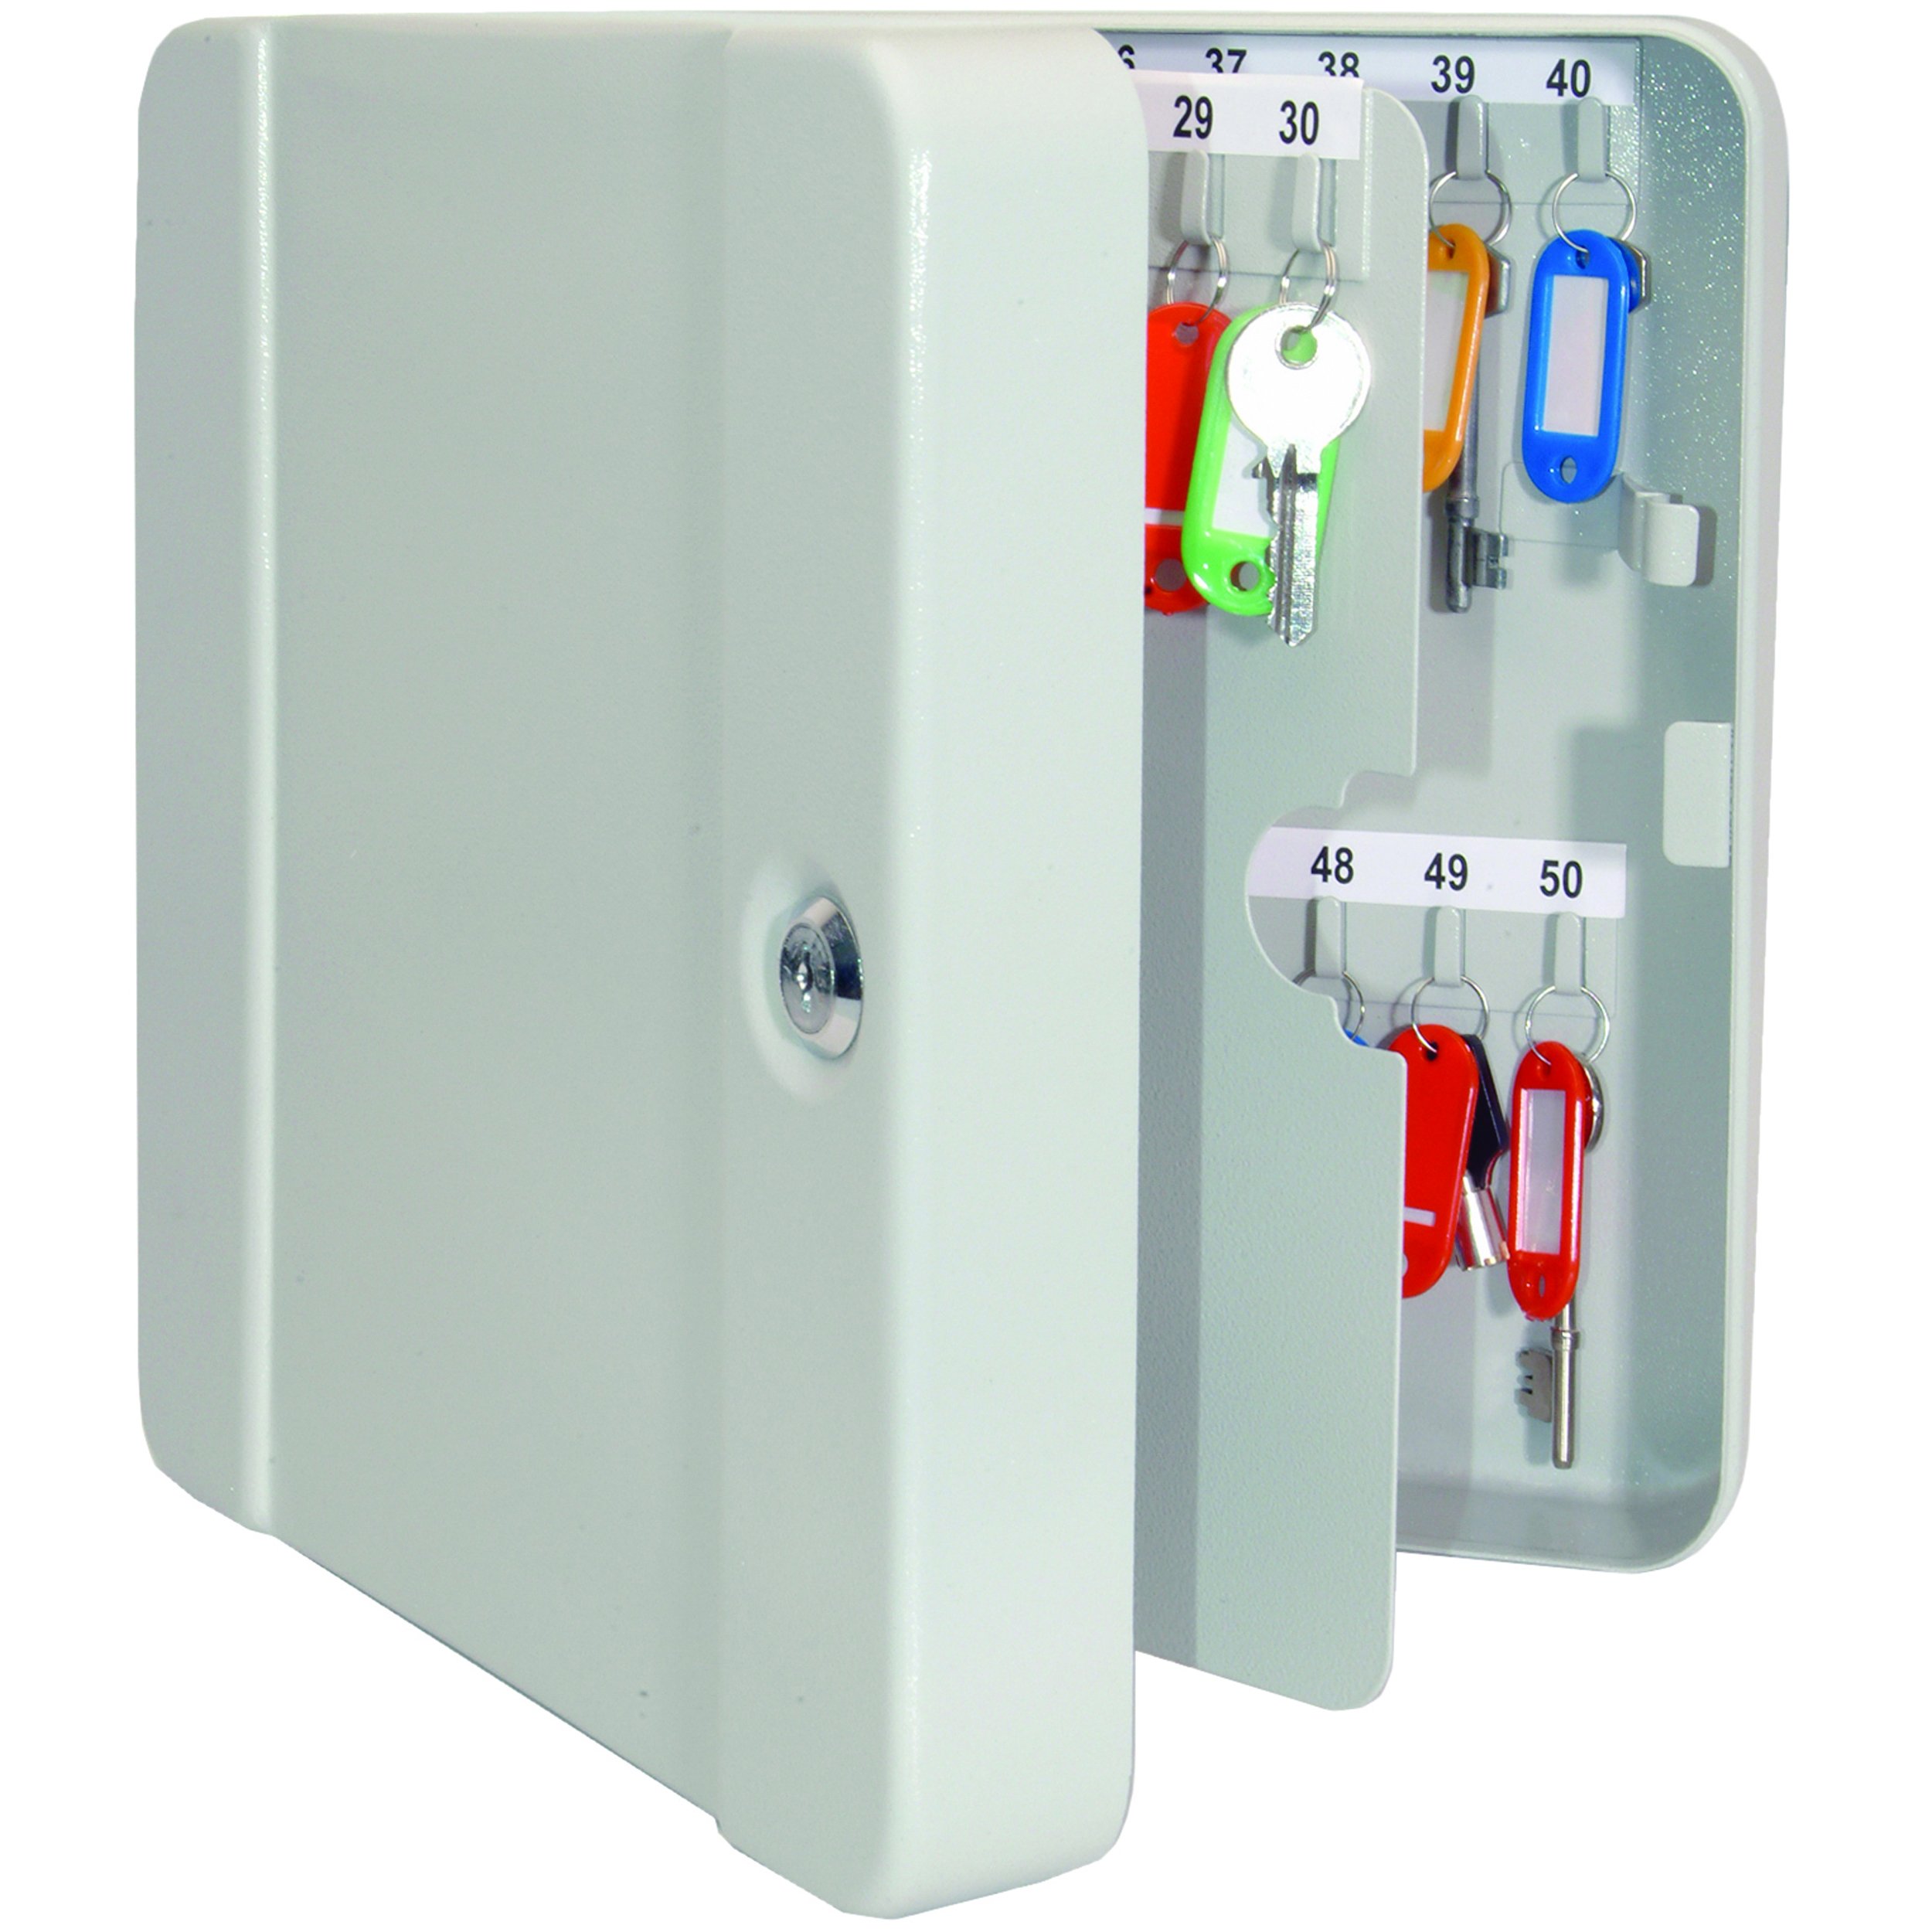
Image 1.1: The Helix 50 Key Lockable Key Cabinet in its closed position, highlighting its white finish and secure cylinder lock.
Nøglefunktioner:
- Secure cabinet provides storage space for multiple keys.
- Durable, scratch-resistant steel structure.
- White powder-coated finish.
- Durable metal key hooks accommodate most car keys.
- Secure cylinder metal lock complete with two keys.
2. Opsætning og installation
The Helix 50 Key Lockable Key Cabinet is designed for surface mounting. Proper installation is crucial for security and stability.
Nødvendige værktøjer (ikke inkluderet):
- Bore
- Drill bits appropriate for your wall material
- Blyant
- Niveau
- Skruetrækker
Installationstrin:
- Vælg en placering: Select a solid wall surface that can support the weight of the cabinet and its contents. Ensure the location is discreet and secure.
- Markér borepunkter: Hold the cabinet against the wall at the desired height. Use a pencil to mark the positions of the mounting holes on the back of the cabinet. Use a level to ensure the cabinet will be straight.
- Bor pilothuller: Using an appropriate drill bit for your wall type (e.g., masonry bit for concrete, wood bit for studs), drill pilot holes at the marked locations.
- Insert Wall Anchors (if necessary): If drilling into drywall or hollow walls, insert suitable wall anchors into the pilot holes.
- Monter kabinettet: Align the cabinet's mounting holes with the drilled holes/anchors. Insert the provided screws (or stronger M8 x 80mm anchor bolts for enhanced security, as recommended by some users) and tighten them securely with a screwdriver. Ensure the cabinet is firmly attached to the wall and does not wobble.
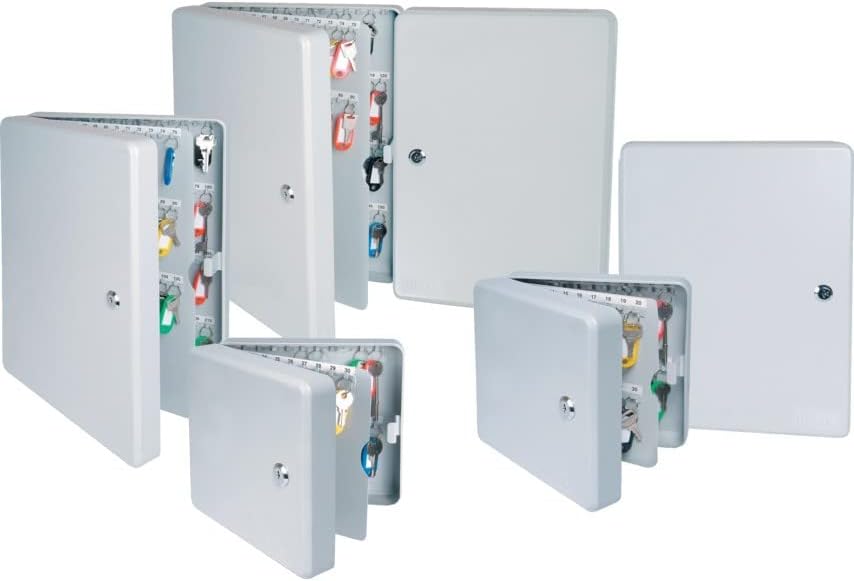
Image 2.1: A display of various Helix key cabinets, illustrating their design and mounting capability.
3. Betjeningsvejledning
This section details how to use your Helix 50 Key Lockable Key Cabinet effectively.
Opening and Closing the Cabinet:
- For at åbne: Insert one of the two provided keys into the cylinder lock on the front of the cabinet. Turn the key clockwise to unlock, then pull the door open.
- At lukke: Push the cabinet door shut firmly. Insert the key and turn counter-clockwise to lock the cabinet. Remove the key and store it in a secure location away from the cabinet.
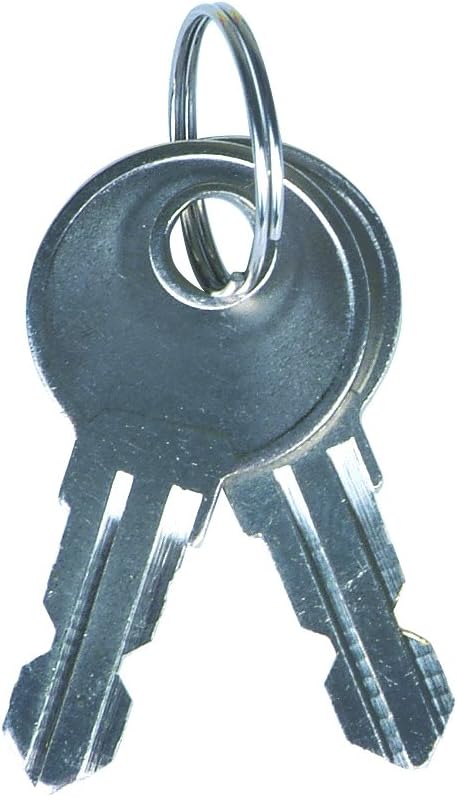
Image 3.1: The two keys provided for operating the cabinet's cylinder lock.
Organizing Your Keys:
The cabinet features 50 durable metal hooks for key storage. For optimal organization:
- Brug nøgle Tags: Fastgør hver nøgle til en nøgle tag. The cabinet comes with color-coded plastic key labels, each with a write-on paper insert. Label each tag clearly with the key's purpose or location.
- Categorize Keys: Group similar keys together (e.g., office keys, vehicle keys, storage keys) and assign them to specific rows or sections within the cabinet.
- Maintain a Key Log: For larger organizations, consider keeping a separate log of which key corresponds to which tag number and what it accesses.
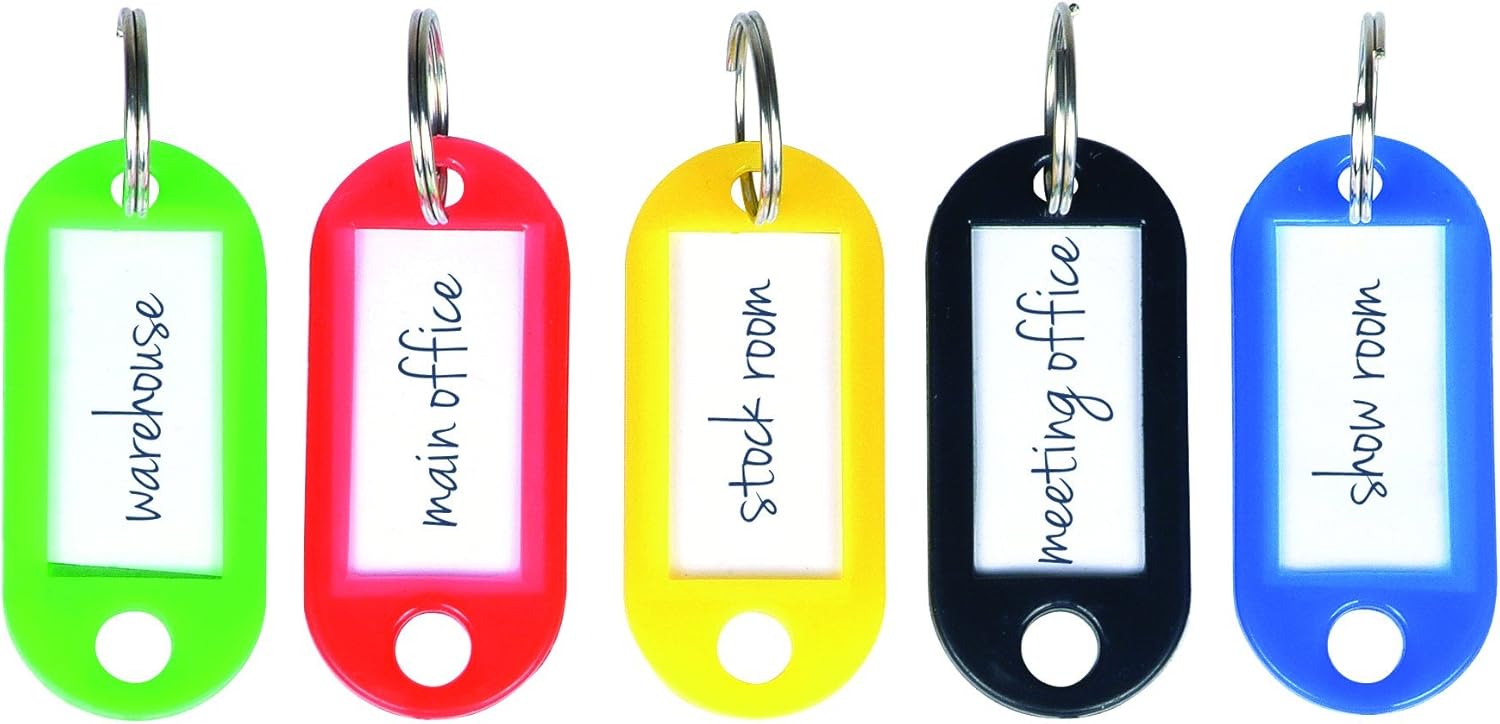
Billede 3.2: Eks.amples of color-coded key tags for efficient key identification and organization.

Image 3.3: An open key cabinet demonstrating how keys are organized on numbered hooks with tags.
4. Vedligeholdelse
Regular maintenance ensures the longevity and proper functioning of your key cabinet.
- Rensning: Wipe the exterior and interior surfaces of the cabinet with a dry, soft cloth. Avoid abrasive cleaners or solvents that could damage the powder-coated finish.
- Låsepleje: Periodically apply a small amount of graphite lubricant (not oil-based lubricants) to the keyhole to ensure smooth operation of the lock. Do not force the key if it feels stiff.
- Tjek montering: Periodically check that the cabinet remains securely mounted to the wall. Tighten any loose screws if necessary.
5. Fejlfinding
This section addresses common issues you might encounter with your key cabinet.
| Problem | Mulig årsag | Løsning |
|---|---|---|
| Nøglen er vanskelig at indsætte eller dreje. | Lock mechanism is dry or obstructed. | Apply graphite lubricant to the keyhole. Ensure the correct key is being used. |
| Skabslågen lukker ikke ordentligt. | Obstruction in the door frame or hinges. | Check for any items blocking the door. Inspect hinges for damage or misalignment. |
| Cabinet feels loose on the wall. | Monteringsskruerne er løse, eller vægankrene er ved at svigte. | Tighten mounting screws. If necessary, remove the cabinet, repair wall holes, and re-mount with stronger anchors. |
6. Specifikationer
| Mærke | Helix |
| Modelnummer | 520510 |
| Produktdimensioner | 7 x 22.4 x 20.5 cm |
| Vægt | 1.3 kg |
| Materiale | Solid Alloy |
| Farve | Hvid |
| Finish Type | Pulverlakeret |
| Nøglekapacitet | 50 nøgler |
| Monteringstype | Overflademontering |
| Montering påkrævet | Ingen |
| Batterier påkrævet | Ingen |
| Inkluderede komponenter | Key cabinet, 2 keys |
7. Sikkerhedsoplysninger
Overhold venligst følgende sikkerhedsretningslinjer:
- Be sure to securely attach the safe to the wall to avoid tipping.
- Handle the lock carefully to avoid injury.
- Keep keys safe to prevent unauthorized access.
- Do not store flammable materials or explosives inside the cabinet.
- Keep out of reach of children to prevent accidental lock-ins or access to restricted keys.
8. Garanti og support
For garantioplysninger eller teknisk support henvises til producentens officielle webwebstedet eller kontakt deres kundeserviceafdeling. Behold din købskvittering som købsbevis.