
1. Introduktion
This manual provides detailed instructions for the installation, operation, and maintenance of your JOOAN TC-404AHD-4A 4-Channel 720P AHD Wired Security Camera System. Please read this manual thoroughly before using the product to ensure proper setup and functionality. Keep this manual for future reference.
2. Produktet er slutview
The JOOAN TC-404AHD-4A system is designed to provide reliable surveillance with 720P AHD cameras, offering clear day and night vision. It features H.265+ video compression for efficient storage and supports remote access via mobile devices and PC.

Figure 2.1: JOOAN AHD Camera with Weatherproof Design, mounted on a wall with rain effects, indicating suitability for outdoor use.

Figure 2.2: Day and Night Vision Comparison. The camera automatically switches to black and white infrared vision in low light conditions.

Figure 2.3: Included Components of the JOOAN TC-404AHD-4A System. This package typically includes the DVR, four AHD cameras, necessary cables, power adapters, and a USB mouse.
3. Opsætningsvejledning
Follow these steps to set up your JOOAN security camera system.
3.1 Udpakning og første tilslutning
- Carefully unpack all components from the box. Verify that all items listed in the product overview er til stede.
- Connect the cameras to the DVR using the provided BNC cables. Ensure secure connections.
- Connect the DVR to a monitor using a VGA or HDMI cable.
- Connect the power adapters to the cameras and the DVR, then plug them into power outlets.
- The system should power on and display camera feeds on the connected monitor.
3.2 Remote Access Setup (Mobile App)
Systemet understøtter fjernbetjening viewing via a mobile application. Refer to the video below for a visual guide on setting up remote access.
Video 3.1: Operation Video for JOOAN System. This video guides you through the unboxing, quick setup, and remote access configuration for your JOOAN security system using a mobile application and PC.
- Ensure your DVR is connected to the internet via an Ethernet cable.
- Download the recommended mobile application (e.g., XMEye Pro) from your device's app store.
- Åbn appen, og opret en konto, hvis du ikke har en.
- Add your device by scanning the QR code displayed on your DVR's monitor (usually found in Network settings or Device Info).
- Når du har tilføjet det, kan du view live feeds and playback recordings remotely.
4. Betjeningsvejledning
This section covers the basic operation of your security system.
Video 4.1: 8CH Wired Security Camera System - Main Functions. This video highlights key features such as motion detection, remote monitoring, and the system's resilience to various weather conditions.
4.1 Live View og afspilning
- Levende View: After successful setup, the monitor will display live feeds from all connected cameras. You can switch between single-camera view og multikameragitter view.
- Afspilning: Access the 'Playback' option from the main menu to review optaget footage. Du kan søge efter dato, tidspunkt og hændelsestype (f.eks. bevægelsesdetektion).
4.2 Bevægelsesdetektion og advarsler
The system supports motion detection to trigger recording and send alerts.
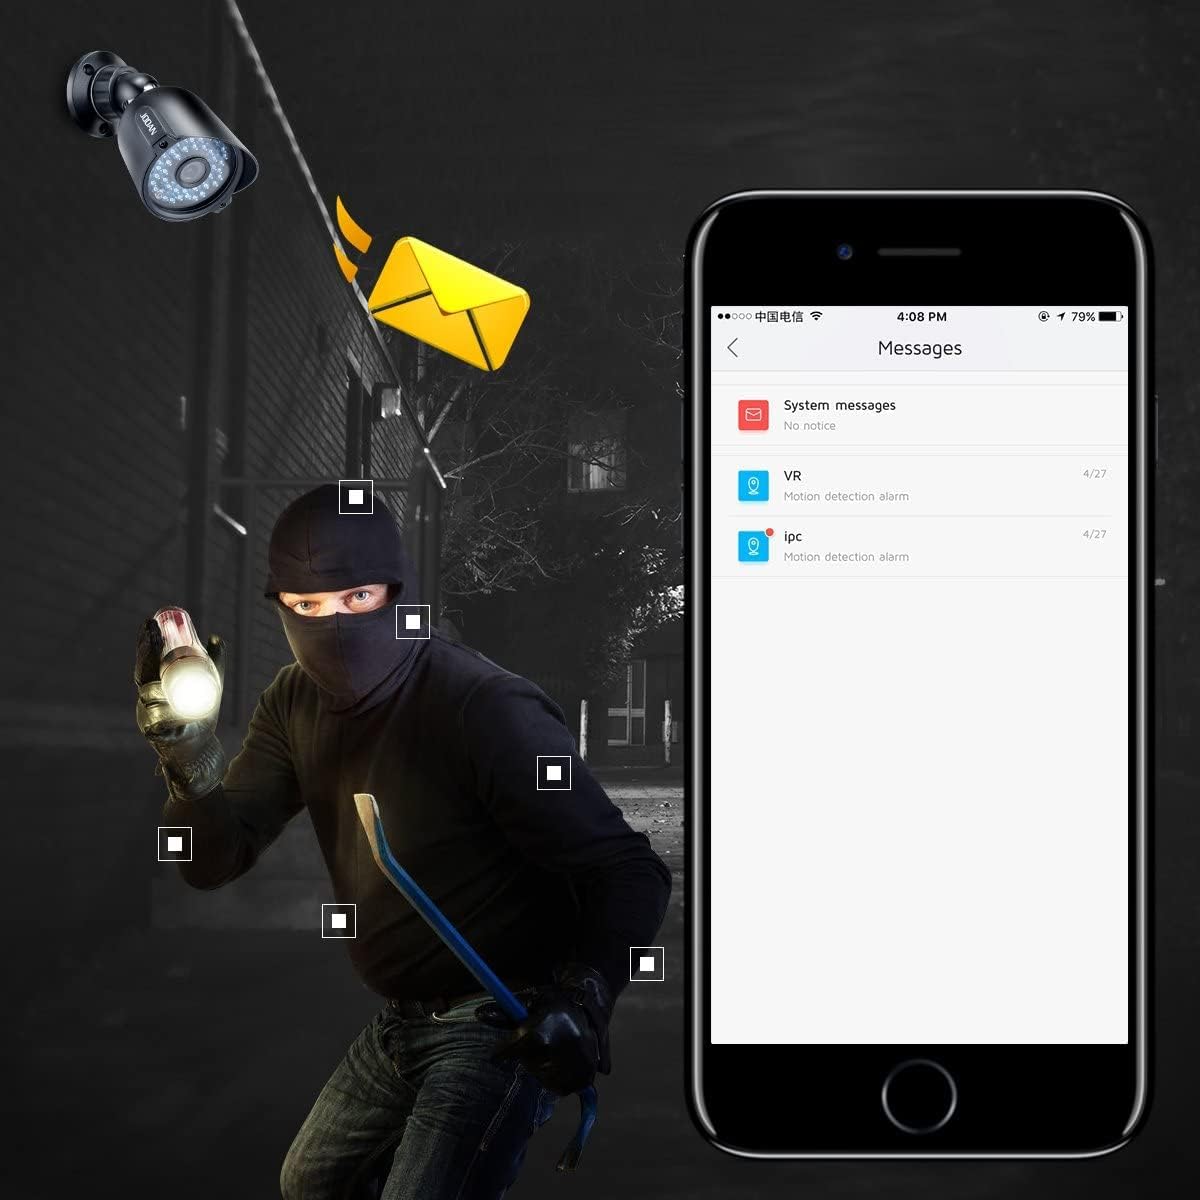
Figure 4.1: Motion Detection Alert. The system can send push notifications to your smartphone or email when motion is detected.
- From the DVR's main menu, navigate to 'Alarm' > 'Motion Detect'.
- Enable motion detection for desired channels.
- Adjust sensitivity and define detection regions as needed.
- Configure alert actions, such as sending email notifications or mobile app push alerts.
4.3 H.265+ videokomprimering
The system utilizes H.265+ encoding technology to optimize storage space while maintaining video quality.

Figure 4.2: H.265+ vs H.264 Storage Comparison. H.265+ significantly reduces storage requirements compared to older H.264 compression.
5. Vedligeholdelse
- Regelmæssig rengøring: Clean camera lenses periodically with a soft, damp klud for at sikre en klar billedkvalitet.
- Firmwareopdateringer: Tjek producentens webwebsted for firmwareopdateringer for at sikre optimal ydeevne og sikkerhed.
- Kabelinspektion: Periodically inspect all cables for wear, damage, or loose connections.
- Harddiskstyring: Ensure the DVR's hard drive has sufficient space. Configure overwrite settings if continuous recording is desired.
6. Fejlfinding
- Ingen videovisning: Check all cable connections (power, video, monitor). Ensure the monitor is set to the correct input source.
- Ingen fjernadgang: Verify the DVR is connected to the internet. Check network settings (IP address, DNS). Ensure the mobile app is correctly configured with the device.
- Dårlig billedkvalitet: Clean camera lenses. Check cable integrity. Ensure cameras are within their effective range and not obstructed.
- Bevægelsesdetektion virker ikke: Verify motion detection is enabled for the specific channel. Adjust sensitivity and detection regions. Check alert settings (email, push notifications).
- System Not Recording: Check hard drive status and ensure it is initialized and has sufficient space. Verify recording schedules are correctly set.
7. Specifikationer
| Feature | Specifikation |
|---|---|
| Mærke | JOOAN |
| Modelnummer | TC-404AHD-4A (Internal: 01-1004-000005) |
| Forbindelsesteknologi | Kablet |
| Videooptagelsesopløsning | 1080p, 720p |
| Særlige funktioner | Bevægelsessensor, Nattesyn |
| Antal kanaler | 8 |
| Strømkilde | Battery Powered (for cameras, system is wired) |
| Emnemål L x B x H | 12.99 x 6.69 x 12.8 tommer |
| Anbefalede anvendelser | Indendørs, Udendørs |
| Kompatible enheder | Kameraer, personlige computere, smartphones |
| Night Vision Range | 100 fod |
| Samlet USB-porte | 1 |
| Varens vægt | 8.8 pund |
| UPC | 700465870322 |
8. Garanti og support
JOOAN products are designed for reliability and performance. For specific warranty details, please refer to the product packaging or contact JOOAN customer service directly. Our support team is available to assist you with any questions or issues.
- Servicelinje: +86-755-33094780
- E-mail: technicalreply@qacctv.com
- Skype: market@qacctv.com


