
Indledning
Thank you for choosing the Ryobi BE319 6 Amp Corded Belt Sander. This manual provides essential information for the safe operation, maintenance, and troubleshooting of your new tool. Please read all instructions carefully before use and retain this manual for future reference.
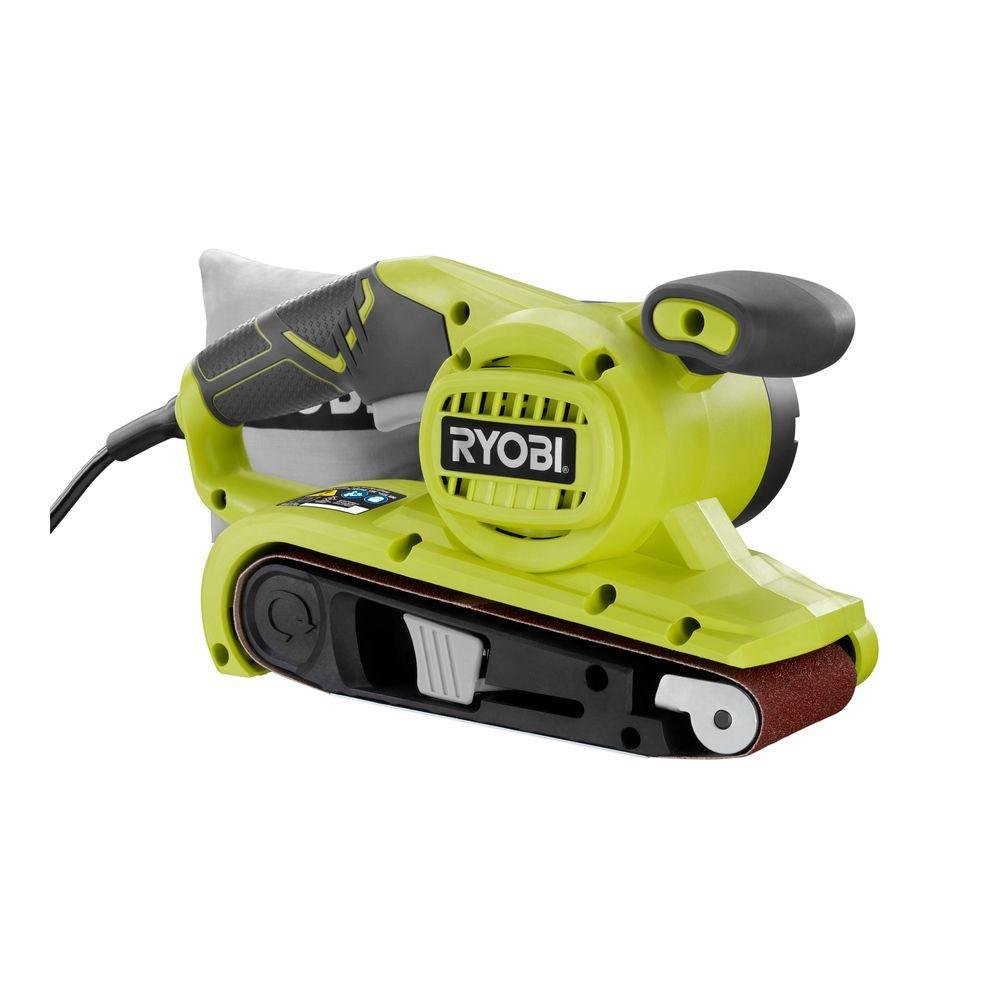
Image: The Ryobi BE319 6 Amp Corded Belt Sander, showing its compact design and ergonomic handles.
Sikkerhedsinstruktioner
ADVARSEL: Læs alle sikkerhedsadvarsler, instruktioner, illustrationer og specifikationer, der følger med dette elværktøj. Undladelse af at følge alle instruktionerne nedenfor kan resultere i elektrisk stød, brand og/eller alvorlig personskade.
Generel sikkerhed til elværktøj
- Sikkerhed på arbejdsområdet: Hold arbejdsområdet rent og godt oplyst. Brug ikke elværktøj i eksplosive atmosfærer, f.eks. i nærheden af brandfarlige væsker, gasser eller støv.
- Elektrisk sikkerhed: Elværktøjsstik skal passe til stikkontakten. Modificer aldrig stikket på nogen måde. Undgå kropskontakt med jordforbundne overflader.
- Personlig sikkerhed: Brug altid øjenbeskyttelse. Brug høreværn ved længerevarende arbejde. Klæd dig korrekt på; undgå løstsiddende tøj eller smykker.
Belt Sander Specific Safety
- Always ensure the sanding belt is properly installed and tracked before starting the sander.
- Slib ikke materialer, der indeholder asbest.
- Secure the workpiece. Do not hold small pieces by hand while sanding.
- Empty the dust bag regularly to prevent fire hazards, especially when sanding wood.
- Never operate the sander without the dust bag or an appropriate dust collection system attached.
Opsætning
1. Udpakning
Carefully remove the sander and all accessories from the packaging. Inspect the tool for any damage that may have occurred during shipping. Do not discard packaging until you are sure all components are present and the tool is in good working order.
2. Installing/Removing the Sanding Belt
- Sørg for, at slibemaskinen er frakoblet strømkilden.
- Locate the belt tension release lever on the side of the sander.
- Tryk på håndtaget for at løsne spændingen på slibebåndet.
- Slide the old belt off the rollers.
- Place the new sanding belt onto the rollers, ensuring the directional arrow on the belt matches the arrow on the sander housing.
- Return the belt tension release lever to its original position to secure the new belt.

Image: A hand demonstrating the installation of a sanding belt onto the Ryobi BE319 belt sander by engaging the belt tension release lever.
3. Montering af støvposen
Align the dust bag opening with the dust port on the sander. Push firmly until the dust bag is securely attached. Ensure it is properly seated to maximize dust collection efficiency.
Betjening af Sander
1. Strømtilslutning
Plug the sander into a standard 110-volt AC power outlet. Ensure the power cord is clear of the sanding area to prevent accidental cutting or entanglement.
2. Start og stop
- To start the sander, press the ON/OFF switch.
- To stop the sander, release the ON/OFF switch.
- For continuous operation, press the lock-on button while the switch is depressed. To release, press the switch again.
3. Slibeteknikker
Hold the sander firmly with both hands. Allow the sander to reach full speed before contacting the workpiece. Apply light, even pressure and move the sander in long, overlapping strokes in the direction of the wood grain. Avoid tilting the sander or applying excessive pressure, as this can lead to uneven sanding and premature belt wear.

Image: A person demonstrating proper two-hand grip and technique while operating the Ryobi BE319 belt sander on a wooden board.
4. Belt Tracking Adjustment
If the sanding belt drifts to one side during operation, use the belt tracking adjustment knob (typically located on the front or side of the sander) to center the belt on the rollers. Adjust incrementally until the belt runs true.
Opretholdelse
1. Rensning
- Støvpose: Empty the dust bag frequently, especially after sanding. A full dust bag reduces collection efficiency and can pose a fire risk.
- Tool Exterior: Tør ydersiden af slibemaskinen af med en ren, tør klud.amp klæde. Brug ikke skrappe kemikalier eller opløsningsmidler.
- Ventilationsåbninger: Keep the motor ventilation openings clear of dust and debris to prevent overheating. Use compressed air if necessary.
2. Udskiftning af bælte
Replace sanding belts when they become worn, torn, or no longer effectively remove material. Refer to the 'Installing/Removing the Sanding Belt' section for detailed instructions.
3. Opbevaring
Store the sander in a clean, dry place, out of reach of children. Ensure the power cord is neatly wrapped and not kinked. Do not store the sander in direct sunlight or areas of extreme temperature.
Fejlfinding
| Problem | Mulig årsag | Løsning |
|---|---|---|
| Sander starter ikke | Ingen strøm; defekt kontakt | Check power cord and outlet; ensure switch is fully engaged. |
| Belt slips or runs off track | Improper belt tension; tracking out of adjustment | Adjust belt tracking knob; ensure belt tension lever is engaged. |
| Dårlig slibeydelse | Worn out belt; incorrect grit for task | Replace sanding belt; use appropriate grit for material. |
| Overdreven vibration | Damaged belt; loose components | Inspect and replace belt if damaged; check for loose screws. |
Specifikationer
- Model: BE319
- Ampalder: 6 Amps
- Voltage: 110 volt
- Strømkilde: Elektrisk med ledning
- Bælte størrelse: 3 tommer x 18 tommer
- Bæltehastighed: 320 Feet / Minute
- Produktmål (L x B x H): 13.62 cm x 7 cm x 6.61 cm
- Vægt: 6.15 pund
- Inkluderet: Medium Grit Sanding Belt, Onboard Removable Dust Bag
Garantioplysninger
The Ryobi BE319 Belt Sander is covered by a Three Year Limited Warranty. Please refer to the warranty card included with your product for full details regarding coverage, terms, and conditions. Keep your purchase receipt as proof of purchase for warranty claims.

Image: The Ryobi Three Year Limited Warranty logo, indicating the warranty period for the product.
Støtte
For technical assistance, replacement parts, or warranty service, please contact Ryobi customer support. Contact information can typically be found on the Ryobi official webwebstedet eller på produktemballagen.