1. Introduktion
This manual provides essential information for the proper setup, operation, and maintenance of your Sony SLV-FT5 VHS Video Cassette Recorder (VCR). Please read these instructions thoroughly before using the unit to ensure optimal performance and safety.
2. Sikkerhedsoplysninger
Følg altid grundlæggende sikkerhedsforanstaltninger, når du bruger dette produkt, for at reducere risikoen for brand, elektrisk stød og personskade.
- Udsæt ikke enheden for regn eller fugt.
- Åbn ikke kabinettet. Overlad kun service til kvalificeret personale.
- Sørg for tilstrækkelig ventilation; bloker ikke ventilationsåbningerne.
- Brug kun den strømforsyning, der er angivet til denne enhed.
- Hold enheden væk fra varmekilder og direkte sollys.
3. Opsætning
3.1 Udpakning
Carefully remove the VCR and all accessories from the packaging. Verify that all components are present: the SLV-FT5 VCR unit, remote control, and necessary connection cables (e.g., RCA audio/video cables).
3.2 Tilslutning til et fjernsyn
To connect the VCR to your television, use the provided RCA audio/video cables. Match the colored plugs to the corresponding colored jacks on both the VCR and your TV (Yellow for Video, White for Left Audio, Red for Right Audio).

Figur 1: Rear panel of the Sony SLV-FT5 VCR. This image displays the various input and output ports, including RCA jacks for audio and video, and the power input. The product label with model number SLV-FT5 and power specifications (100V 18W 50/60Hz) is also visible.
3.3 Strømtilslutning
Plug the VCR's power cord into a standard electrical outlet (AC 100V, 50/60Hz). Ensure the power outlet is easily accessible.
3.4 Opsætning af fjernbetjening
Open the battery compartment on the back of the remote control and insert two AA batteries, observing the correct polarity (+/-). Close the compartment securely.

Figur 2: The Sony RMT-V219 remote control, designed for the SLV-FT5 VCR. This image also shows the included RCA audio/video cables, which are typically used for connecting the VCR to a television.
4. Betjening af videobåndoptageren
4.1 Tænd/sluk
Tryk på MAGT button on the VCR's front panel or the remote control to turn the unit on or off.
4.2 Loading and Unloading a VHS Tape
- Indlæser: Insert a VHS cassette into the tape slot on the front of the VCR with the tape window facing forward. The VCR will automatically pull the tape in.
- aflæsning: Tryk på UDSTØDE button on the VCR or remote control. The tape will be ejected.
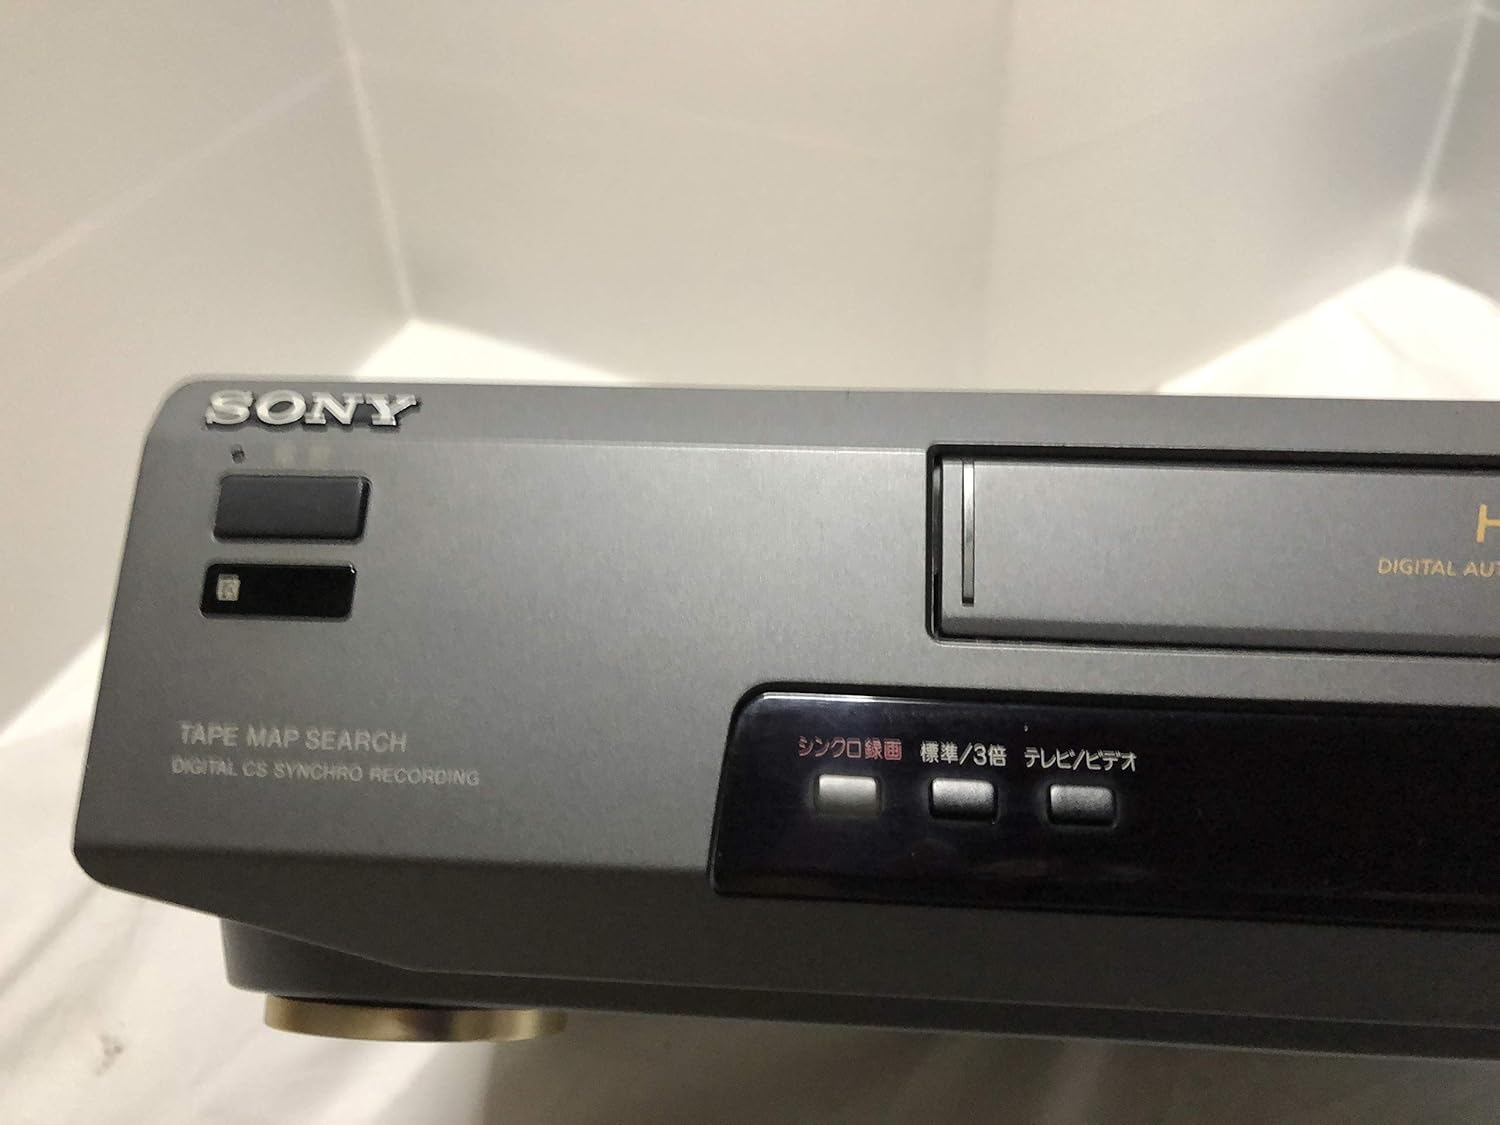
Figur 3: Front left section of the Sony SLV-FT5 VCR. This view highlights the tape loading slot and the 'TAPE MAP SEARCH' feature, which assists in navigating recorded content on a tape.
4.3 Afspilning
After loading a tape, press the SPIL button (►) on the VCR or remote control to begin playback. Use the PAUSE (∥), STOP (■), SPOLE TILBAGE (◀◀), and HURTIG FREM (►►) buttons to control playback.

Figur 4: Front right section of the Sony SLV-FT5 VCR. This image displays the main playback controls (Play, Stop, Rewind, Fast Forward, Pause) and additional buttons for 'Quick Timer' and 'Tracking' adjustments.
4.4 Optagelse
To record, ensure a blank or recordable tape is inserted. Select the desired input source (e.g., TV channel). Press the REC (●) button on the VCR or remote control. Press STOP (■) for at afslutte optagelsen.
4.5 Tracking Adjustment
If the picture quality during playback is poor (e.g., horizontal lines or noise), use the SPORING buttons on the front panel or remote control to fine-tune the tape's alignment with the VCR's heads.
5. Vedligeholdelse
5.1 Rengøring af enheden
Wipe the exterior of the VCR with a soft, dry cloth. For stubborn stains, use a cloth lightly damprengøres med en mild sæbeopløsning, og tørres derefter af. Brug ikke slibende rengøringsmidler eller opløsningsmidler.
5.2 Hovedrensning
Over time, VCR heads can accumulate dirt, leading to poor picture and sound quality. Use a commercially available dry-type VHS head cleaning cassette according to its instructions. Avoid wet-type cleaners as they can damage the heads.
5.3 Opbevaring
When not in use for extended periods, disconnect the VCR from the power outlet. Store the unit in a cool, dry place, away from dust and direct sunlight.
6. Fejlfinding
If you encounter issues with your VCR, refer to the following common problems and solutions before seeking professional service.
| Problem | Mulig årsag | Løsning |
|---|---|---|
| Ingen strøm | Netledningen er frakoblet; problem med stikkontakten | Kontrollér netledningens tilslutning; prøv en anden stikkontakt. |
| Intet billede/lyd | Incorrect TV input; loose A/V cables | Select correct TV input (e.g., Video 1, AV); ensure A/V cables are securely connected. |
| Poor picture quality (snowy, lines) | Dirty VCR heads; tracking issue; old/damaged tape | Clean VCR heads; adjust tracking; try a different tape. |
| Tape won't eject | Power issue; mechanical malfunction | Ensure power is on; try pressing EJECT multiple times. If issue persists, seek service. |
| Fjernbetjening virker ikke | Løse batterier; blokeret sensor | Replace batteries; ensure no obstacles between remote and VCR sensor. |
7. Specifikationer
| Feature | Specifikation |
|---|---|
| Mærke | Sony |
| Modelnummer | SLV-FT5 |
| Medietype | VHS |
| Opløsning | 720 x 480 pixels |
| Produktets vægt | 4160 gram |
| Lydudgangstilstand | Stereoanlæg |
| Understøttede lydformater | Monaural, Stereo |
| Videokodning | Analog |
| Kompatible enheder | Television |
| Kompatibilitet mellem inputvideo og | NTSC |
| Strømkrav | 100V, 18W, 50/60Hz |
8. Garanti og support
For warranty information and customer support, please refer to the documentation included with your purchase or visit the official Sony webwebsted. Gem din købsbevis til garantikrav.