
Indledning
This manual provides essential information for the installation, operation, and maintenance of your Dorman 1590000 Driver Side Headlight Assembly. This replacement headlight is engineered to match the fit and performance of the original equipment on compatible vehicles. Please read this manual thoroughly before installation and use to ensure proper function and longevity of the product.
This headlight assembly is compatible with select Cadillac, Chevrolet, and GMC models, including various years of Cadillac Escalade, Chevrolet Blazer, C1500/K1500 Suburban, C1500/K1500, C2500/K2500 Suburban, C2500/K2500, C3500/K3500, Suburban 1500, Tahoe, and GMC C1500/K1500 Suburban, C1500/K1500, C2500/K2500 Suburban, C2500/K2500, C3500/K3500, and Yukon. Refer to your vehicle's service manual for specific compatibility details.
Opsætning og installation
The Dorman 1590000 Headlight Assembly is designed for seamless replacement and easy installation, matching the exact original dimensions for proper fit. Professional installation is recommended, but if performing the installation yourself, ensure you have the necessary tools and follow all safety precautions.
Kontrol før installation:
- Verify vehicle compatibility using the provided product information.
- Ensure the vehicle's electrical system is off and the battery is disconnected before beginning work.
- Inspect the new headlight assembly for any shipping damage.
Installationstrin (generel vejledning):
- Access the existing headlight assembly. This may involve removing the grille or other front-end components depending on your vehicle model.
- Disconnect the electrical connectors from the old headlight assembly.
- Remove any mounting bolts or clips securing the old headlight assembly.
- Carefully remove the old headlight assembly from the vehicle.
- Position the new Dorman 1590000 Headlight Assembly into the vehicle's headlight opening.
- Secure the new assembly using the original mounting bolts or clips. Ensure it is seated properly and aligned.
- Reconnect the electrical connectors to the new headlight assembly.
- Before reassembling the front-end components, reconnect the battery and test the headlight function (low beam, high beam, turn signal if integrated).
- Adjust the headlight aim as necessary (refer to the Operating section).
- Geninstaller alle afmonterede gitter- eller frontkomponenter.
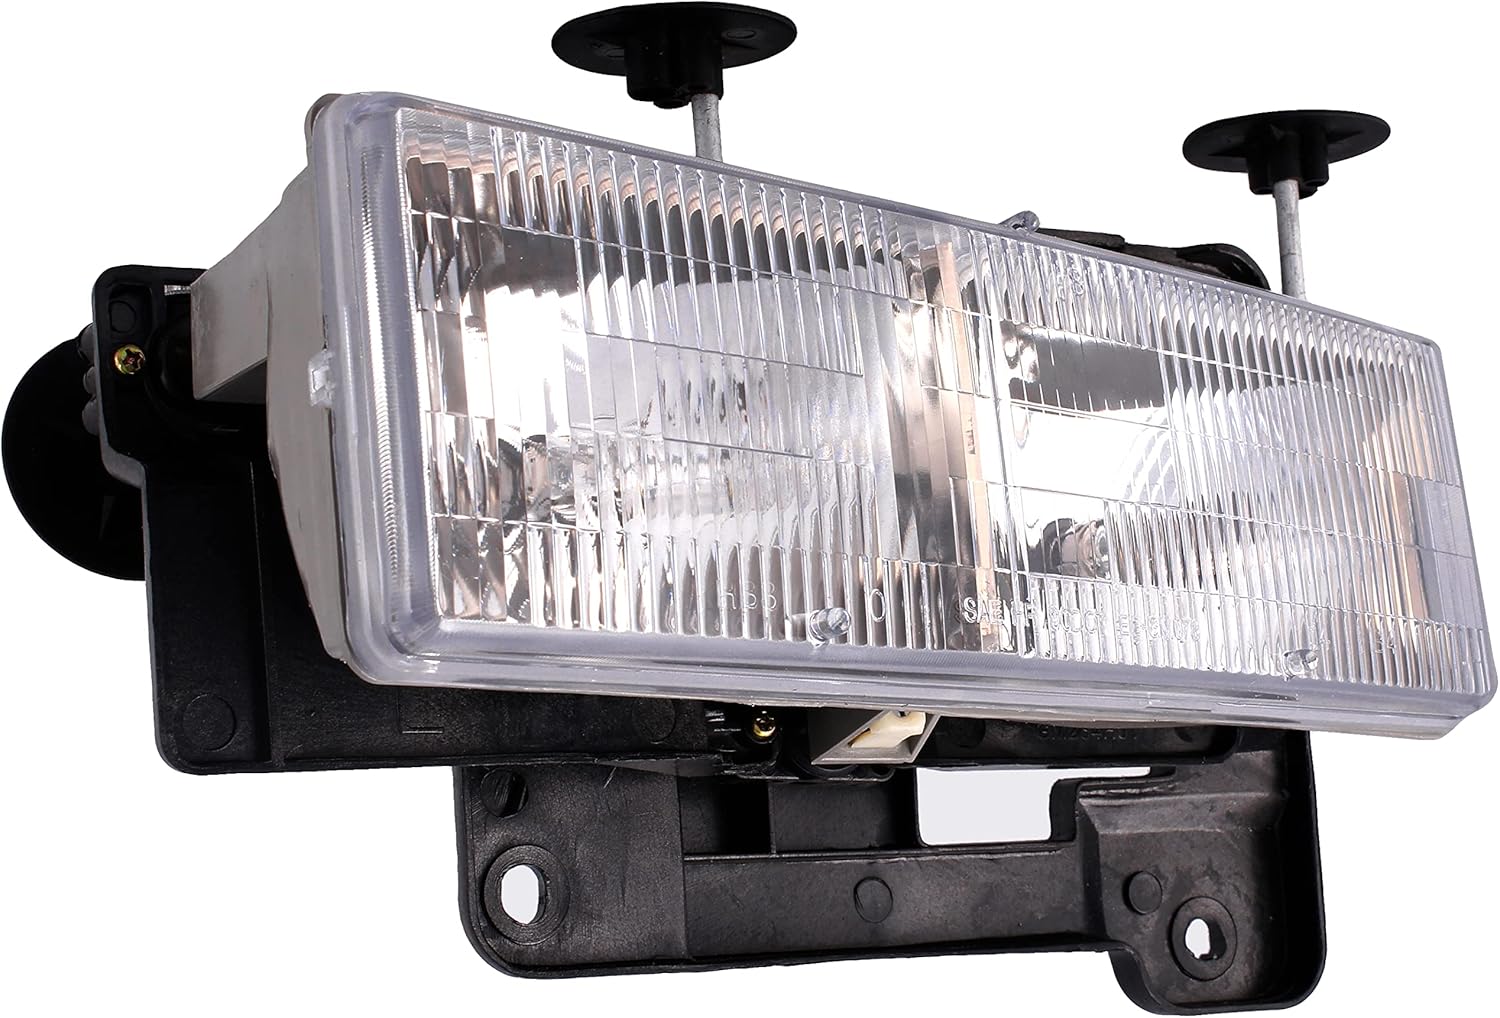
Figur 1: Forside view of the Dorman 1590000 Driver Side Headlight Assembly. This image shows the clear lens and overall shape of the assembly, designed for direct replacement.

Figur 2: Vinklet view of the Dorman 1590000 Headlight Assembly, highlighting its contours and mounting points.
Betjeningsvejledning
Once installed, the Dorman 1590000 Headlight Assembly operates in conjunction with your vehicle's existing electrical system and headlight controls. Standard operation includes low beam and high beam functions, typically controlled by a switch or stalk on your steering column.
Headlight Aim Adjustment:
Proper headlight aim is crucial for safe driving and to avoid blinding oncoming traffic. The Dorman 1590000 assembly allows for adjustment. The adjustment screws are typically small inverted Torx heads, accessible from above the headlight through the header panel sheet metal. One screw adjusts vertical aim, and the other adjusts horizontal aim.
- The vertical adjuster may also accept a Phillips screwdriver.
- The horizontal adjuster may require a small Torx bit if the inverted Torx socket does not fit the header panel hole.
- Consult your vehicle's service manual for specific headlight aiming procedures and recommended distances.

Figur 3: Bagside view of the Dorman 1590000 Headlight Assembly, illustrating the bulb sockets and wiring connections. This view is important for understanding bulb replacement and electrical hookup.
Opretholdelse
Regular maintenance helps preserve the clarity and performance of your headlight assembly. The rigid plastic lens is designed to protect against weather and road conditions.
Rensning:
- Clean the headlight lens regularly with mild soap and water, using a soft cloth to avoid scratching.
- Undgå slibende rengøringsmidler eller barske kemikalier, da disse kan beskadige linsematerialet.
Linsebeskyttelse:
To extend the lifespan and prevent yellowing or hazing of the clear lens, it is recommended to apply a high-quality 2-part clear coat with UV protection. This can be done before installation for best results.
- Lightly scuff the lens surface with a fine-grit abrasive (e.g., green Scotch-Brite pad) to ensure proper adhesion of the clear coat.
- Apply the 2-part clear coat according to the product manufacturer's instructions.
Udskiftning af pære:
While the assembly comes with bulbs, they may need replacement over time. Refer to your vehicle's service manual for the correct bulb types and replacement procedures. Always handle new bulbs by their base to avoid contaminating the glass with oils from your skin, which can shorten bulb life.

Figur 4: Side view of the Dorman 1590000 Headlight Assembly, showing its depth and mounting bracket design.
Fejlfinding
| Problem | Mulig årsag | Løsning |
|---|---|---|
| Forlygten lyser ikke |
|
|
| Dim or flickering headlight |
|
|
| Improper headlight aim |
|
|
Produktspecifikationer
| Feature | Detalje |
|---|---|
| Mærke | Dorman |
| Modelnummer | 1590000 |
| Specifikke anvendelser af produktet | Forlygter |
| Type køretøjstjeneste | Medium/Heavy Truck, Truck |
| Speciel funktion | OE-comparable |
| Wattage | 50 watt |
| Linse farve | Klar |
| Linse materiale | Plast |
| Varedimensioner (L x B x H) | 3.69 x 7.64 x 4.56 tommer |
| Varens vægt | 0.01 ounce |
| Oprindelsesland | Taiwan |
| UPC | 747214900008 |
| OEM Part Number Equivalents | 1221-0210S; 20-1669-00; GM073-B001L; 15034929; 15602613 |
| ABPA Partslink-nummer | GM2502101 |
| Hollander Number | 114-2705L, 114-181L |
Garanti og support
Dorman Products is committed to providing quality automotive replacement parts. For over 100 years, Dorman has been a leading provider of solutions for the motor vehicle aftermarket.
Garantioplysninger:
A detailed warranty document is available for this product. Please refer to the official Garanti (PDF) for vilkår og betingelser.
Kundesupport:
For further assistance, technical support, or to explore other Dorman products, please visit the official Dorman store or contact their customer service channels. Dorman aims to provide solutions that save time and money, and increase convenience and reliability for vehicle owners and repair professionals.
Du kan finde mere information og kontaktoplysninger ved at besøge Dorman-butikken på Amazon.