
1. Vigtige sikkerhedsinstruktioner
Please read these instructions carefully before using the appliance and keep them for future reference. Incorrect use may lead to injury or damage.
- Overophedningsbeskyttelse: The heater is equipped with an overheat protection system that automatically shuts off the unit if it becomes too hot. If this occurs, unplug the heater, allow it to cool down for 30 minutes, and then plug it back in. Ensure there are no obstructions blocking the air inlets or outlets.
- Beskyttelse mod væltning: For your safety, this heater includes a tip-over switch that will automatically turn off the unit if it is accidentally knocked over. Place the heater on a firm, level surface to prevent accidental tipping.
- Sørg altid for, at varmelegemet er placeret på en stabil, plan overflade.
- Dæk ikke varmelegemet til. Dækning af varmelegemet kan forårsage overophedning og brand.
- Hold brandfarlige materialer (gardiner, møbler, sengetøj) mindst 1 meter (3 fod) væk fra varmeapparatet.
- Brug ikke varmelegemet i badeværelser, vaskerum eller lignende indendørs steder, hvor det kan komme i kontakt med vand.
- Træk stikket ud af varmelegemet, når det ikke er i brug.
- Stik ikke genstande ind i varmelegemets åbninger.
- Dette apparat er kun til indendørs brug.

Billede: Forside view of the Tristar KA-5038 heater, showing the "DO NOT COVER" warning light above the grille. This indicates a critical safety instruction to prevent overheating.
2. Produktet er slutview
The Tristar KA-5038 is a compact and efficient ceramic electric heater designed for indoor use, particularly suitable for offices or small rooms. It features forced air heating, two speed settings, and safety features like tip-over and overheat protection.
2.1 Nøglefunktioner
- Keramisk varmeelement: Provides efficient and consistent heat.
- To varmeindstillinger: Allows for adjustable heating power.
- Justerbar termostat: For præcis temperaturkontrol.
- Oscilleringsfunktion: Fordeler varmen jævnt over et større område.
- Integreret håndtag: For nem transport.
- Sikkerhedsfunktioner: Includes tip-over protection and overheat protection.
2.2 Komponenter
- Heat Outlet Grille
- Control Dials (Thermostat and Power/Mode)
- Oscillationsknap
- Integreret bærehåndtag
- Strømledning
- Luftindtag (bag)

Billede: Forside view of the Tristar KA-5038 heater, showcasing dens kompakte design og frontgrill.

Billede: Side view of the Tristar KA-5038 heater, highlighting its slim profile and integrated handle.

Image: Diagram showing the dimensions of the Tristar KA-5038 heater: 29cm height, 20.6cm width, and 16.1cm depth.
2.3 Produktvideoer
360 grader View
Video: En 360-graders view of the Tristar KA-5038 heater, demonstrating its design from all angles.
Produktdemonstrationsvideo
Video: A demonstration of the Tristar KA-5038 heater in use, showcasindens funktioner og betjening.
3. Opsætning
- Pak varmeren ud: Tag forsigtigt varmelegemet ud af emballagen. Gem emballagen til opbevaring eller senere transport.
- Vælg en placering: Place the heater on a firm, level, and stable surface. Ensure there is at least 1 meter (3 feet) of clear space around the heater from any walls, furniture, curtains, or other flammable materials. Do not place it directly under a power outlet.
- Strømtilslutning: Ensure the heater is switched off (both dials set to '0' or 'OFF') before plugging it into a suitable 230V electrical outlet. The power cord should be fully uncoiled and not run under carpets or in high-traffic areas where it could be a tripping hazard.
4. Betjeningsvejledning
Familiarize yourself with the control dials on the top of the heater.
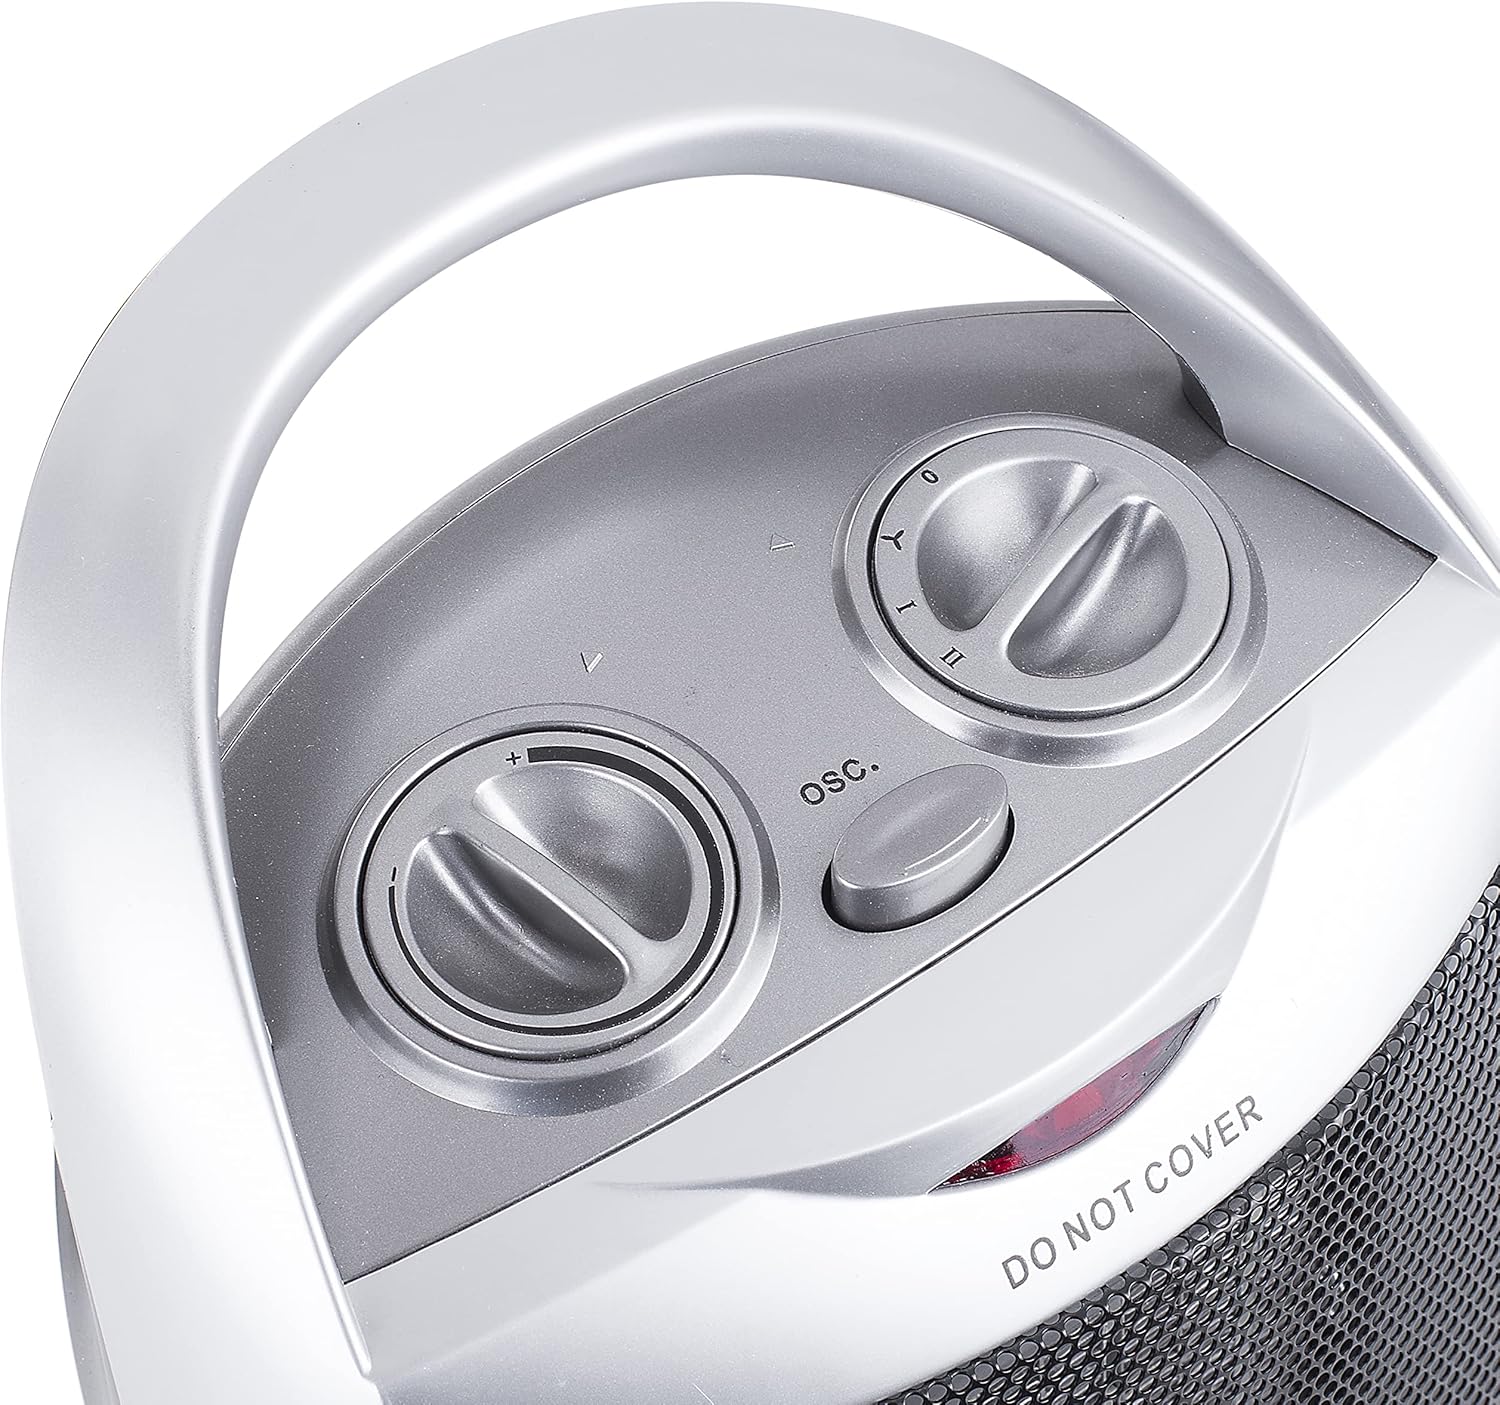
Billede: Top view of the Tristar KA-5038 heater, showing the two control dials and the oscillation button.
4.1 Power and Mode Control
The right dial controls the power and operating mode:

Image: Close-up of the right control dial, indicating settings for Off (0), Fan Only (Y), Low Heat (I), and High Heat (II).
- 0 (Fra): Slukker for varmelegemet.
- Y (Fan Only): Operates the fan without heat, useful for air circulation.
- I (Lav varme): Giver varme ved en lavere effektindstilling (f.eks. 750 W).
- II (Høj varme): Provides heat at the maximum power setting (e.g., 1500W).
4.2 Termostatstyring
The left dial controls the thermostat, allowing you to set the desired room temperature.
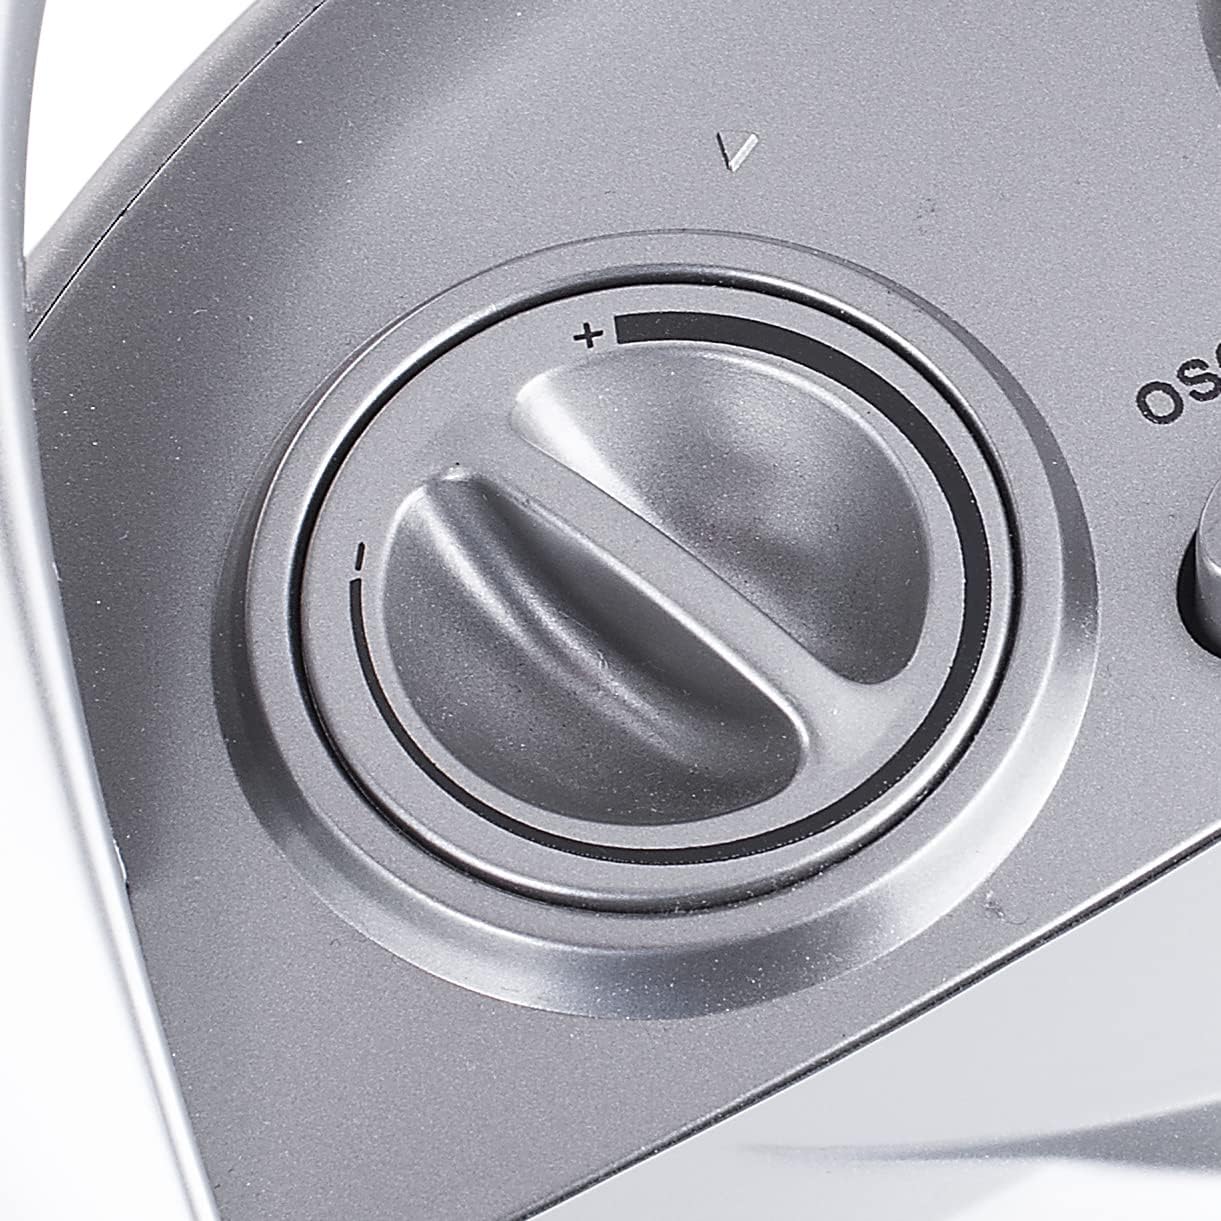
Image: Close-up of the left control dial, used to adjust the thermostat setting from minimum (-) to maximum (+).
- Turn the thermostat dial clockwise to increase the desired temperature, and counter-clockwise to decrease it.
- Varmeren tænder og slukker for at opretholde den indstillede temperatur.
4.3 Oscillationsfunktion
Press the "OSC." button located between the two dials to activate or deactivate the oscillation function. When active, the heater will rotate from side to side to distribute heat more broadly.
5. Vedligeholdelse
Regelmæssig rengøring og korrekt opbevaring vil sikre din varmeovns levetid og effektive drift.
- Rensning:
- Tag altid stikket ud af stikkontakten, og lad varmelegemet køle helt af, inden rengøring.
- Tør de udvendige overflader af med en blød, damp klæde. Brug ikke slibende rengøringsmidler eller opløsningsmidler.
- Brug en støvsuger med børstetilbehør til at fjerne støv fra luftindtag og -udtag.
- Nedsænk aldrig varmelegemet i vand eller anden væske.
- Opbevaring:
- Hvis varmeapparatet opbevares i længere tid, skal det rengøres grundigt.
- Opbevar varmeapparatet i sin originale emballage på et køligt og tørt sted.
6. Fejlfinding
| Problem | Mulig årsag | Løsning |
|---|---|---|
| Varmeapparatet tænder ikke. |
|
|
| Varmeapparatet producerer ingen varme i varmetilstand. |
|
|
| Varmeapparatet holder pludselig op med at virke. |
|
|
7. Tekniske specifikationer
| Feature | Specifikation |
|---|---|
| Modelnummer | KA-5038 |
| Mærke | Tristar |
| Opvarmningsmetode | Forced Air, Ceramic Element |
| Varmeoutput | 1500 Watt (Max) |
| Antal hastigheder | 2 (Low Heat, High Heat) + Fan Only |
| Voltage | 230V |
| Særlige funktioner | Tip-over Protection, Overheat Protection, Oscillation |
| Farve | Sølv |
| Produktmål (D x B x H) | 16.1D x 20.6W x 29H centimeter |
| Varens vægt | 1.56 kilo |
| Anbefalet brug | Indoor, Office |
8. Garanti og support
For information regarding warranty terms and conditions, please refer to the documentation provided with your purchase or contact Tristar customer support directly. Keep your proof of purchase for any warranty claims.
For technical support or service inquiries, please visit the official Tristar website or contact their customer service department. Contact details can typically be found in the product packaging or on the manufacturer's webwebsted.