
1. Introduktion
This manual provides instructions for the installation, operation, and maintenance of the Ryobi RY-305671001 Depth Adjustment Knob. This component is a genuine OEM replacement part designed for specific Ryobi power tools to control the cutting or working depth.
2. Sikkerhedsoplysninger
Always observe basic safety precautions when installing or replacing parts on power tools. Failure to do so may result in serious injury or property damage.
- Afbryd strømmen: Always unplug the power tool from its power source before performing any adjustments, maintenance, or part replacement.
- Bær sikkerhedsudstyr: Brug passende personlige værnemidler (PPE) såsom sikkerhedsbriller og handsker.
- Læs værktøjsmanualen: Refer to your specific power tool's instruction manual for additional safety warnings and procedures.
- Brug de rigtige dele: Only use genuine replacement parts specified for your tool model.
- Sikkert arbejdsområde: Ensure the tool is stable and the work area is clear before beginning.
3. Pakkens indhold
Kontroller, at alle varer er til stede, når du åbner pakken:
- Ryobi RY-305671001 Depth Adjustment Knob (1)
4. Opsætning og installation
This section details the steps required to install the depth adjustment knob. The exact procedure may vary slightly depending on your specific Ryobi tool model. Always refer to your tool's original manual for model-specific instructions.
4.1 Nødvendigt værktøj
- Screwdriver (if applicable for removing old knob or cover)
- Pliers (if applicable for gripping and removing old knob)
4.2 Installationstrin
- Forbered værktøjet: Ensure the power tool is unplugged from its power source. Place the tool on a stable, clean surface.
- Locate Old Knob (if applicable): Identify the existing depth adjustment knob or the mounting point for the new knob on your Ryobi tool.
- Fjern den gamle knap (hvis relevant): If replacing an old knob, carefully remove it. This may involve unscrewing it, prying it off, or releasing a clip. Refer to your tool's manual for specific removal instructions.
- Inspicer monteringsområde: Clean any debris or residue from the area where the new knob will be installed. Ensure the shaft or threaded post is clear and undamaged.
- Installer ny knap: Align the Ryobi RY-305671001 Depth Adjustment Knob with the mounting shaft or threaded post. Push or screw the knob into place. Ensure it is seated firmly and securely. Do not overtighten if screwing.
- Test funktionalitet: Once installed, gently turn the knob to ensure it rotates smoothly and engages with the depth adjustment mechanism of the tool. It should move freely but provide resistance when adjusting depth.
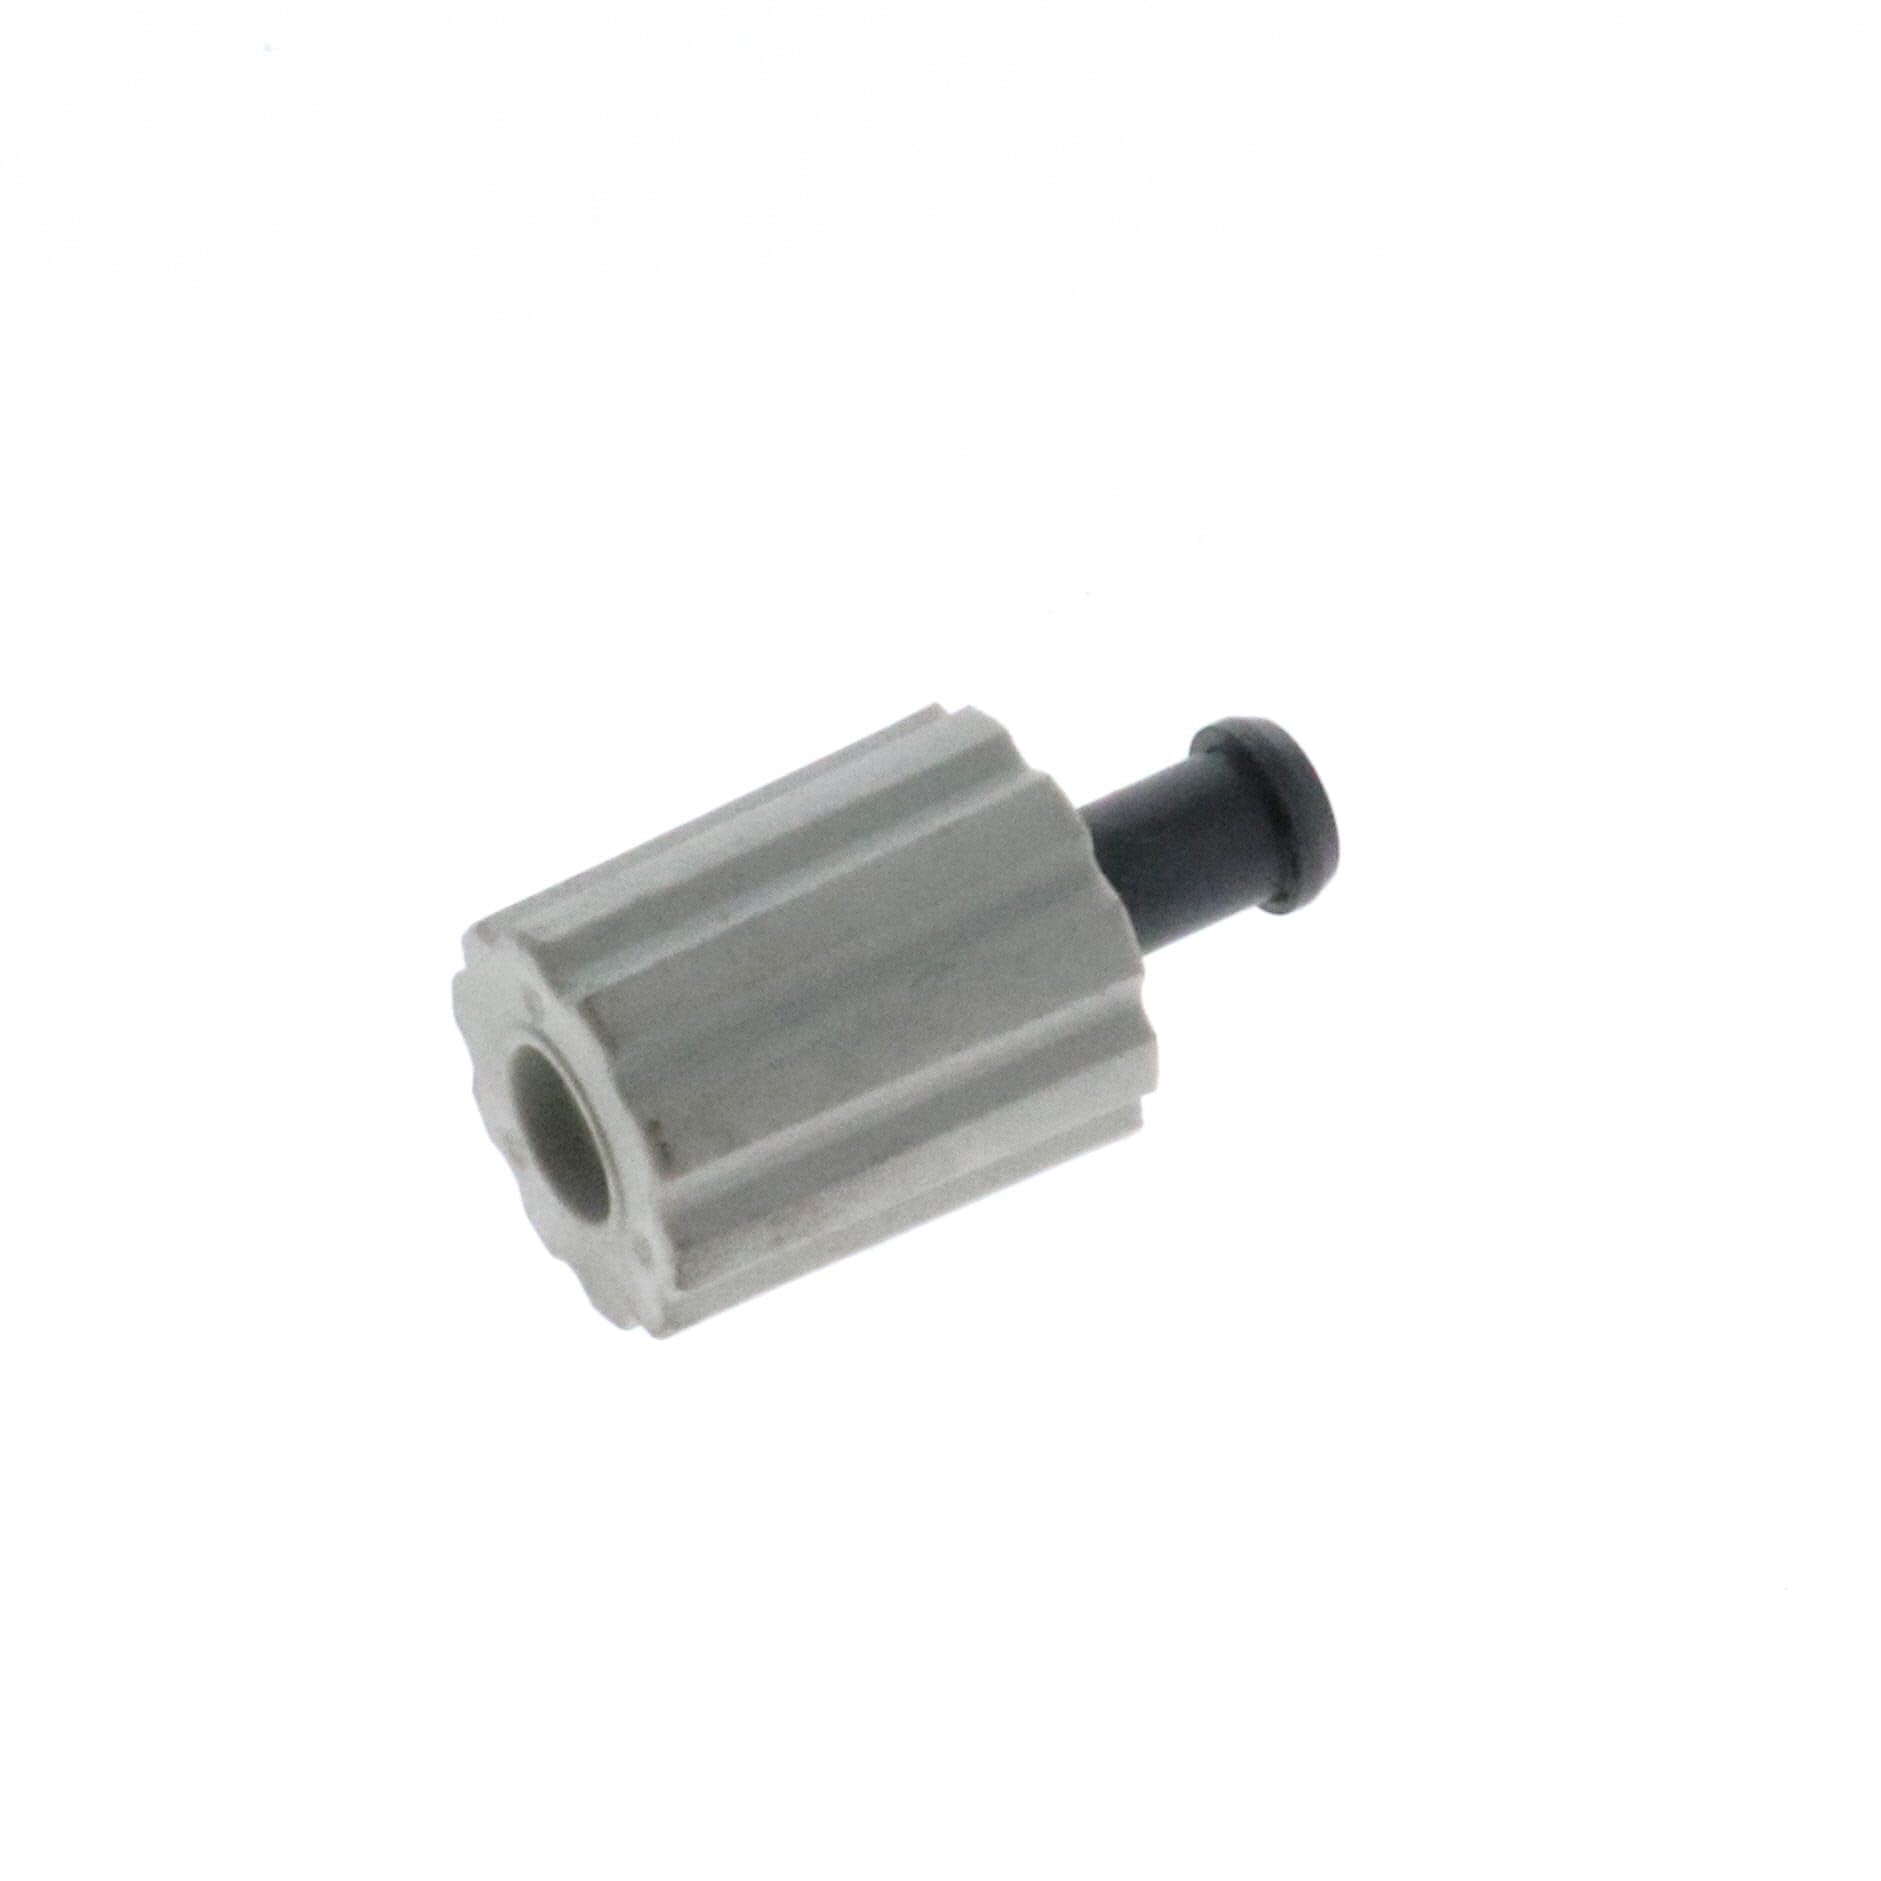
Figure 1: The Ryobi RY-305671001 Depth Adjustment Knob. This image shows the knob from a slightly angled perspective, highlighting its textured grip and central attachment point. It is typically used to control the cutting or working depth on compatible Ryobi power tools.
5. Operating the Depth Adjustment Knob
Once installed, the depth adjustment knob allows you to precisely control the working depth of your Ryobi power tool. The method of adjustment is generally consistent across compatible tools:
- Lås op (hvis relevant): Some tools may require unlocking a lever or button before the depth adjustment knob can be turned.
- Drej knappen: Turn the knob clockwise to decrease the working depth (e.g., shallower cut) or counter-clockwise to increase the working depth (e.g., deeper cut). Observe the depth indicator on your tool as you adjust.
- Lås (hvis relevant): After setting the desired depth, ensure any locking mechanisms on your tool are engaged to prevent accidental depth changes during operation.
- Verify Depth: Before starting work, always perform a test cut or measurement to confirm the depth setting is accurate.
6. Vedligeholdelse
The Ryobi RY-305671001 Depth Adjustment Knob requires minimal maintenance. Regular inspection and cleaning will ensure its longevity and proper function.
- Rensning: Periodically wipe the knob with a clean, dry cloth to remove dust, dirt, or sawdust. Avoid using harsh chemicals or solvents that could damage the material.
- Inspektion: Regularly check the knob for any signs of wear, cracks, or damage. Ensure it remains securely attached to the tool.
- Smøring: The internal mechanism of the depth adjustment may benefit from light lubrication if it becomes stiff. Refer to your power tool's manual for specific lubrication recommendations.
7. Fejlfinding
If you encounter issues with your depth adjustment knob, consider the following common solutions:
| Problem | Mulig årsag | Løsning |
|---|---|---|
| Knob is stiff or hard to turn. | Accumulated dirt/debris; lack of lubrication; overtightened. | Clean the area around the knob. Apply light lubricant if recommended by tool manual. Check if the knob is overtightened. |
| Knob does not hold depth setting. | Internal mechanism wear; locking lever not engaged. | Ensure any locking levers are fully engaged. If the problem persists, the internal depth adjustment mechanism of the tool may require service. |
| Knoppen er løs eller ustabil. | Not fully seated; damaged mounting post. | Ensure the knob is fully pushed or screwed into place. Inspect the mounting post for damage. Replace the knob if damaged. |
If troubleshooting steps do not resolve the issue, contact Ryobi customer support or a qualified service technician.
8. Specifikationer
- Varenummer: RY-305671001
- Produkttype: Dybdejusteringsknap
- Mærke: Ryobi
- Dimensioner: Cirka 0.39 x 0.39 x 0.39 tommer
- Vægt: Cirka 2.2 pund
- Materiale: Durable composite
Note: Product dimensions and weight provided are based on available product data and may refer to packaging or shipping weight rather than the exact component.
9. Garanti og support
As a genuine Ryobi replacement part, this depth adjustment knob is covered by Ryobi's standard warranty for replacement parts. For specific warranty details, claims, or technical support, please refer to the official Ryobi webhjemmeside eller kontakt deres kundeservice direkte.
Ryobi officiel Webwebsted: www.ryobitools.com
Kundesupport: Se afsnittet "Kontakt os" på den officielle webwebsted for telefonnumre og e-mailsupport.