
1. Introduktion
This manual provides essential information for the proper installation, operation, and maintenance of the PORTER-CABLE Replacement Hinge, part number 5140101-03. This genuine OEM part is designed to replace the hinge assembly on the PORTER-CABLE PCB330BS Type 1 14-inch Band Saw. It also replaces obsolete part numbers 5140074-54 and 5140074-51.
Læs venligst disse instruktioner omhyggeligt, inden du fortsætter med installationen, for at sikre sikker og korrekt brug.
2. Produktet er slutview
The 5140101-03 hinge assembly is a critical component for the proper function of your band saw, allowing for necessary movement and stability of specific parts. This is a genuine PORTER-CABLE replacement part.
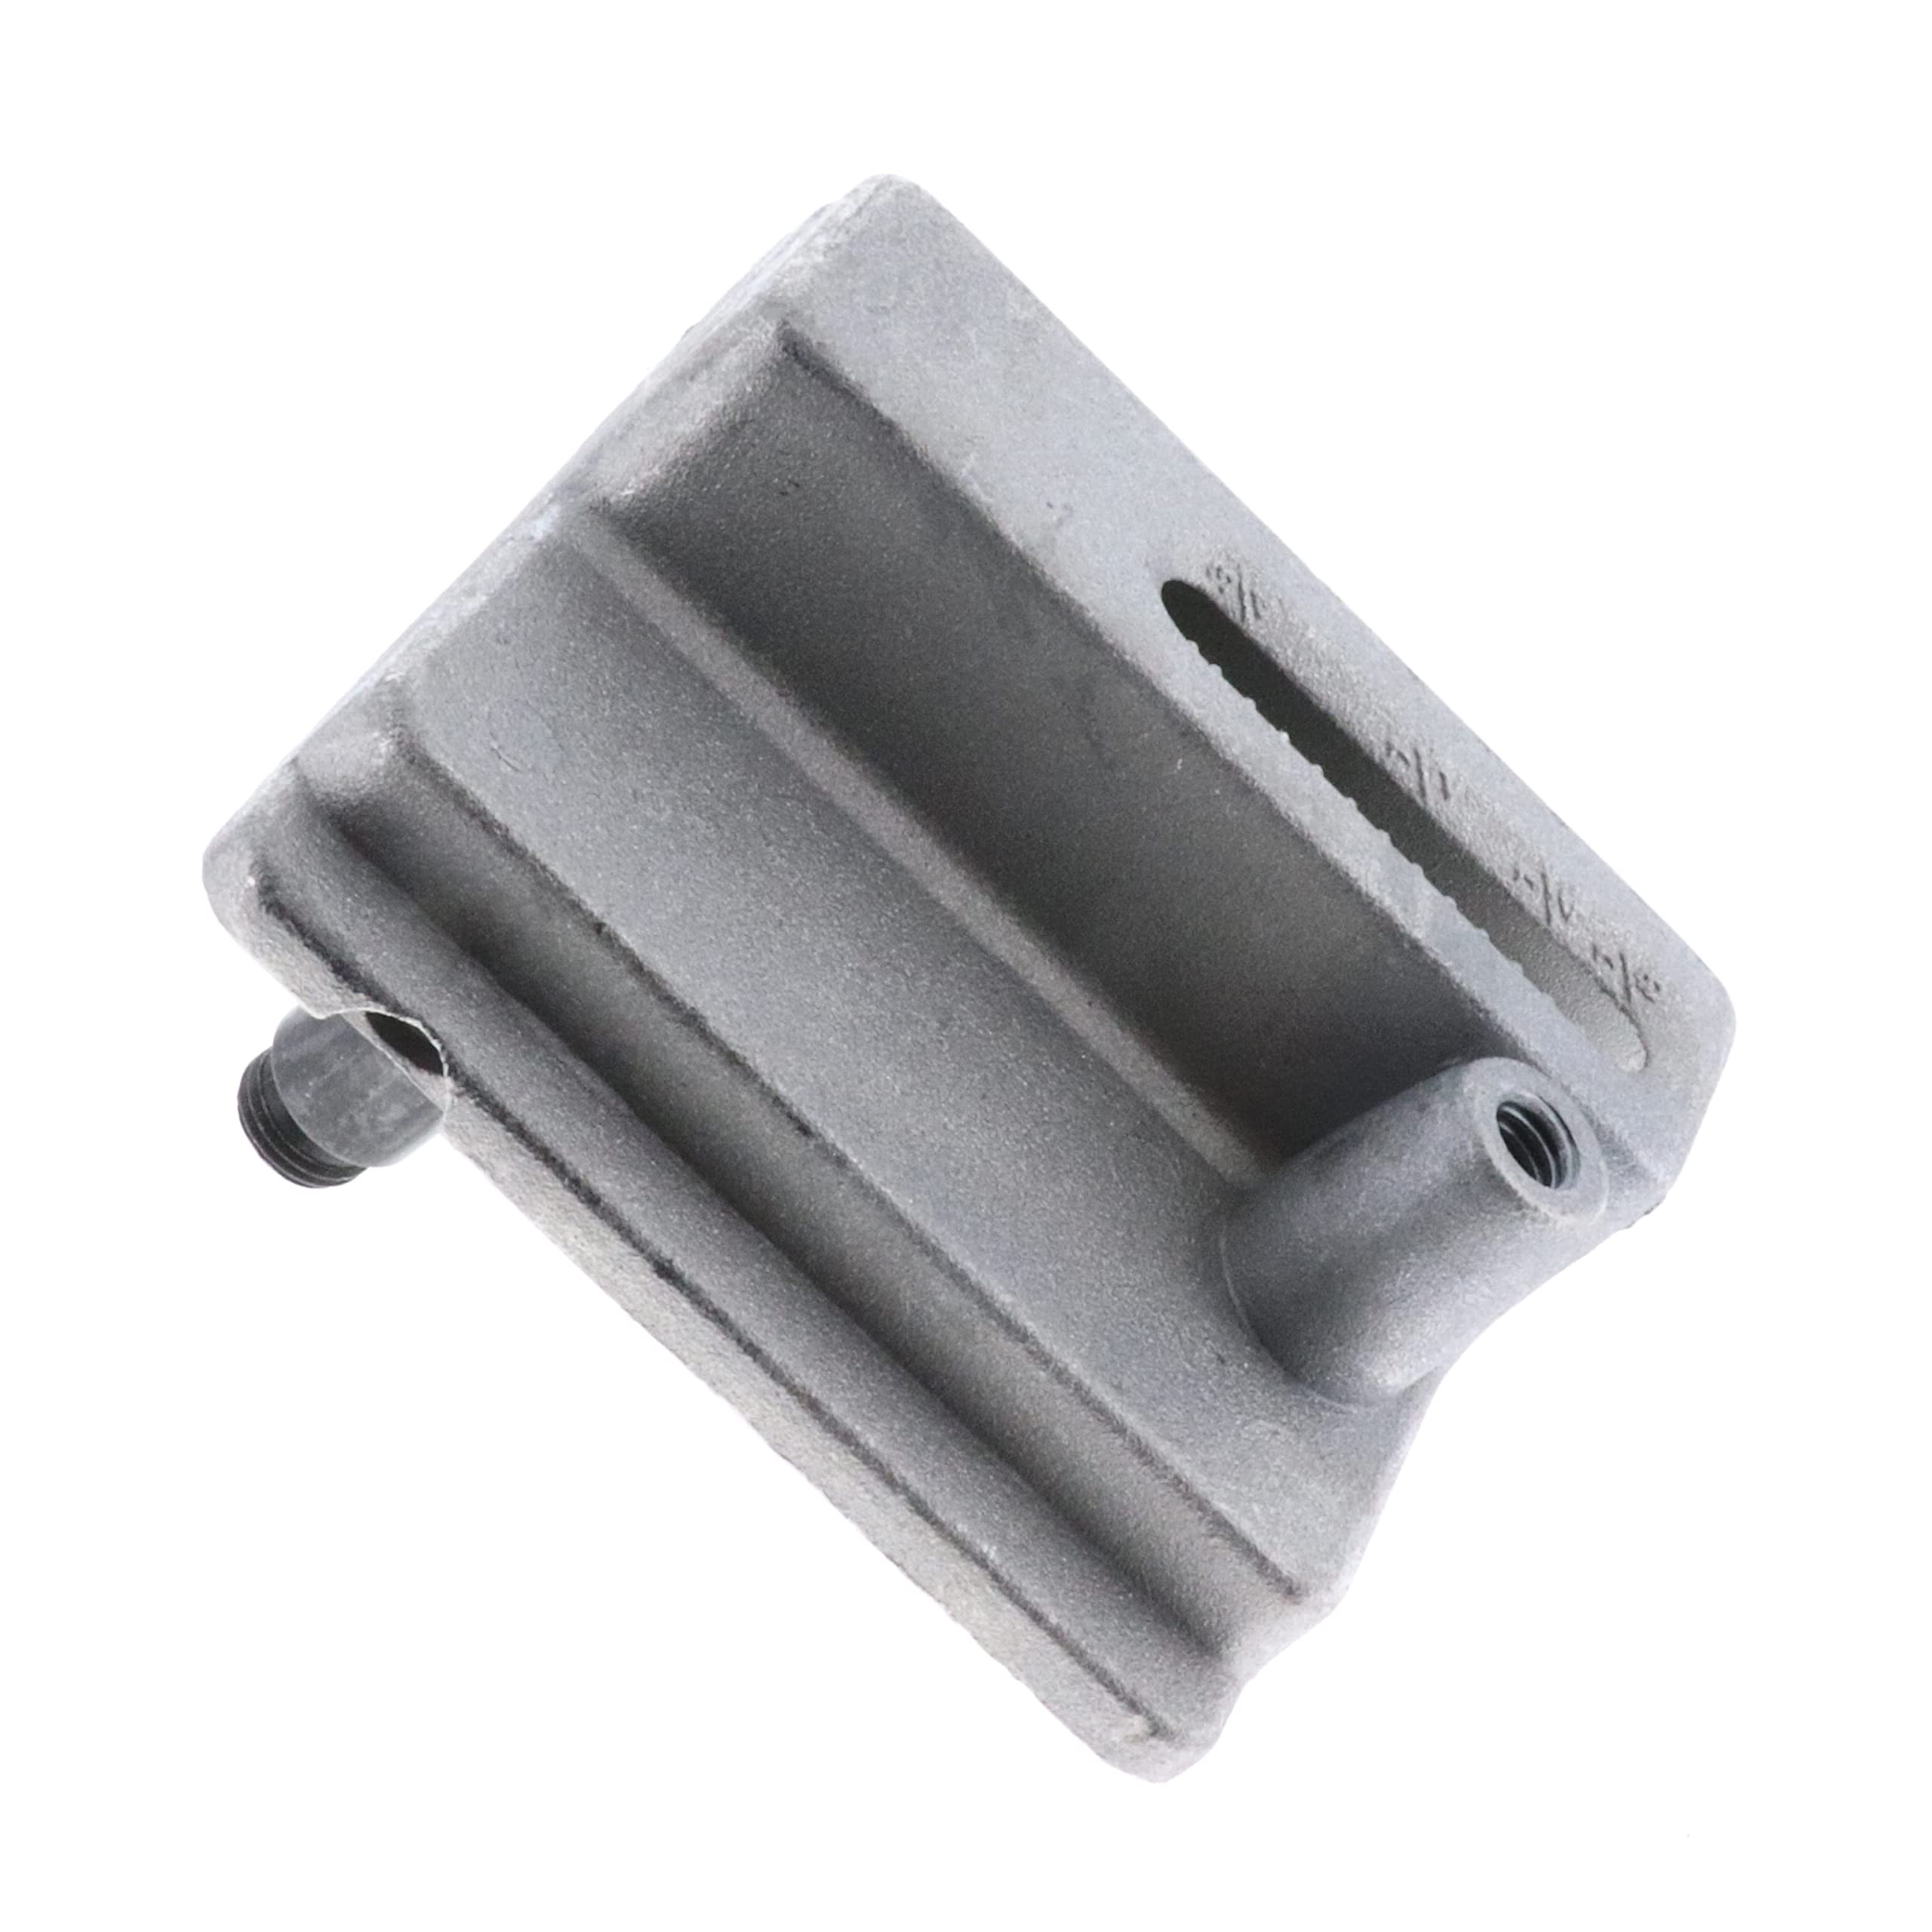
Figure 1: PORTER-CABLE Replacement Hinge 5140101-03. This image shows the hinge assembly, typically used for the upper wheel housing or blade guard on a band saw.
3. Kompatibilitet
This replacement hinge (part number 5140101-03) is compatible with the following machine:
- PORTER-CABLE PCB330BS Type 1 14 In. Band Saw
It also serves as a direct replacement for obsolete part numbers: 5140074-54 and 5140074-51.
4. Specifikationer
| Varenummer | 5140101-03 |
| Replaces Obsolete Parts | 5140074-54, 5140074-51 |
| Kompatibel model | PORTER-CABLE PCB330BS Type 1 14 In. Band Saw |
| Materiale | Plastic (Note: This refers to specific components; main hinge body may be metal.) |
| Produktmål (L x B) | 4.2 x 3.65 cm |
| Omtrentlige overordnede dimensioner | 3.65 cm x 4.20 cm x 3.70 cm |
| UPC | 704660017575 |
5. Opsætning og installation
5.1 Sikkerhedsforanstaltninger
- Always disconnect the band saw from the power source before attempting any repairs or installations.
- Brug passende personlige værnemidler (PPE), såsom sikkerhedsbriller og handsker.
- Refer to your band saw's original owner's manual for specific disassembly and assembly procedures.
- Keep all fasteners and small parts organized to prevent loss.
5.2 Installationstrin
The following steps provide a general guide for replacing the hinge. Specific details may vary based on your band saw's model and configuration. Always consult your band saw's service manual for precise instructions.
- Forbered arbejdsområdet: Sørg for en ren, godt oplyst og stabil arbejdsflade.
- Afbryd strømmen: Unplug the band saw from the electrical outlet.
- Adgang til hængslet: Depending on the location of the hinge (e.g., upper wheel housing, blade guard), you may need to remove covers or other components to gain access to the existing hinge assembly.
- Fjern det gamle hængsel: Carefully unfasten and remove the bolts, screws, or pins securing the old hinge. Note the orientation and position of all components for reassembly.
- Inspicer monteringsområde: Clean any debris or old lubricant from the mounting surfaces.
- Installer nyt hængsel: Position the new PORTER-CABLE 5140101-03 hinge in the correct orientation. Secure it using the original fasteners or new ones if specified by your band saw's manual. Ensure all fasteners are tightened securely but do not overtighten.
- Saml komponenterne igen: Reattach any covers or components that were removed to access the hinge.
- Test funktionalitet: Once fully reassembled, manually operate the hinged component (e.g., open and close the upper wheel housing) to ensure smooth movement and proper alignment.
- Tilslut strøm igen: Plug the band saw back into the power source.
- Perform a Test Run: With all safety guards in place, briefly power on the band saw to confirm proper operation and that the hinged component remains secure during use.
6. Betjening
Once installed, the hinge operates passively, facilitating the movement of the component it supports (e.g., opening and closing the upper wheel cover for blade changes or adjustments). Ensure that the hinged component moves freely without binding and that it securely latches or closes when intended. Any resistance or misalignment should be addressed immediately.
7. Vedligeholdelse
- Regelmæssig inspektion: Periodically inspect the hinge for signs of wear, damage, or loose fasteners.
- Rensning: Keep the hinge area free from sawdust, debris, and grime. A dry brush or compressed air can be used for cleaning.
- Smøring: If the hinge mechanism appears stiff or squeaks, apply a small amount of dry lubricant or a light machine oil to the pivot points. Avoid excessive lubrication, which can attract dust.
- Stram fastgørelsesanordninger: Check and tighten any loose mounting screws or bolts to ensure the hinge remains securely attached.
8. Fejlfinding
| Problem | Mulig årsag | Løsning |
|---|---|---|
| Hinged component is stiff or binds. | Lack of lubrication, debris in hinge mechanism, misalignment. | Clean and lubricate the hinge. Check for proper alignment and adjust if necessary. |
| Hinged component does not close securely. | Damaged hinge, worn latch mechanism (if applicable), incorrect installation. | Inspect the hinge for damage. Ensure it is installed correctly. Check the latch mechanism on the band saw itself. |
| Hinge appears loose. | Løse monteringsbeslag. | Tighten all mounting screws or bolts. Do not overtighten. |
If troubleshooting steps do not resolve the issue, contact PORTER-CABLE customer support or a qualified service technician.
9. Garanti og support
As a genuine PORTER-CABLE replacement part, this hinge is typically covered under the standard warranty terms for PORTER-CABLE parts. For specific warranty details, please refer to the warranty information provided with your original PORTER-CABLE band saw or visit the official PORTER-CABLE webwebsted.
For technical assistance, replacement part inquiries, or warranty claims, please contact PORTER-CABLE customer support directly. Contact information can usually be found on the PORTER-CABLE official webwebstedet eller i din originale produktdokumentation.