
Indledning
This manual provides essential information for the safe and effective operation of your Laserliner SoundTest-Master 082.070A Noise Level Meter. Please read these instructions carefully before using the device and keep them for future reference. The SoundTest-Master 082.070A is designed for precise measurement of noise levels, featuring integrated long-term memory and PC connectivity for comprehensive documentation.
Sikkerhedsinstruktioner
- Always operate the device within its specified environmental conditions.
- Udsæt ikke enheden for ekstreme temperaturer, fugt eller direkte sollys.
- Undgå at tabe enheden eller udsætte den for kraftige stød.
- Forsøg ikke at åbne eller ændre enheden. Reparationer bør kun udføres af autoriseret personale.
- Hold enheden væk fra stærke magnetiske felter.
- Ensure the microphone is clean and free from obstructions for accurate measurements.
Produkt overview
The Laserliner SoundTest-Master 082.070A is a handheld noise level meter equipped with a sensitive electret condenser microphone and a clear, illuminated display. It features various controls for measurement settings and data management.

Figur 1: Front view of the SoundTest-Master 082.070A, showing the display, microphone with windshield, and control buttons.
Nøglekomponenter:
- Elektret-kondensatormikrofon: For capturing sound. Includes a removable windshield.
- Oplyst display: Shows measurement values, settings, and status.
- Kontrolknapper: Power, Setup, Max, Record, A/C weighting, Fast/Slow time weighting, Level adjustment, Data send.
- Analoge udgange: DC and AC outputs for external connections.
- RS232 grænseflade: Optoisolated port for PC connection and data transfer.
Opsætning
1. Batteriinstallation
The device requires batteries for operation. Ensure correct polarity when inserting batteries into the compartment, typically located on the rear of the unit.
2. Første opstart
Tryk på Magt button to turn on the device. The display will illuminate and show initial readings.
3. Windshield Attachment
Attach the removable windshield to the microphone to minimize wind noise interference during outdoor measurements.
Betjeningsvejledning
1. Grundlæggende måling
- Tænd enheden ved hjælp af Magt knap.
- Point the microphone towards the sound source.
- The current noise level will be displayed in decibels (dB).
2. Frequency Weighting (dB(A), dB(C))
Brug A/C button to switch between frequency weighting curves:
- dB(A): Simulates the human ear's response to sound, commonly used for environmental noise measurements.
- dB(C): Provides a flatter response, suitable for measuring peak sound pressure levels or low-frequency noise.
3. Time Weighting (Fast/Slow)
Tryk på HURTIG LANGSOM button to select the desired time weighting:
- FAST (125 ms): For measuring rapidly changing noise levels.
- SLOW (1 second): For measuring average noise levels over a longer period, suitable for stable noise sources.
4. Data Logging and PC Connection
The device features a long-term recording function with 16,000 memory points and real-time logging capabilities when connected to a PC.
- Internal Data Logging: Tryk på OPTAGE button to start/stop internal data recording. The device can store up to 16,000 measurement points.
- PC-forbindelse: Connect the device to a computer using the provided RS232 cable.
- Software: Install the provided software on your PC. This software allows for real-time data display, analysis, and download of recorded data.
- Afsendelse af data: Brug SEND DATA button to initiate data transfer to the connected PC.
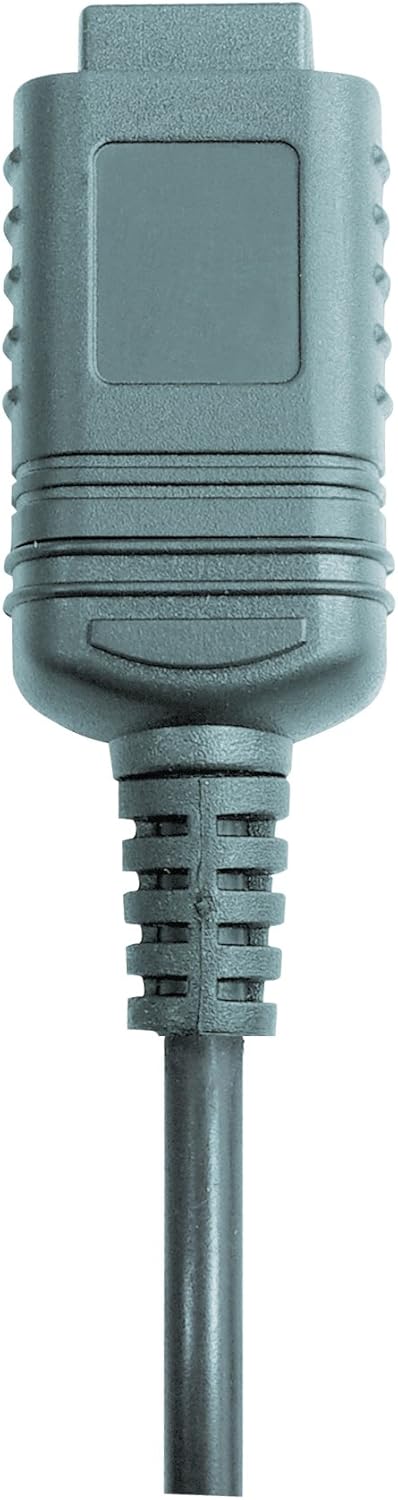

Figur 2: RS232 cable connectors used for connecting the SoundTest-Master to a PC.
5. Kalibrering
The device can be calibrated and adjusted using a standard noise level calibrator (94 dB / 1 kHz). Refer to the calibrator's instructions for the specific calibration procedure.
Opretholdelse
1. Rensning
- Tør enheden c afasinmed en blød, tør klud.
- Brug ikke slibende rengøringsmidler eller opløsningsmidler.
- Ensure the microphone is kept clean and free of dust or debris.
2. Opbevaring
When not in use, store the SoundTest-Master in its protective case in a cool, dry place, away from direct sunlight and extreme temperatures. Remove batteries if storing for extended periods.
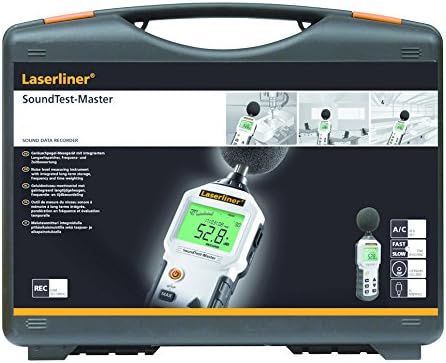
Figur 3: The SoundTest-Master 082.070A stored in its protective carrying case.
Fejlfinding
| Problem | Mulig årsag | Løsning |
|---|---|---|
| Enheden tænder ikke. | Døde eller forkert installerede batterier. | Udskift batterierne, og sørg for korrekt polaritet. |
| Upræcise aflæsninger. | Microphone obstructed or dirty; device needs calibration. | Clean microphone; perform calibration with a standard calibrator. |
| No data transfer to PC. | Incorrect cable connection; software not installed or configured. | Check RS232 cable connection; ensure PC software is correctly installed and running. |
| Skærmen er svag eller ulæselig. | Low battery power; display backlight off. | Replace batteries; check device settings for backlight control. |
Specifikationer
| Feature | Detalje |
|---|---|
| Modelnavn | SoundTest-Master |
| Varenummer | 082.070A |
| Fabrikant | Umarex |
| Mærke | Laserliner |
| Frekvensvægtning | dB(A), dB(C) |
| Tidsvægtning | FAST (125 ms), SLOW (1 second) |
| Datahukommelse | 16,000 målepunkter |
| Interface | Optoisolated RS232 |
| Analoge udgange | DC og AC |
| Kalibrering | Adjustable with 94 dB / 1 kHz standard calibrator |
| Mikrofon | Sensitive electret condenser with removable windshield |
| Vise | Illuminated, clear display |
| Varens vægt | 1.18 kilo (2.6 pund) |
| Produktdimensioner | 10.33 x 5.51 x 13.78 tommer |
| Materiale | Metal (Frame, Barrel) |
| Farve | Sort og Grå |
| Batterier påkrævet | Yes (not included, type not specified in data) |
Garanti og support
For warranty information and technical support, please refer to the documentation included with your purchase or visit the official Laserliner webwebsted.