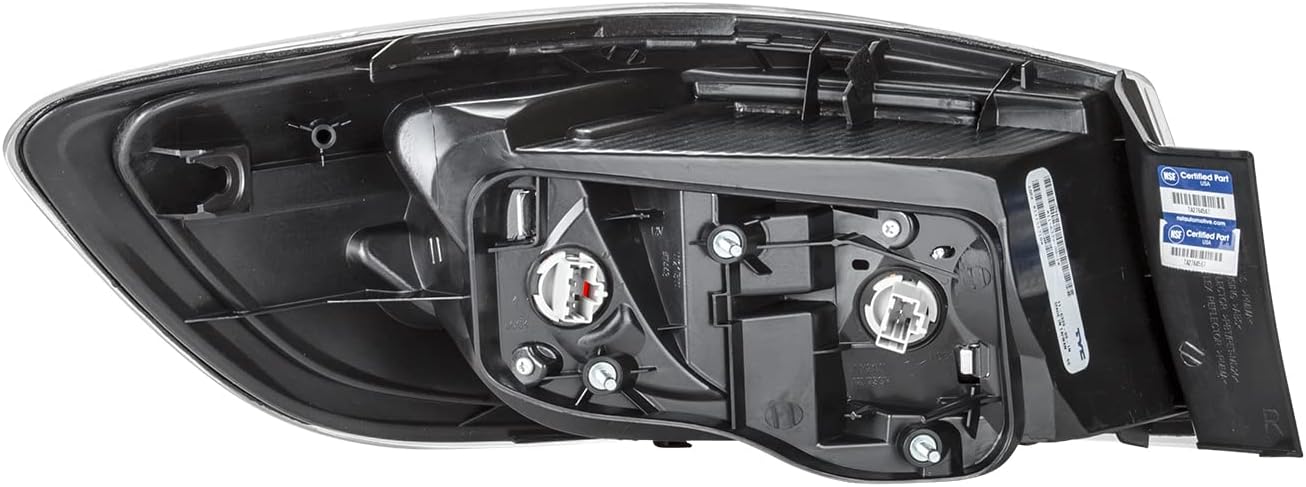
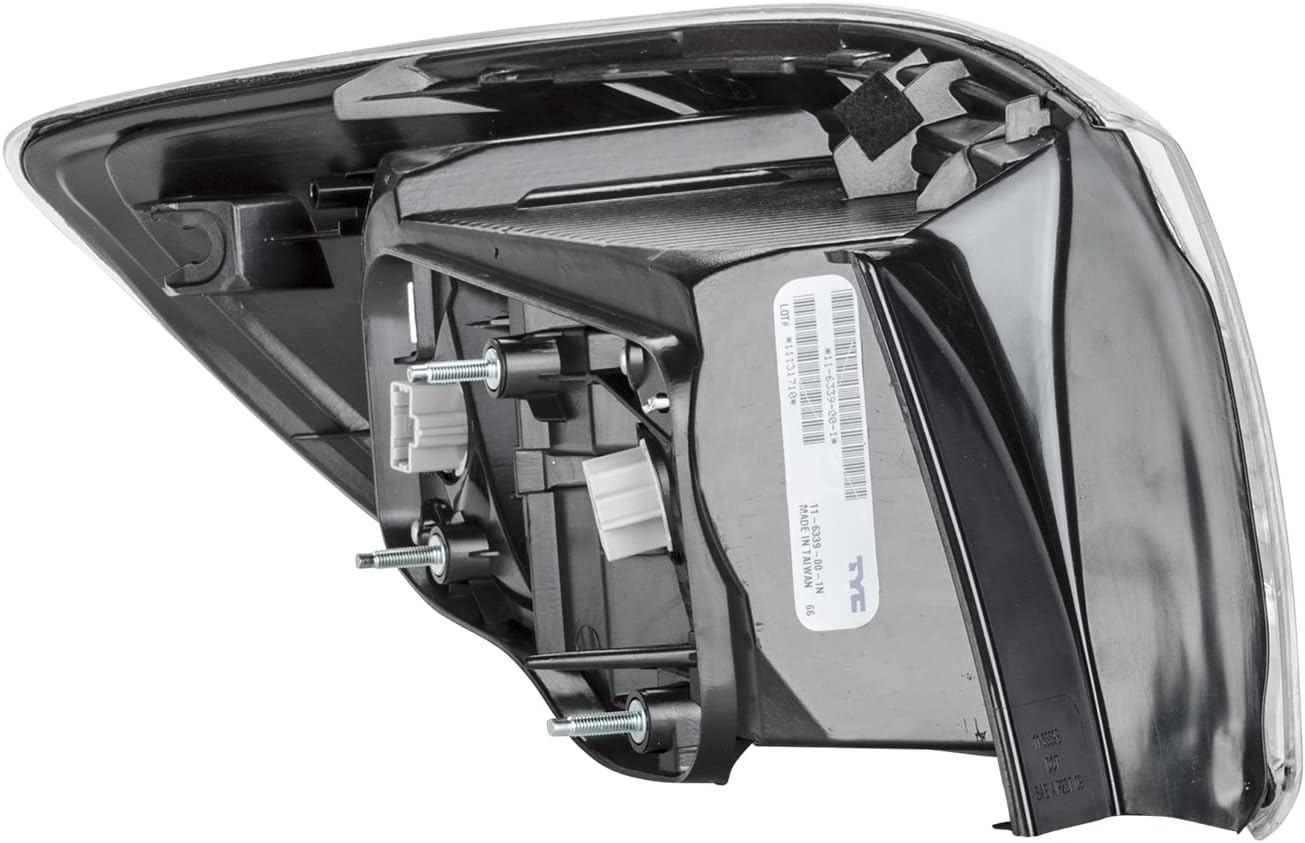
TYC 11-6339-00
TYC Right Tail Light Assembly
Model: 11-6339-00
Indledning
This instruction manual provides comprehensive guidance for the installation, operation, and maintenance of your new TYC Right Tail Light Assembly. Designed as an OE-comparable replacement, this assembly ensures precise fitment and reliable performance for your 2010-2013 Mazda Mazda3. Please read all instructions carefully before proceeding with installation.
Sikkerhedsoplysninger
Prioritér altid sikkerhed, når du arbejder på dit køretøj. Manglende overholdelse af disse sikkerhedsretningslinjer kan resultere i personskade eller beskadigelse af køretøjet.
- Ensure the vehicle is turned off and the parking brake is engaged before beginning any work.
- Disconnect the vehicle's battery to prevent electrical shorts or accidental activation of electrical components.
- Bær passende personlige værnemidler, såsom sikkerhedsbriller og handsker.
- Hvis du er usikker på et trin, skal du kontakte en kvalificeret biltekniker.
- Handle the tail light assembly carefully to avoid damaging the lens or internal components.
Pakkens indhold
Kontroller, at alle komponenter er til stede og ubeskadigede, før installationen påbegyndes.
- 1 x TYC Right Tail Light Assembly (full assembly with bulbs)
Opsætning og installation
This section outlines the steps for installing the TYC Right Tail Light Assembly. The process is designed for a direct, hassle-free replacement.
- Forberedelse: Park the vehicle on a level surface and engage the parking brake. Turn off the ignition and remove the key. For added safety, disconnect the negative terminal of the vehicle's battery.
- Accessing the Old Tail Light: Open the trunk or tailgate. Locate the access panel or trim covering the rear of the tail light assembly. Carefully remove any fasteners (screws, clips) holding the trim in place and remove the trim.
- Disconnecting the Wiring Harness: Locate the electrical connector attached to the back of the tail light assembly. Gently press the release tab and pull the connector to disconnect the wiring harness.
- Removing the Old Tail Light: Identify the mounting bolts or nuts securing the tail light assembly to the vehicle body. Typically, there are 2-4 fasteners. Use an appropriate wrench or socket to loosen and remove these fasteners. Once all fasteners are removed, carefully pull the old tail light assembly straight out from the vehicle body. It may require a gentle wiggle to dislodge it from any alignment pins.
- Inspecting the New Assembly: Before installation, inspect the new TYC Right Tail Light Assembly. Ensure the lens is clear and free of damage, and that all bulb sockets are intact and bulbs are properly seated.
- Installing the New Tail Light: Align the new tail light assembly with the mounting holes and alignment pins on the vehicle body. Gently push the assembly into place until it sits flush.
- Securing the New Tail Light: Reinstall the mounting bolts or nuts that secure the tail light assembly. Tighten them securely, but do not overtighten, as this can crack the plastic housing.
- Tilslutning af ledningsnettet: Reconnect the electrical wiring harness to the new tail light assembly. Ensure the connection is firm and secure.
- Reinstalling Trim: Reinstall any interior trim panels or access covers that were removed in step 2. Secure them with their original fasteners.
- Endelig kontrol: Reconnect the vehicle's battery. Turn on the ignition and test all tail light functions (running lights, brake lights, turn signal, reverse light) to ensure proper operation.

Drift
Once installed, the TYC Right Tail Light Assembly operates automatically with your vehicle's electrical system. The lights will illuminate according to the vehicle's controls (headlight switch, brake pedal, turn signal lever, reverse gear engagement).
- Kørelys: Aktiveres, når bilens forlygter eller parkeringslys er tændt.
- Bremselys: Lyser, når bremsepedalen trykkes ned.
- Blinklys: Flashes when the turn signal lever is engaged for a right turn.
- Reverse Light: Illuminates when the vehicle is shifted into reverse gear.
Regularly check all light functions to ensure they are working correctly for safe driving.
Opretholdelse
The TYC Right Tail Light Assembly is designed for durability and requires minimal maintenance. However, periodic checks can help ensure its longevity and proper function.
- Rensning: Clean the outer lens periodically with a soft cloth and mild automotive soap to remove dirt and grime. Avoid abrasive cleaners that could scratch the lens.
- Udskiftning af pære: While the assembly comes with bulbs, they are consumable items. If a bulb burns out, replace it with a bulb of the correct type and wattage as specified by your vehicle's manufacturer. Refer to your vehicle's owner's manual for specific bulb types.
- Tilslutningskontrol: Periodically inspect the electrical connection at the back of the assembly to ensure it remains secure and free of corrosion.
- Fysisk inspektion: Visually inspect the tail light assembly for any cracks, chips, or signs of moisture intrusion, especially after impacts or extreme weather conditions.
Fejlfinding
If you encounter issues with your tail light assembly, refer to the following common problems and solutions:
| Problem | Mulig årsag | Løsning |
|---|---|---|
| Lyset lyser ikke | Udbrændt pære Løs elektrisk forbindelse Sprunget sikring | Udskift pæren Check and secure the electrical connector Inspect and replace the relevant fuse in the vehicle's fuse box (refer to vehicle manual) |
| Lys flimrende eller svag | Dårlig elektrisk forbindelse Korroderede terminaler Forkert pæretype | Check and secure the electrical connector Clean any corrosion from terminals Ensure the correct bulb type is installed |
| Fugt inde i linsen | Seglkompromis Condensation (minor, temporary) | If persistent or significant, inspect for cracks or damage to the housing/seal. Small amounts of condensation may dissipate naturally. |
Hvis problemet fortsætter efter at have forsøgt disse løsninger, anbefales det at konsultere en professionel biltekniker.
Specifikationer
| Feature | Detalje |
|---|---|
| Mærke | TYC |
| Modelnummer | 11-6339-00 |
| OEM varenummer | BBM4-51-150F |
| ABPA Partslink-nummer | MA2801144 |
| Kompatibelt køretøj | 2010-2013 Mazda Mazda3 |
| Auto del position | Right (Passenger Side) |
| Linse farve | Clear / Red |
| Linse materiale | Glas |
| Speciel funktion | Vandtæt |
| Montering påkrævet | No (Comes as full assembly with bulbs) |
| Varens vægt | 3.05 pund |
| Overholdelse | Meets SAE/DOT regulations, FMVSS 108 compliant |
Garanti og support
TYC automotive lighting products are manufactured to high quality standards. For specific warranty information and support inquiries, please refer to the warranty documentation included with your purchase or visit the official TYC webwebsted. Gem din købsbevis i tilfælde af garantikrav.
For additional assistance, you may contact TYC customer support through their official channels. When contacting support, please have your product model number (11-6339-00) and purchase details readily available.
Ask a question about this manual
Ask about setup, troubleshooting, compatibility, parts, safety, or missing instructions. Manuals+ will review the question and use this page’s manual context to help answer it.