Brilliant 35832/56
BRILLIANT Luca 4-Flame Spot Tube Light
Model: 35832/56
Indledning
This manual provides essential information for the safe and efficient installation, operation, and maintenance of your BRILLIANT Luca 4-Flame Spot Tube Light. Please read these instructions carefully before installation and retain them for future reference.
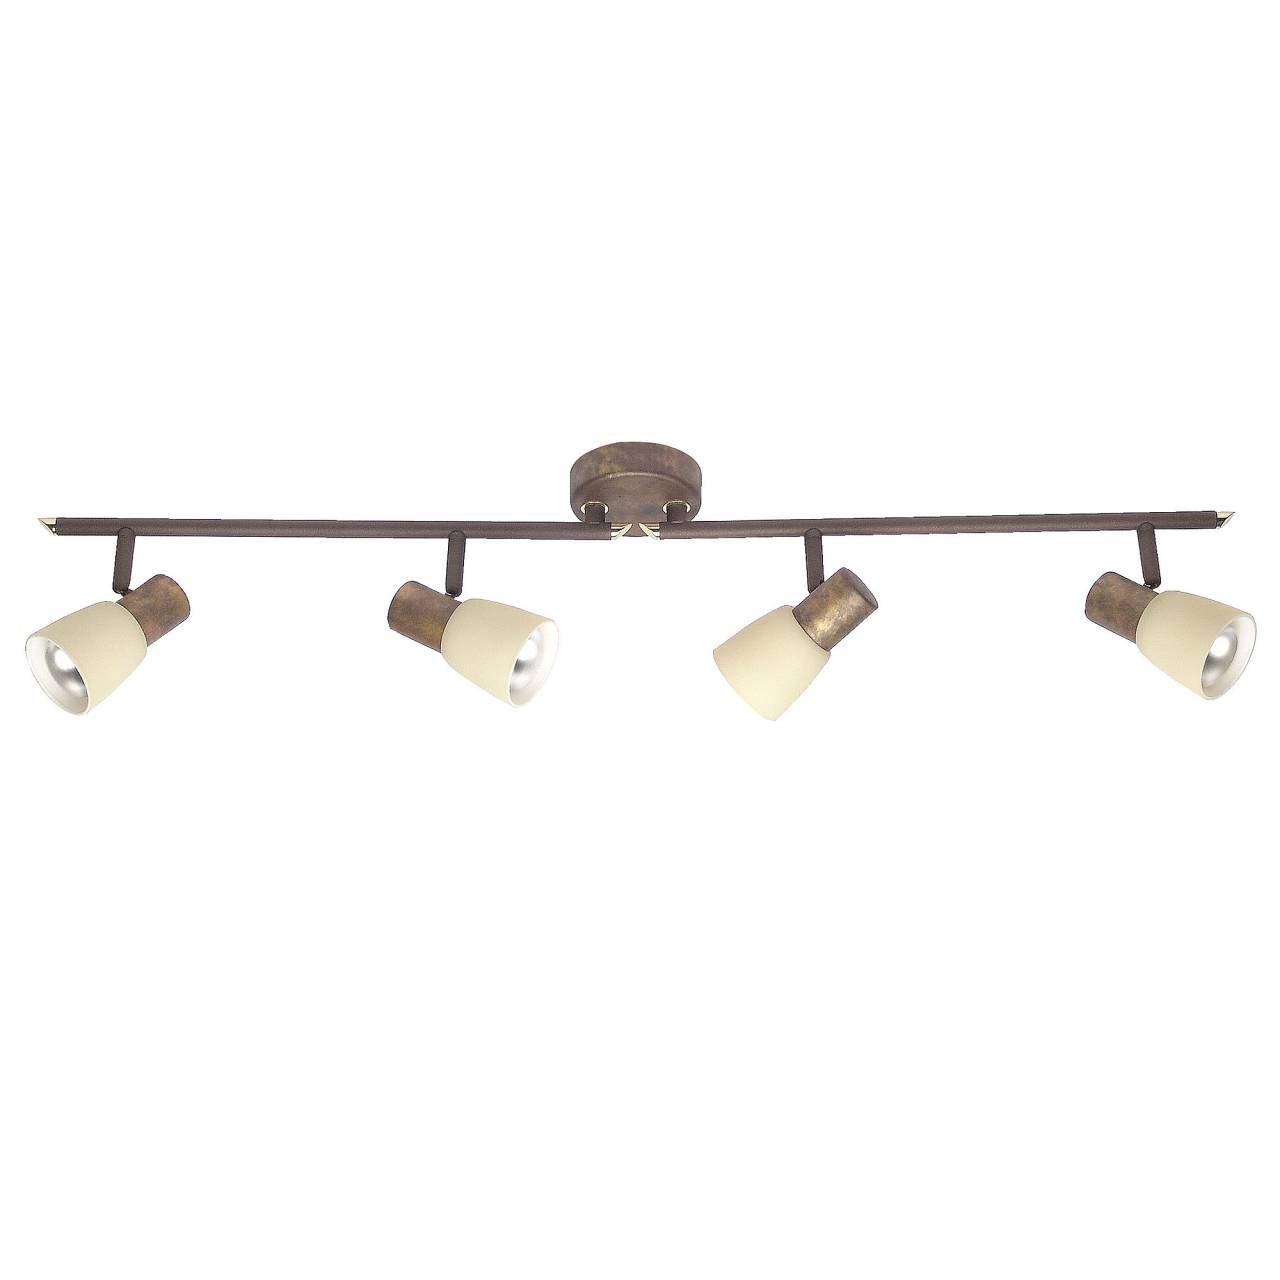
Image 1: The BRILLIANT Luca 4-Flame Spot Tube Light. This image displays the complete light fixture, featuring a long, brown metal bar with four individual spot heads. Each spot head is adjustable and includes a beige glass shade, designed to direct light. The central mounting plate is also visible.
Sikkerhedsinstruktioner
- Afbryd altid strømmen ved hovedsikringen eller afbryderen før installation, vedligeholdelse eller udskiftning af pære.
- Installationen skal udføres af en kvalificeret elektriker eller en kompetent person.
- Sørg for, at monteringsfladen kan bære armaturets vægt.
- Overskrid ikke det maksimale wattage specified for the bulbs (40W per bulb).
- Dette produkt er kun beregnet til indendørs brug (IP20-klassificering). Må ikke udsættes for fugt eller ekstreme temperaturer.
- Allow bulbs to cool before touching or replacing them.
- Hold emballagemateriale utilgængeligt for børn.
Pakkens indhold
Kontroller, at alle komponenter er til stede, før installationen påbegyndes:
- 1x BRILLIANT Luca 4-Flame Spot Tube Light fixture
- Mounting material (screws, wall plugs, etc.)
- Instruktionsmanual
Note: Light bulbs (E14, R50 reflector type, max 40W) are not included and must be purchased separately. LED bulbs are compatible.
Specifikationer
| Mærke | Strålende |
| Modelnummer | 35832/56 |
| Dimensioner (L x B x H) | 85 x 23.2 x 23.2 cm |
| Vægt | 1.22 kg |
| Materiale | Metal, glas |
| Farve | Brown (fixture), Beige (shade) |
| Antal pærer | 4 |
| Pærefatningstype | E14 |
| Max Wattage pr. pære | 40 watt |
| Voltage | 240 volt |
| IP-vurdering | IP20 (kun indendørs brug) |
| Særlige funktioner | Dimmable (with appropriate bulbs and external dimmer), Adjustable Spot Heads |
| Installationstype | Loftmontering |
Opsætning og installation
Vigtig: Before starting installation, ensure the power supply is switched off at the main circuit breaker to prevent electric shock.
- Forbered monteringsoverfladen: Choose a suitable location on your ceiling or wall. Ensure the surface is clean, dry, and structurally sound to support the light fixture.
- Markér borepunkter: Hold the mounting bracket of the fixture against the desired installation spot. Use a pencil to mark the positions for drilling holes.
- Bore huller: Drill holes at the marked positions using an appropriate drill bit for your ceiling/wall material. Insert the provided wall plugs into the drilled holes.
- Sikker monteringsbeslag: Attach the mounting bracket to the ceiling/wall using the provided screws. Ensure it is firmly secured.
- Elektrisk tilslutning: Connect the household electrical wires to the terminal block on the fixture. Follow standard wiring color codes (e.g., Live to Live, Neutral to Neutral, Earth to Earth). Ensure all connections are secure.
- Fastgør armatur til beslag: Carefully align the light fixture with the secured mounting bracket and attach it using the remaining screws or fastening mechanism.
- Installer pærer: Insert four E14 R50 reflector bulbs (not included) into the lamp holders. Do not exceed 40 Watts per bulb. LED bulbs are recommended for energy efficiency.
- Gendan strøm: Når installationen er færdig, og alle forbindelser er sikre, skal strømmen genoprettes ved hovedafbryderen.
Kontakt en kvalificeret elektriker, hvis du er usikker på nogen del af installationsprocessen.
Betjeningsvejledning
- Tænd/sluk: Operate the light using your standard wall switch.
- Justering af spothoveder: The individual spot heads are pivotable and the arms are rotatable. Gently adjust each spot head and arm to direct the light to your desired area.
- Dæmpningsfunktion: If you are using dimmable E14 bulbs and have an external dimmer switch installed, you can adjust the light intensity by operating the dimmer. Ensure your bulbs are compatible with your dimmer type.
Opretholdelse
- Rensning: Disconnect power before cleaning. Wipe the fixture with a soft, dry cloth. Do not use abrasive cleaners or solvents, as these can damage the finish.
- Udskiftning af pære:
- Ensure the light is switched off and has cooled down completely.
- Carefully unscrew the old E14 bulb from its socket.
- Screw in a new E14 R50 reflector bulb, ensuring it is no more than 40 Watts.
- Gendan strømmen og test lyset.
- Regelmæssig kontrol: Periodically check all connections and mounting screws to ensure they remain tight and secure.
Fejlfinding
| Problem | Mulig årsag | Løsning |
|---|---|---|
| Lyset tændes ikke. |
|
|
| Lyse flimrer. |
|
|
| Dimming does not work. |
|
|
If problems persist, contact customer support or a qualified electrician.
Garanti og support
Information regarding warranty and spare parts availability is not provided in the product details. For support, please refer to the retailer or manufacturer's official webwebsted.
Fabrikant: Strålende
Ask a question about this manual
Ask about setup, troubleshooting, compatibility, parts, safety, or missing instructions. Manuals+ will review the question and use this page’s manual context to help answer it.