
Indledning
This manual provides comprehensive instructions for the installation, operation, and maintenance of your Venstar T1010 Single Day Programmable Digital Thermostat. Please read this manual thoroughly before installation and use to ensure proper function and to avoid damage to the unit or property.
The Venstar T1010 is designed for single-day programming, offering convenience and energy efficiency for your home or office environment. Its large display and continuous backlight enhance readability.
Sikkerhedsoplysninger
ADVARSEL: Always turn off power at the main fuse or circuit breaker panel before installing or servicing the thermostat. Failure to do so could result in electrical shock or equipment damage.
- Læs alle instruktioner omhyggeligt før installation.
- Installationen bør udføres af en kvalificeret tekniker, hvis du er usikker på nogle trin.
- Do not short out the terminals on the gas valve or at the system to test the thermostat. This will damage the thermostat and void the warranty.
Opsætning og installation
1. Montering af termostaten
- Turn off power to the heating/cooling system at the main circuit breaker.
- Fjern den gamle termostat fra væggen.
- Label the wires connected to your old thermostat with the provided labels or by noting their terminal designations.
- Mount the new Venstar T1010 base plate to the wall using the screws and anchors provided. Ensure it is level for aesthetic purposes.
- Connect the wires to the corresponding terminals on the new thermostat base. Refer to the wiring diagram for your specific system type.
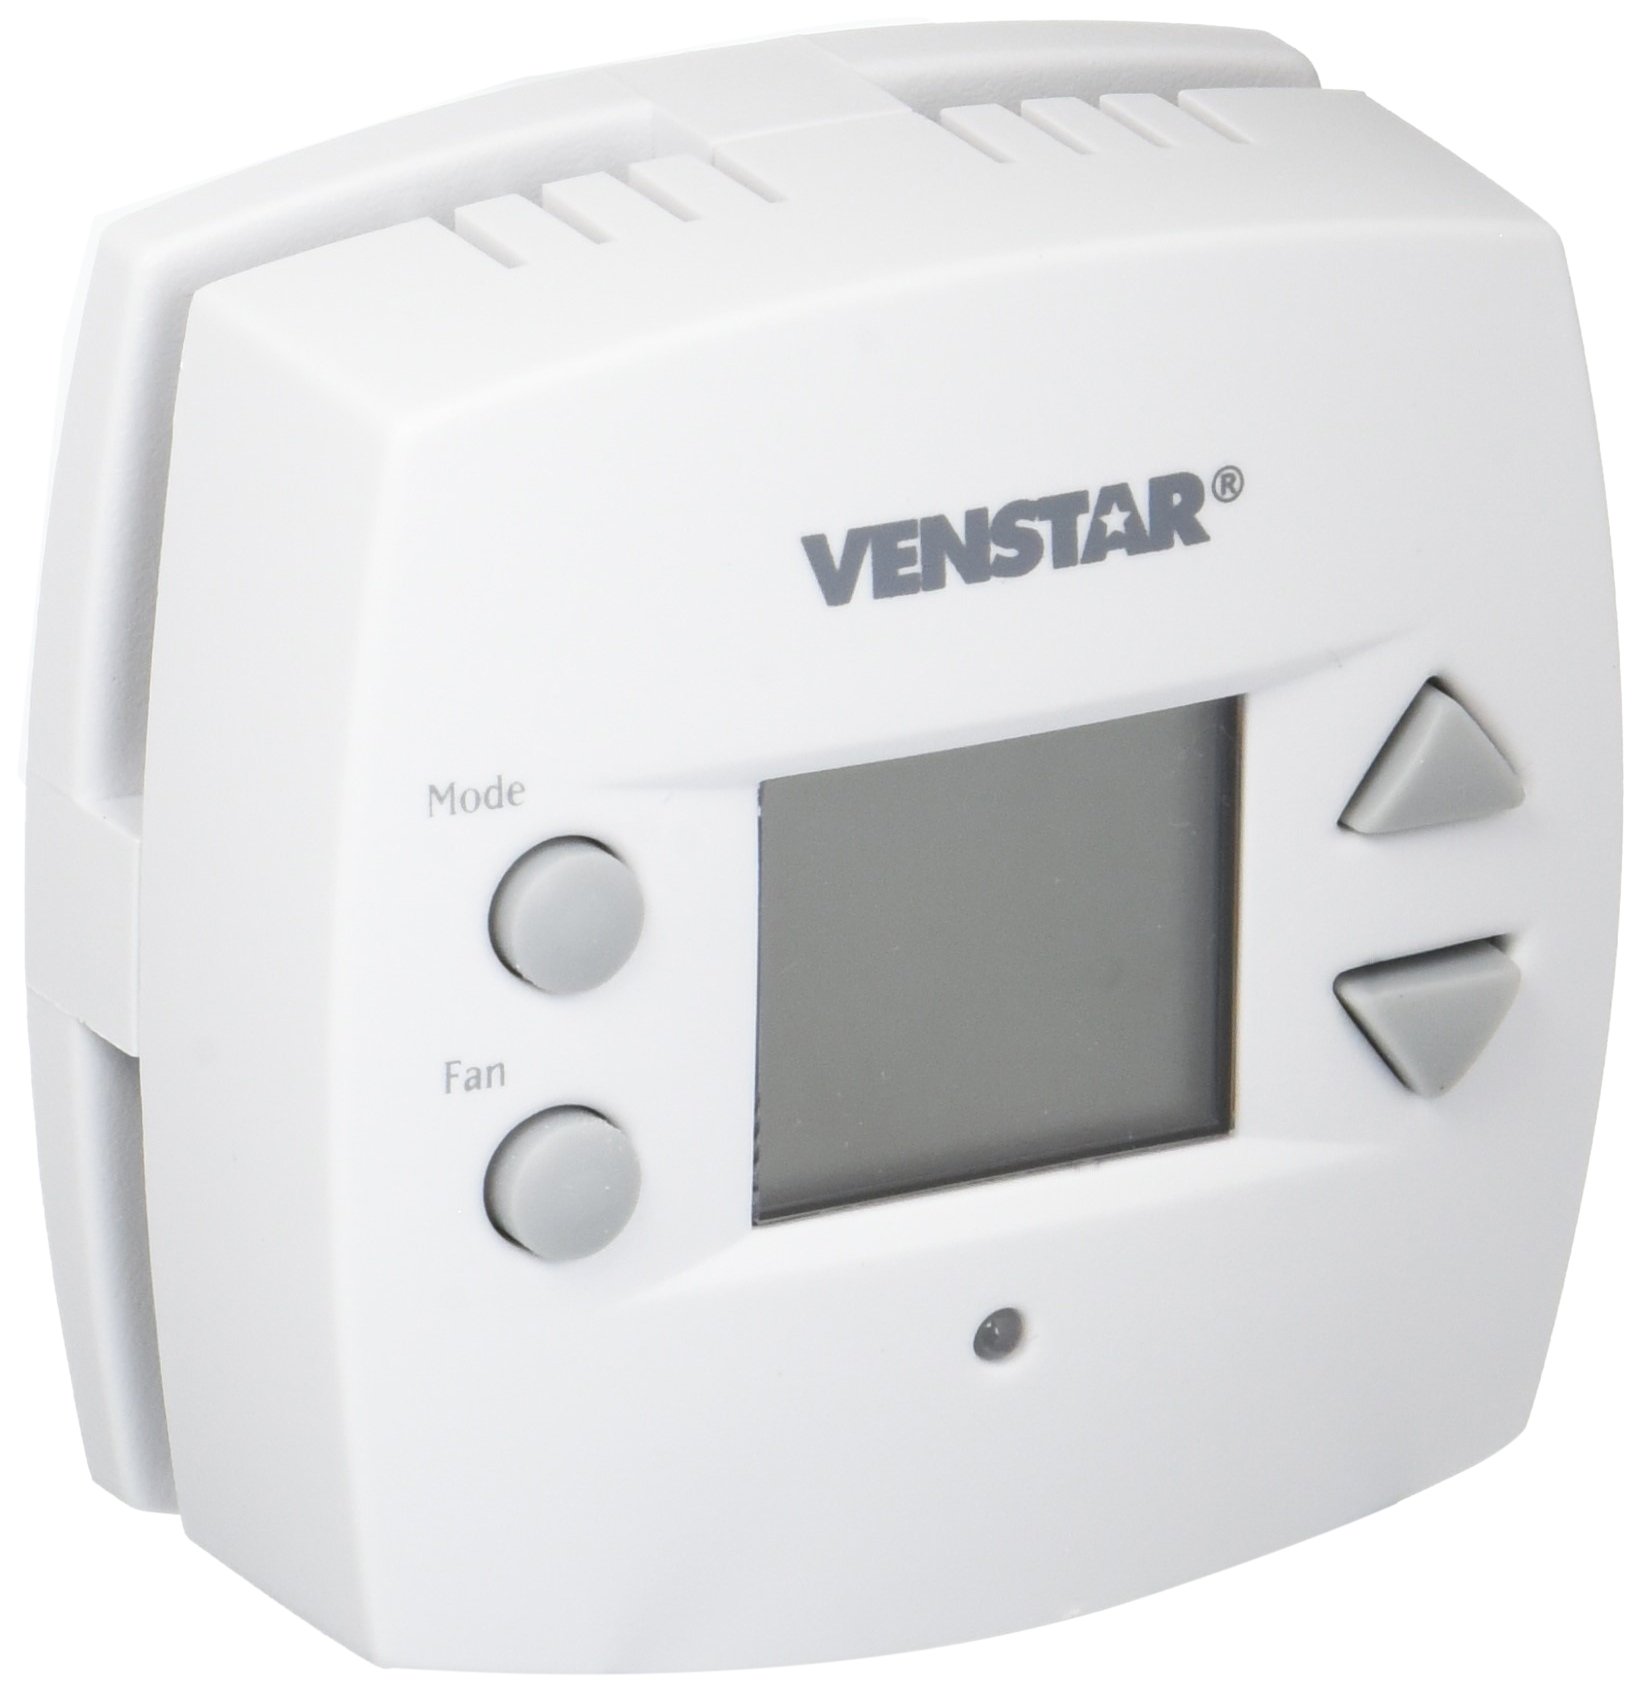
Figur 1: Forside view of the Venstar T1010 Digital Thermostat. This image shows the large display and push-button controls.
2. Første opstart og konfiguration
- Once wiring is complete, attach the thermostat body to the base plate.
- Restore power to the heating/cooling system at the main circuit breaker.
- The thermostat display should illuminate. Follow the on-screen prompts for initial setup, which may include setting the current time and day.
- Select your system type (e.g., Heat/Cool, Heat Pump) if prompted.
Betjeningsvejledning
1. Forståelse af displayet
The large digital display shows the current room temperature, set temperature, system mode, and fan status. The continuous backlight ensures visibility in all lighting conditions.
2. Indstilling af systemtilstand
Press the "MODE" button to cycle through available system modes: HEAT, COOL, OFF. Select the desired mode for your comfort needs.
3. Justering af temperatur
Use the "UP" and "DOWN" arrow buttons to adjust the desired set temperature. The display will show the new set temperature temporarily, then revert to the current room temperature.
4. Ventilatordrift
Press the "FAN" button to select fan operation: AUTO or ON. In AUTO mode, the fan runs only when the heating or cooling system is active. In ON mode, the fan runs continuously.
5. Programming a Schedule (Single Day)
The T1010 allows for a single-day program. This means the schedule you set will repeat every day.
- Press the "PROGRAM" button. The display will show the first program period (e.g., "WAKE").
- Use the "UP" and "DOWN" buttons to set the desired temperature for this period.
- Press "TIME" or "NEXT" (button label may vary) to adjust the start time for this period.
- Repeat for all program periods (e.g., "LEAVE", "RETURN", "SLEEP").
- Press "RUN" or "DONE" to save and exit programming mode.
Note: The thermostat will automatically follow the programmed schedule. To temporarily override the schedule, simply adjust the temperature using the UP/DOWN arrows. The override will remain active until the next program period begins.
Opretholdelse
1. Cleaning the Thermostat
Tør termostatens yderside af med en blød kludamp klud. Brug ikke slibende rengøringsmidler eller opløsningsmidler. Sørg for, at der ikke trænger fugt ind i de indvendige komponenter.
2. Udskiftning af batteri (hvis relevant)
If your thermostat uses batteries (check your specific model's power requirements), replace them annually or when the low battery indicator appears on the display. Use high-quality alkaline batteries.
- Carefully remove the thermostat body from its base.
- Find batterirummet.
- Replace old batteries with new ones, ensuring correct polarity.
- Reattach the thermostat body to the base.
Fejlfinding
| Problem | Mulig årsag | Løsning |
|---|---|---|
| Termostatdisplayet er tomt. | No power, dead batteries (if applicable), or tripped circuit breaker. | Check circuit breaker. Replace batteries. Ensure thermostat is properly seated on its base. |
| Varme-/kølesystemet reagerer ikke. | Incorrect system mode, wiring issue, or system malfunction. | Verify system mode (HEAT/COOL/OFF). Check wiring connections. Consult an HVAC technician if the issue persists. |
| Temperaturmålingerne virker unøjagtige. | Thermostat located near a heat source/draft, or internal sensor issue. | Sørg for, at termostaten ikke udsættes for direkte sollys, træk eller varmekilder. Kontakt support, hvis problemet fortsætter. |
| Programmed schedule not working. | Thermostat in "HOLD" or "OVERRIDE" mode, or incorrect program settings. | Ensure thermostat is in "RUN" or "PROGRAM" mode. Re-check program settings and times. |
Specifikationer
- Model: Venstar T1010
- Type: Single Day Programmable Digital Thermostat
- Kontroltype: Tryk knap
- Vise: Large Digital with Continuous Backlight
- Farve: Hvid
- Kompatibilitet: Compatible with most 24V heating and cooling systems (check wiring requirements)
- Strømkilde: 24 VAC (common wire required) or Battery (if applicable, check model)
- Temperaturområde: 45°F til 90°F (7°C til 32°C)
Garanti og support
For warranty information and technical support, please refer to the official Venstar webwebstedet eller kontakt deres kundeserviceafdeling. Gem din købskvittering som købsbevis i tilfælde af garantikrav.
Venstar Customer Support: www.venstar.com/support