1. Introduktion
This manual provides essential information for the safe and efficient operation of your Hitachi CPWX8 LCD Portable Projector. Please read this manual thoroughly before using the projector and retain it for future reference. The Hitachi CPWX8 is a WXGA (1280 x 800) resolution projector offering 2600 lumens of brightness and a 500:1 contrast ratio, suitable for various presentation and home cinema applications.
2. Sikkerhedsoplysninger
Overhold følgende sikkerhedsforanstaltninger for at forhindre skader på projektoren og sikre brugerens sikkerhed:
- Do not block ventilation openings: Sørg for tilstrækkelig luftgennemstrømning omkring projektoren for at forhindre overophedning.
- Avoid direct eye exposure to the lens: Projektoren lamp is extremely bright and can cause eye damage.
- Use only specified power supply: Connect the projector to a power source that matches the voltage and current ratings indicated on the unit.
- Åbn ikke projektoren casing: Der er ingen dele indeni, der kan repareres af brugeren. Overlad al service til kvalificeret servicepersonale.
- Holdes væk fra vand og fugt: Udsæt ikke projektoren for regn eller fugt for at undgå elektrisk stød eller brand.
- Håndter lamp with care: Lamp operates at high temperatures and can be fragile. Allow it to cool before handling.
3. Pakkens indhold
Bekræft at alle varer er til stede i pakken:
- Hitachi CPWX8 LCD Portable Projector
- Strømledning
- Fjernbetjening med batterier
- VGA-kabel
- Brugervejledning (dette dokument)
- Bæretaske
4. Produktet er slutview
Familiarize yourself with the main components of your Hitachi CPWX8 projector.
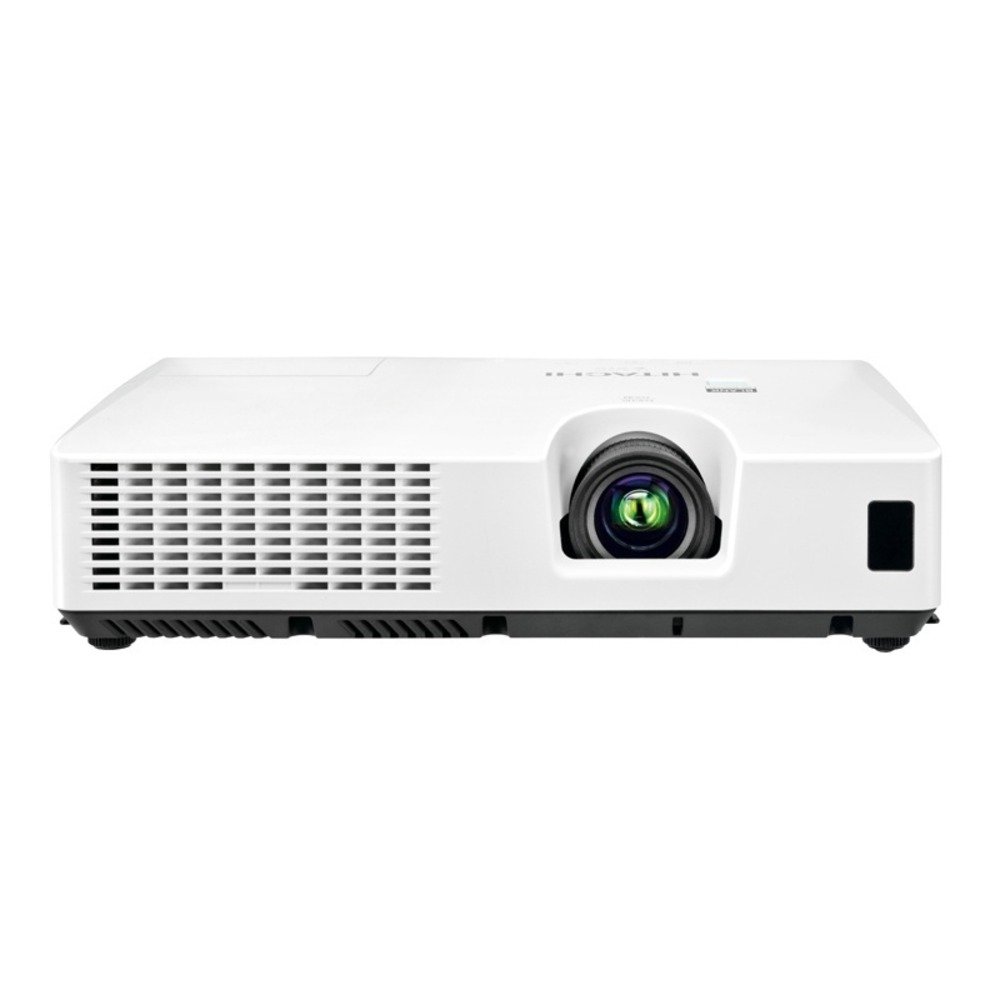
Figur 4.1: Front view of the Hitachi CPWX8 LCD Portable Projector, showing the lens, focus ring, and zoom lever.

Figur 4.2: Rear input panel of the Hitachi CPWX8 projector, featuring HDMI, VGA, S-Video, and audio input ports.

Figur 4.3: Remote control for the Hitachi CPWX8 projector, illustrating buttons for power, input selection, menu navigation, and image adjustments.
5. Opsætning
5.1 Projektorplacering
Position the projector on a stable, flat surface or mount it securely. Ensure the projector is perpendicular to the screen for optimal image geometry. Maintain a clear space of at least 30 cm (12 inches) around the ventilation openings.
5.2 Tilslutning af enheder
Connect your source device (e.g., laptop, gaming console, DVD player) to the projector using the appropriate cable.
- HDMI: For high-definition digital video and audio. Connect an HDMI cable from your source device to the HDMI port on the projector.
- VGA: For analog computer signals. Connect a VGA cable from your computer's VGA output to the VGA port on the projector.
- S-video: For standard definition video. Connect an S-Video cable from your source device to the S-Video port.
- Lydindgang: If using VGA or S-Video, connect an audio cable from your source device's audio output to the Audio In port on the projector.
5.3 Tænd/sluk
- For at tænde: Connect the power cord to the projector and a power outlet. Press the MAGT button on the projector's control panel or remote control. The power indicator light will turn green.
- For at slukke: Tryk på MAGT button twice. The projector will enter a cooling cycle, and the power indicator will flash. Do not unplug the projector during the cooling cycle. Once the light stops flashing, it is safe to unplug.
6. Betjeningsvejledning
6.1 Indgangsvalg
After powering on, the projector will automatically detect an active input. If multiple sources are connected, press the INPUT button on the control panel or remote control to cycle through available input sources (HDMI, VGA, S-Video).
6.2 Billedjustering
- Fokus: Rotate the focus ring on the lens until the image appears sharp and clear.
- Zoom: Use the zoom lever on the lens to adjust the image size without moving the projector.
- Keystone-korrektion: If the image appears trapezoidal, use the keystone correction buttons on the control panel or remote to square the image.
- Menu navigation: Tryk på MENU button to access the on-screen display (OSD). Use the arrow buttons to navigate and the ENTER button to select options. Adjust settings such as brightness, contrast, color, and aspect ratio.
7. Vedligeholdelse
7.1 Rengøring
- Projektor Casing: Tør casinmed en blød, tør klud. Til genstridigt snavs, brug en let tør klud.amp klud med et mildt rengøringsmiddel, og tør derefter af.
- Linse: Gently wipe the lens with a soft, lint-free lens cleaning cloth. Avoid using abrasive cleaners.
- Luftfilter: The air filter should be cleaned regularly (e.g., every 100 hours of use) to maintain optimal performance and prevent overheating. Refer to the projector's specific instructions for filter removal and cleaning.
7.2 Lamp Udskiftning
Projektoren lamp har en begrænset levetid. Når lamp indicator lights up or the image becomes dim, it is time to replace the lamp. Only use a genuine Hitachi CP-WX8 Replacement LampSe de detaljerede oplysninger.amp replacement instructions provided with the replacement lamp or consult a qualified service technician.
- Sørg for, at projektoren er slukket og helt afkølet.
- Find lamp dæksel på projektoren.
- Skru l'en afamp dæk til og fjern forsigtigt den gamleamp modul.
- Indsæt den nye lamp modulet, og sørg for, at det er korrekt placeret.
- Udskift lamp dæksel og fastgør det med skruer.
- Nulstil lamp timeren via projektorens OSD-menu.
8. Fejlfinding
If you encounter issues with your projector, consult the following table for common problems and solutions.
| Problem | Mulig årsag | Løsning |
|---|---|---|
| Intet billede vises | Incorrect input selected; Loose cable connection; Projector in standby mode. | Tryk på INPUT button to select the correct source. Check all cable connections. Press MAGT to wake from standby. |
| Billedet er sløret | Objektivet er ude af fokus. | Juster fokusringen på objektivet. |
| Billedet er trapezformet | Projektoren er ikke vinkelret på skærmen. | Use keystone correction buttons to adjust. Reposition the projector if necessary. |
| Projektoren overopheder og slukker | Blocked ventilation; Dirty air filter. | Ensure clear space around vents. Clean or replace the air filter. |
| Fjernbetjening virker ikke | Løste batterier; Blokering mellem fjernbetjening og projektor. | Udskift batterierne. Sørg for, at der er frit udsyn til projektorens IR-modtager. |
9. Specifikationer
| Feature | Specifikation |
|---|---|
| Mærke | Hitachi |
| Modelnavn | CPWX8 |
| Display Type | LCD |
| Indfødt opløsning | 1280 x 800 (WXGA) |
| Lysstyrke | 2600 lumen |
| Kontrastforhold | 500:1 |
| Forbindelsesteknologi | VGA, HDMI, S-Video |
| Lamp Wattage | 200 watt |
| Maksimal billedstørrelse | 300 tommer |
| Varens vægt | 4.9 pund |
| Formfaktor | Transportabel |
| Strømforbrug | 270 watt |
10. Garanti og support
For information regarding the product warranty, please refer to the warranty card included with your projector or visit the official Hitachi support website. For technical assistance, troubleshooting beyond this manual, or service inquiries, please contact Hitachi customer support. Keep your purchase receipt as proof of purchase for warranty claims.
Online support: Visit the Hitachi official webwebsted med ofte stillede spørgsmål, driverdownloads og kontaktoplysninger.