
1. Introduktion
Thank you for choosing the Streamlight TLR-1s Strobe Model Tactical Light. This manual provides essential information for the safe and effective use of your new tactical light. Please read it thoroughly before operation and retain it for future reference.
2. Sikkerhedsoplysninger
- Øjensikkerhed: Never look directly into the light beam. The intense light can cause temporary vision impairment or permanent eye damage.
- Varme: The light head can become hot during prolonged use. Avoid direct contact with skin to prevent burns.
- Batterihåndtering: Use only specified CR123A batteries. Do not mix old and new batteries, or different battery types. Do not dispose of batteries in fire. Keep batteries out of reach of children.
- Våbensikkerhed: Always follow proper firearm safety rules. Ensure the firearm is unloaded and pointed in a safe direction before attaching or detaching the light.
3. Pakkens indhold
- Streamlight TLR-1s Tactical Light
- To (2) CR123A litiumbatterier
- Key Kit for various rail interfaces
- Instruktionsmanual
4. Opsætning
4.1 Batteriinstallation
Sådan installeres eller udskiftes batterier:
- Unscrew the light head counter-clockwise to access the battery compartment.
- Insert two (2) CR123A lithium batteries with the positive (+) end facing the light head.
- Screw the light head back on clockwise until it is finger-tight. Ensure the O-ring is properly seated to maintain water resistance.

Billede: Top og bund view of the Streamlight TLR-1s. This view illustrates the overall design, including the battery compartment access point and the rail clamping mekanisme.
4.2 Montering af lyset
The TLR-1s features a rail grip clamp system for secure attachment without tools. It includes interchangeable keys to fit various firearm rails.
- Select the appropriate key for your firearm's rail type (e.g., Glock, Picatinny).
- Løsn skinnen clamp screw and slide the light onto the rail until the key engages with a rail slot.
- Spænd skinnen clamp screw firmly by hand. Do not overtighten.

Image: The Streamlight TLR-1s mounted on a rail, highlighting its ambidextrous momentary/constant-on operation and the tool-free rail grip clamp system for secure attachment and detachment.
5. Betjeningsvejledning
The TLR-1s features an ambidextrous switch for momentary, constant-on, and strobe functions.
- Øjeblikkelig tændt: Tryk og hold en af paddelkontakterne nede. Slip for at slukke.
- Konstant tændt: Tryk hurtigt på en af paddelkontakterne. Tryk igen for at slukke.
- Strobetilstand: From the OFF position, quickly tap either paddle switch twice (within 0.4 seconds). Tap again to turn off.
6. Vedligeholdelse
- Rensning: Clean the lens with a soft, clean cloth. Do not use abrasive cleaners.
- O-ringe: Periodically inspect O-rings for wear and lubricate with silicone grease to maintain water resistance.
- Udskiftning af batteri: Replace batteries when the light output becomes dim. Always replace both batteries simultaneously.
7. Fejlfinding
- Lyset tænder ikke: Check battery orientation and ensure they are fresh. Confirm the light head is screwed on tightly.
- Dæmpe lysudbytte: Udskift batterierne.
- Intermitterende drift: Sørg for skinne clamp er forsvarligt fastspændt. Kontroller batteriets kontakter for korrosion.
8. Specifikationer
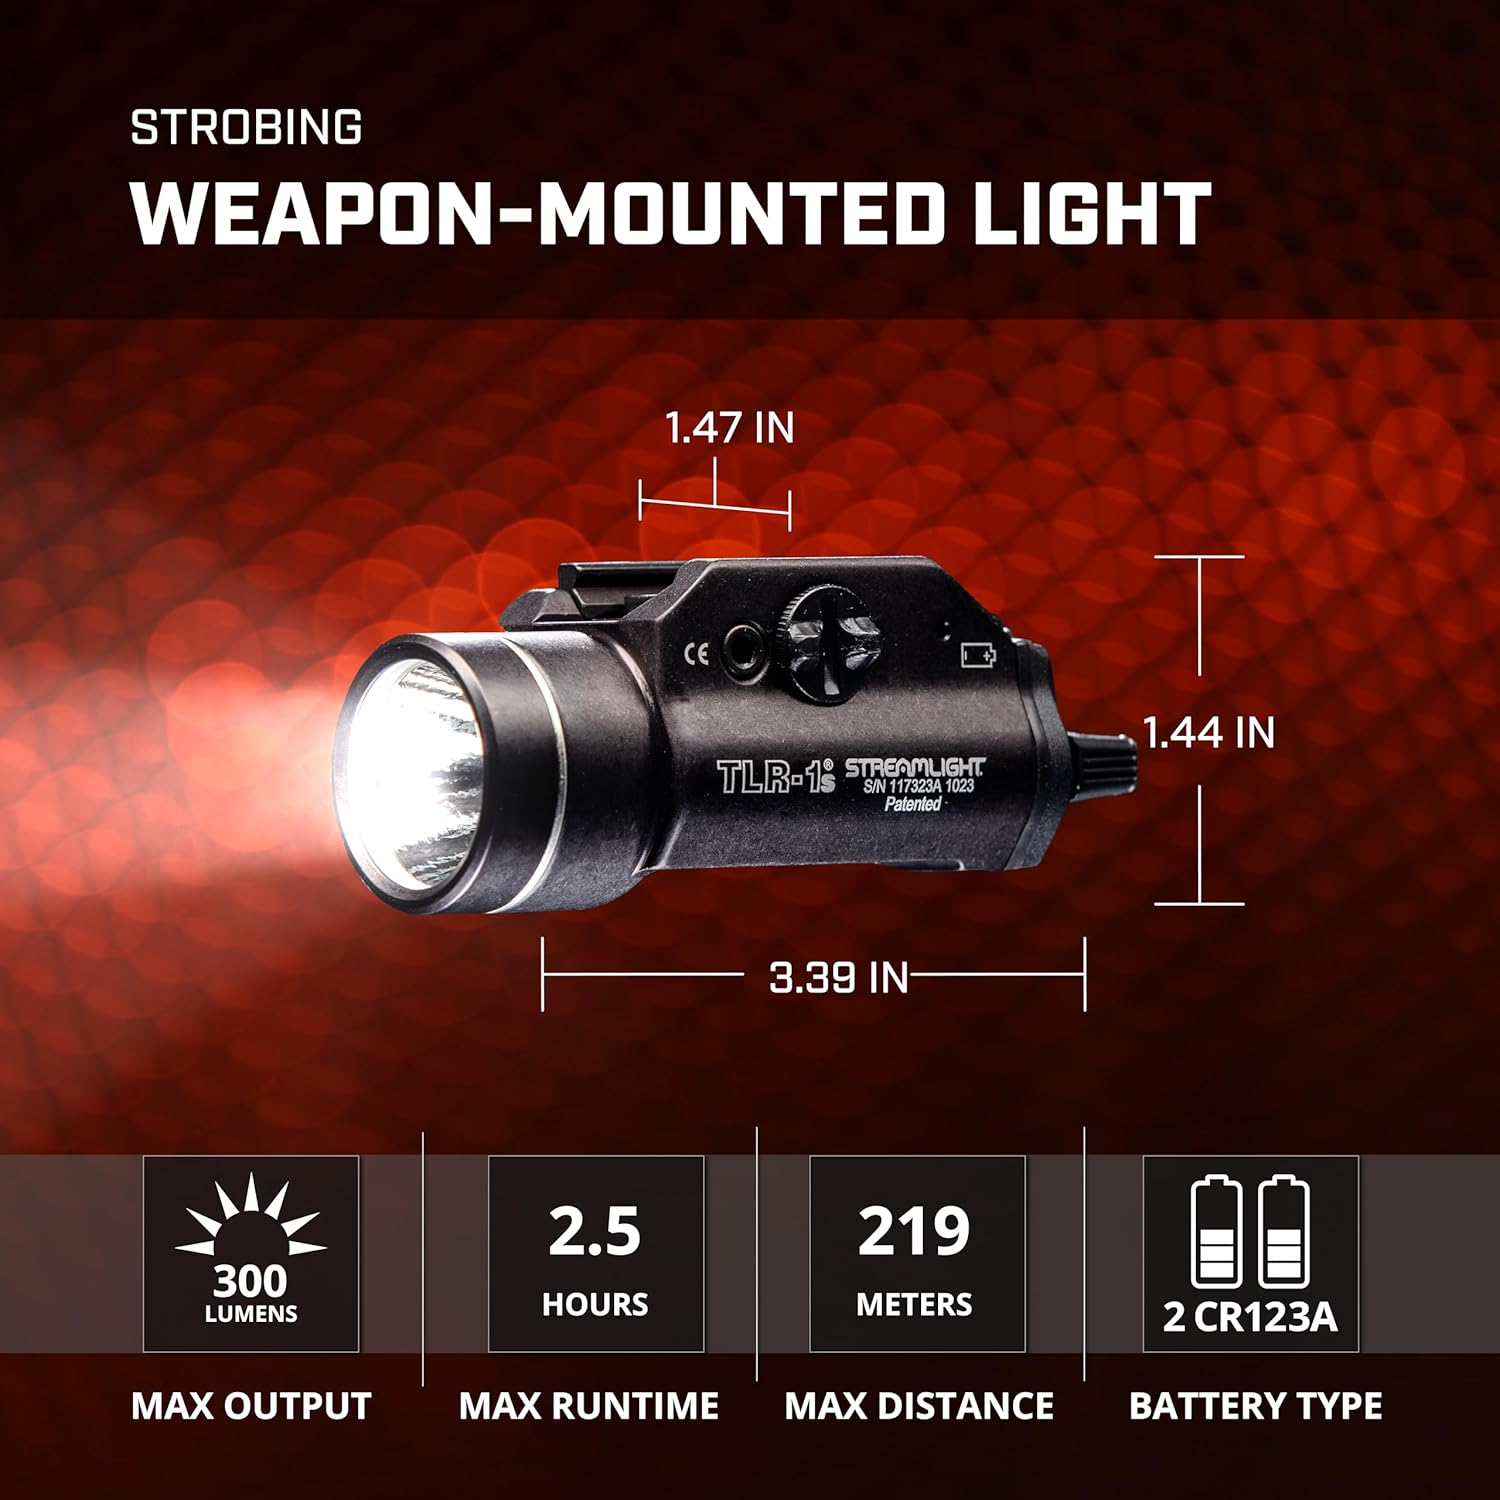
Image: The Streamlight TLR-1s displaying its key specifications including maximum output, runtime, beam distance, and battery type.
| Model | TLR-1s |
| Producentens modelnummer | 69210 |
| Max output | 300 lumen |
| Max køretid | 2.5 timer |
| Maksimal stråleafstand | 219 meter |
| Strømkilde | 2 x CR123A litiumbatterier |
| Voltage | 3 volt (DC) |
| Varens vægt | 0.26 pund (ca. 118 g) |
| Farve | Sort |
9. Garanti og support
Streamlight products are designed for durability and performance. For warranty information, service, or technical support, please refer to the official Streamlight webwebstedet eller kontakt deres kundeservice direkte. Behold din købskvittering som købsbevis.