1. Introduktion
This manual provides detailed instructions for the safe installation, operation, and maintenance of your Emerald P401TSW 6-inch Recessed Ceiling Light Fixture Kit. Please read all instructions carefully before beginning installation and retain this manual for future reference. Proper installation is crucial for safety and optimal performance.
2. Sikkerhedsoplysninger
WARNING: RISK OF ELECTRIC SHOCK. Disconnect power at the circuit breaker or fuse box before installation or servicing. Failure to do so may result in serious injury or death.
- Alle elektriske forbindelser skal være i overensstemmelse med lokale forskrifter, forordninger og National Electric Code (NEC).
- Kontakt en kvalificeret elektriker, hvis du er usikker på ledningsføringsprocedurerne.
- Brug sikkerhedsbriller og handsker under installationen.
- Sørg for, at armaturet er korrekt jordet.
- Do not install insulation within 3 inches of the fixture housing.
- This fixture is designed for indoor use in dry or damp kun steder.
3. Pakkens indhold
Kontroller, at alle komponenter er til stede, før installationen påbegyndes:
- Recessed Housing (1)
- White Trim Ring (1)
- Frosted Glass Diffuser (1)
- Monteringsudstyr (skruer, trådmøtrikker)
- Instruktionsmanual (dette dokument)
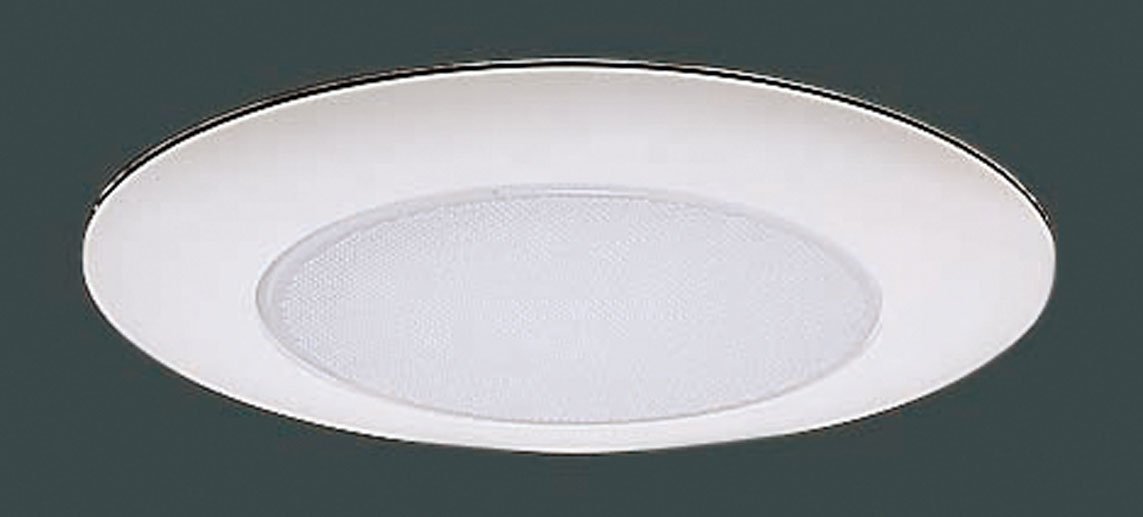
Image: Components of the Emerald P401TSW recessed light kit, showing the housing, white trim, and frosted glass diffuser.
4. Nødvendigt værktøj
Følgende værktøjer er typisk nødvendige til installation:
- Phillips hovedskruetrækker
- Fladhovedskruetrækker
- Trådstrippere
- Målebånd
- Blyant
- Drill with Hole Saw (6-1/4 inch recommended for a snug fit)
- Utility Knife (optional, for drywall)
- Sikkerhedsbriller
5. Installationsvejledning
Follow these steps carefully to install your recessed light fixture. This kit is designed for both new construction and remodel applications.
Trin 1: Forbered dig til installation
- Sluk for strømmen: Locate the circuit breaker or fuse box controlling the area where you will install the fixture and turn off the power. Verify power is off using a voltage tester.
- Bestem placering: Choose a suitable location on the ceiling, ensuring there are no obstructions (joists, pipes, wires) behind the drywall.
- Mark and cut hole: Using a measuring tape and pencil, mark the center of your desired fixture location. Use a 6-1/4 inch hole saw to cut a circular opening in the drywall. Note: A slightly larger hole (e.g., 6-3/8 inch) may be necessary for easier installation and to prevent drywall damage, as reported by some users. Test fit before final wiring.
Trin 2: Tilslutning af armaturet
- Open junction box: Open the access plate on the fixture's junction box.
- Tilslut ledninger: Feed the electrical supply wires through the knockout hole into the junction box. Using wire nuts, connect the wires as follows:
- Tilslut sort (hot) wire from the supply to the sort armaturets ledning.
- Tilslut hvid (neutral) wire from the supply to the hvid armaturets ledning.
- Tilslut bart kobber or grøn (ground) wire from the supply to the grøn ground screw or wire in the junction box.
- Secure wiring: Ensure all connections are secure. Carefully tuck all wires and wire nuts into the junction box and close the access plate.
Step 3: Installing the Housing
- Insert housing: Carefully push the recessed housing up into the ceiling opening.
- Secure housing: The housing features spring clips or tension clips. Push these clips outwards and upwards to secure the housing firmly against the ceiling drywall. Ensure the housing is flush and level with the ceiling surface. If the housing does not sit level, it may require minor adjustment or shimming before proceeding.
Step 4: Installing the Trim and Glass
- Install bulb: Screw in the appropriate bulb (not included) into the socket. Refer to the specifications section for bulb type and wattage.
- Attach glass diffuser: Place the frosted glass diffuser into the trim ring.
- Installer trim: Align the trim ring with the housing. The trim typically has torsion springs or clips that attach to brackets inside the housing. Gently push the trim upwards until it snaps securely into place, flush with the ceiling.
Trin 5: Sidste trin
- Genopret strøm: Tænd for strømmen igen ved afbryderen eller sikringsboksen.
- Testarmatur: Turn on the light switch to ensure the fixture is operating correctly.
6. Betjeningsvejledning
Once installed, the Emerald P401TSW recessed light fixture operates like any standard ceiling light. Control it using a wall switch connected to the circuit. To replace the bulb, ensure power is off, allow the bulb to cool, then unscrew the old bulb and screw in a new one of the correct type and wattage.
7. Vedligeholdelse
- Rensning: Disconnect power before cleaning. Wipe the trim and glass diffuser with a soft, damp klud. Brug ikke slibende rengøringsmidler eller opløsningsmidler, da de kan beskadige overfladen.
- Udskiftning af pære: Always turn off power before replacing a bulb. Allow the bulb to cool completely. Use only bulbs that meet the specifications listed in this manual.
- Inspektion: Undersøg regelmæssigt armaturet for tegn på skader eller løse forbindelser. Hvis der findes problemer, skal strømmen afbrydes og en kvalificeret elektriker kontaktes.
8. Fejlfinding
| Problem | Mulig årsag | Løsning |
|---|---|---|
| Lyset tænder ikke | Ingen strøm til armaturet Løs ledningsforbindelse Defekt pære | Kontroller afbryder/sikring Kontroller, at alle ledningsforbindelser er sikre (sluk for strømmen) Udskift pære |
| Lyse flimrer | Løs ledningsforbindelse Forkert pæretype Lysdæmper inkompatibilitet | Check wire connections (power off) Sørg for korrekt pæretype og hvadtage Verify dimmer is compatible with bulb type |
| Fixture is not flush with ceiling | Improperly seated clips Hole cut too small | Re-seat spring clips firmly Carefully enlarge hole slightly if necessary (power off) |
9. Specifikationer
- Model: P401TSW
- Armatur type: Recessed Ceiling Light Kit
- Størrelse: 6-inch (nominal opening)
- Trim finish: Hvid
- Glas: Frostet diffuser
- Voltage: 120V AC 60Hz
- Pære type: Incandescent, LED, or CFL compatible (bulb not included)
- Max Wattage: 60W (or equivalent LED/CFL)
- Placeringsvurdering: Tør eller Damp
10. Garantioplysninger
This Emerald product is covered by a limited warranty against defects in materials and workmanship. Please refer to the warranty card included with your purchase or visit the manufacturer's website for specific terms and conditions. Keep your proof of purchase for warranty claims.
11. Kundesupport
For technical assistance, missing parts, or warranty inquiries, please contact Emerald customer support. Refer to the packaging or the manufacturer's official website for current contact information (phone number, email, or support portal).