1. Introduktion
Thank you for choosing the Hunter 44760 Multi-Stage Heat Pump Thermostat. This device is designed to provide efficient and precise control over your home's heating and cooling system. It is compatible with single and multi-stage heat pump systems, controlling one stage of cooling and two stages af varme.
Key features of your Hunter 44760 thermostat include:
- Auto Season Changeover: Automatically switches between heating and cooling modes.
- INDIGLO Backlit Display: Provides clear visibility in various lighting conditions.
- Pre-Programmed Temperature & Vacation Overrides: Allows temporary adjustments or extended holds.
- Energimåler: Tracks system usage time to help manage energy consumption.
- Indikator for filterskift: Reminds you when to replace your system's air filter.
- Automatisk gendannelse: Helps maintain comfort while optimizing energy use.
- Advarsel om lavt batteri: Giver dig besked, når batterierne skal udskiftes.
- Batteribackup: Bevarer indstillinger under strømudgangtages (requires 2 AAA batteries, not included).
2. Installation
The Hunter 44760 thermostat is designed for easy do-it-yourself installation. Please follow these instructions carefully to ensure proper setup and operation.
2.1 Før du begynder
- Sluk for strømmen to your heating and cooling system at the main circuit breaker or fuse box before beginning installation.
- Ensure you have the necessary tools: screwdriver, wire stripper/cutter, and electrical tape.
- Confirm your system is compatible with a multi-stage varmepumpe termostat.
2.2 Removing Your Old Thermostat and Wiring
- Fjern forsigtigt dækslet på din eksisterende termostat.
- Before disconnecting any wires, label each wire with the corresponding terminal letter from your old thermostat. This is crucial for correct wiring of the new thermostat.
- Disconnect the wires and remove the old thermostat's wall plate.
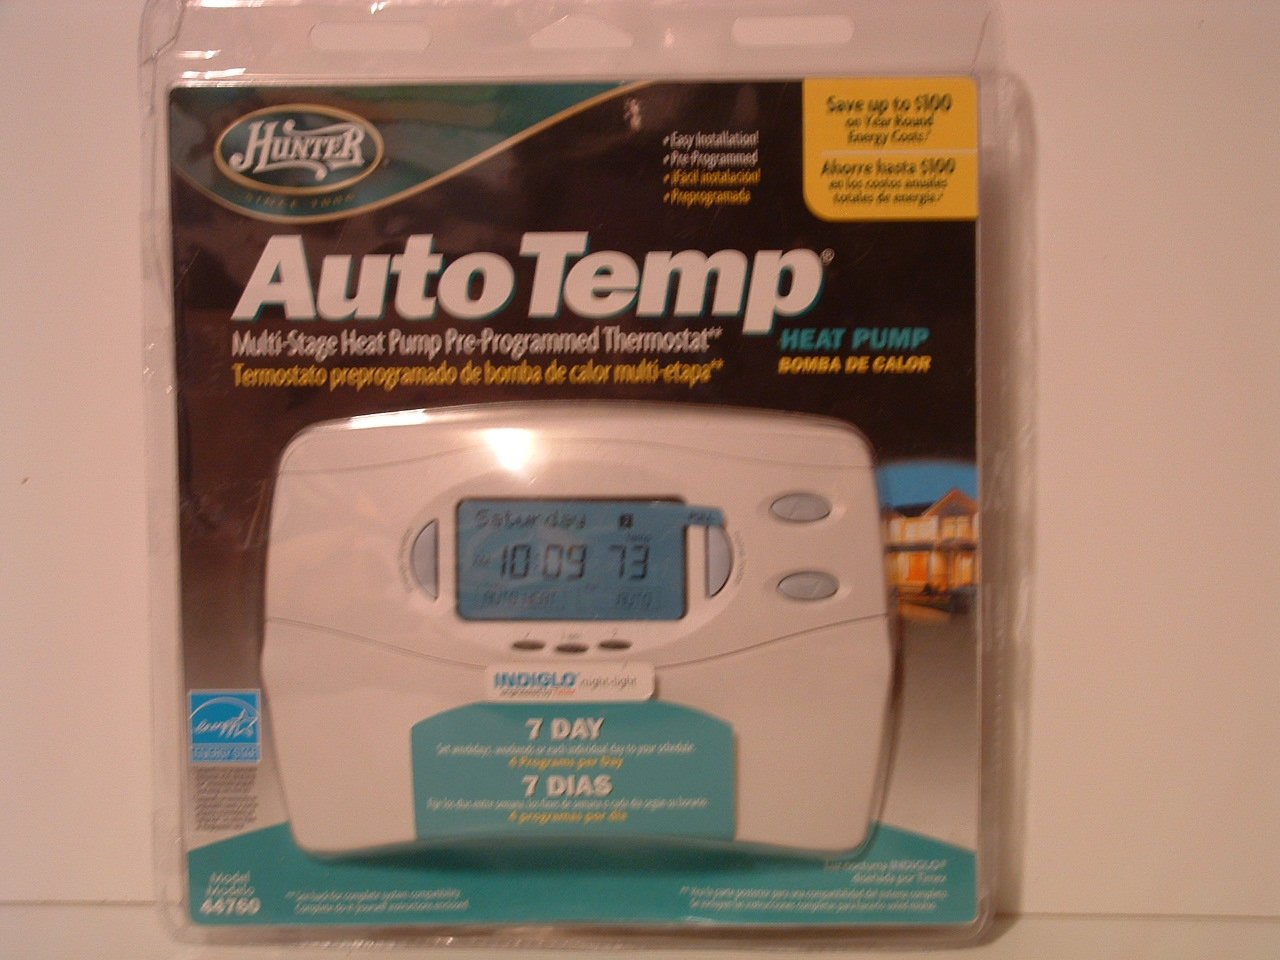
Image: Hunter 44760 Thermostat packaging illustrating key features and simplified installation steps. The top right corner shows a visual guide for removing the existing thermostat, labeling wires, installing the new wall plate, and attaching the cover.
2.3 Montering af den nye termostat
- Install the new wall plate provided with your Hunter 44760 thermostat. Secure it to the wall using the included screws.
- Connect the labeled wires to the corresponding terminals on the new wall plate. Refer to the wiring diagram in the full manual for specific connections.
- Insert 2 AAA batteries (not included) into the battery compartment.
- Attach the thermostat cover to the wall plate, ensuring it clicks securely into place.
- Restore power to your heating and cooling system at the circuit breaker.
3. Betjening
This section details how to operate your Hunter 44760 thermostat, including basic controls and programming features.
3.1 Display overview
The thermostat features an INDIGLO backlit display that shows the current temperature, set temperature, time, and system status. The display is designed for clear readability.
Image: Hunter 44760 Thermostat packaging showing the thermostat's front panel with its digital display (showing 10:09 and 73 degrees) and various control buttons below it.
3.2 Grundlæggende kontroller
- Temperature UP/DOWN Buttons: Use these buttons to adjust the desired temperature setting.
- Ventilatorkontakt:
- BIL: The fan runs only when the heating or cooling system is operating.
- PÅ: Ventilatoren kører kontinuerligt, uanset om varme- eller kølesystemet er aktivt.
- Systemkontakt:
- VARME: Termostaten styrer varmesystemet.
- FEDT NOK: Termostaten styrer kølesystemet.
- OFF: The heating and cooling systems are turned off.
3.3 Programmeringsfunktioner
The Hunter 44760 offers advanced programming options for energy efficiency and comfort.
- Auto Season Changeover: This feature automatically switches between heating and cooling modes as needed, eliminating the need for manual adjustment.
- Home Today & Vacation Overrides: Use these functions for temporary temperature adjustments or to set an extended hold for vacation periods.
- Energimåler: Få adgang til denne funktion view the run time of your heating and cooling system, helping you understand and manage energy usage.
- Indikator for filterskift: A reminder will appear on the display when it's time to check or replace your system's air filter.
- Automatisk gendannelse: This intelligent feature ensures your home reaches the desired temperature by the start of a programmed period, optimizing system operation.
- Permanent and Vacation Hold: These settings allow you to maintain a specific temperature indefinitely or for a set vacation duration, overriding the regular program.
- Returns to Programmed Settings: The thermostat can easily revert to your pre-programmed schedule.
4. Vedligeholdelse
Proper maintenance ensures the longevity and optimal performance of your thermostat.
4.1 Udskiftning af batteri
The thermostat requires two AAA batteries (not included) for operation and to maintain settings during power outages. A low battery warning will appear on the display when replacement is needed.
- Gently pull the thermostat body away from the wall plate to access the battery compartment.
- Remove the old batteries and insert two new AAA alkaline batteries, ensuring correct polarity (+/-).
- Reattach the thermostat body to the wall plate.
4.2 Rengøring
Rengør termostatens yderside med en blød, tør klud.amp klud. Brug ikke slibende rengøringsmidler eller opløsningsmidler, da disse kan beskadige overfladen eller de indvendige komponenter.
5. Fejlfinding
Hvis du støder på problemer med din termostat, kan du se følgende almindelige problemer og løsninger.
- Termostatens display er blankt:
- Check if the power to your HVAC system is on at the circuit breaker.
- Replace the AAA batteries in the thermostat.
- Systemet reagerer ikke (ingen opvarmning/køling):
- Ensure the system switch is set to HEAT or COOL, not OFF.
- Verify the fan switch is set to AUTO or ON.
- Check if the set temperature is above (for heat) or below (for cool) the current room temperature.
- Confirm all wiring connections are secure.
- Forkert temperaturaflæsning:
- Sørg for, at termostaten ikke udsættes for direkte sollys, træk eller varmekilder.
- Allow time for the thermostat to acclimate to the room temperature after installation.
- Filter Change Indicator Remains On:
- Replace your system's air filter.
- Reset the filter change indicator through the thermostat's settings menu (refer to the full manual for specific steps).
6. Specifikationer
Below are the technical specifications for the Hunter 44760 Multi-Stage Heat Pump Thermostat.
| Feature | Specifikation |
|---|---|
| Mærke | Jæger |
| Modelnummer | 44760 |
| Voltage | 24 volt |
| Farve | Hvid |
| Særlige funktioner | Low Battery Indicator, INDIGLO Backlight, Energy Star Compliant |
| Produktdimensioner | 2 x 7 x 5 tommer |
| Varens vægt | 1.1 pund |
| Batterier påkrævet | 2 AAA batterier (medfølger ikke) |
| Kontroltype | Knap kontrol |
7. Garantioplysninger
The Hunter 44760 Multi-Stage Heat Pump Thermostat comes with a Begrænset et-års garanti from the date of purchase. This warranty covers defects in materials and workmanship under normal use. Please retain your proof of purchase for warranty claims. For full details regarding warranty terms and conditions, refer to the documentation included with your product or contact Hunter Fan Company customer support.
8. Kundesupport
If you have any questions, require technical assistance, or need further support regarding your Hunter 44760 thermostat, please contact the Hunter Fan Company customer service. Contact information can typically be found on the manufacturer's webwebstedet eller i den originale produktemballage.