
Indledning
The Lutron Diva 3-Speed Fan Control (model DVFSQ-F-AL) provides convenient control over your ceiling fan's speed. This switch allows you to select from three quiet fan speeds and turn the fan on or off. It is designed for use in both single-pole and 3-way wiring configurations. A coordinating Claro wall plate is sold separately.
Sikkerhedsoplysninger
ADVARSEL: To avoid fire, shock, or death, turn off power at the circuit breaker or fuse box and test that power is off before wiring. This device must be installed by a qualified electrician in accordance with all national and local electrical codes. Use only with permanently installed ceiling paddle fans. Do not use with fans that have proprietary remote controls, DC motor fans, or exhaust fans.
- Overskrid ikke den maksimale elektriske kapacitet: 1.5 Amps, 120 Volts AC, 60 Hz.
- Sørg for korrekt jording.
- Do not use for controlling lighting loads.
Hvad er inkluderet
Pakken indeholder:
- One (1) Lutron Diva 3-Speed Fan Control (DVFSQ-F-AL)
Note: A coordinating Claro wall plate is sold separately and is not included with this unit.

Image: The Lutron Diva 3-Speed Fan Control in Almond, shown without a wall plate.
Kompatibilitet
This fan control is designed for use with indoor ceiling paddle fans only. It is compatible with standard 3-speed ceiling fans that use a pull chain for speed control. It is ikke kompatibel med:
- Ceiling fans with proprietary remote controls.
- DC motor fans.
- Exhaust fans.
- Lights or other electrical loads.

Image: A compatibility chart showing a checkmark for ceiling fans with pull chains and an 'X' for ceiling fans with pull chains and remotes.
Opsætning og installation
Før du begynder: Ensure power is turned off at the circuit breaker. This device requires a neutral wire for proper operation. If you are unsure about wiring, consult a qualified electrician.
Nødvendige værktøjer:
- Skruetrækker (Phillips og fladhoved)
- Afisoleringstænger
- Elektrisk tape
- Voltage tester
Ledningsinstruktioner:
- Sluk for strømmen: Locate the circuit breaker controlling the fan and turn it off. Verify power is off using a voltage tester.
- Fjern eksisterende switch: Fjern forsigtigt vægpladen, og skru den eksisterende afbryder af vægdåsen. Frakobl ledningerne fra den gamle afbryder.
- Identificér ledninger:
- Varmledning: Typisk sort, bringer strøm fra afbryderen.
- Indlæs ledning: Typically black, goes to the fan.
- Neutral ledning: Typically white, required for this switch.
- Jordledning: Typisk bart kobber eller grønt.
- Traveler Wires (for 3-way only): Two wires (often red and black) that connect between two 3-way switches.
- Tilslut ledninger:
- Tilslut Jord wire from the wall box to the green ground wire on the Lutron fan control.
- Tilslut Neutral wire from the wall box to the white neutral wire on the Lutron fan control.
- For Enkeltpol installation: Connect the Hot (Line) wire to one of the black wires on the fan control. Connect the Indlæs wire (to the fan) to the other black wire on the fan control.
- For 3-vejs installation: This control can be used with a standard 3-way switch. Connect the Hot (Line) wire to one of the black wires on the fan control. Connect the Indlæs wire (to the fan) to the other black wire on the fan control. The traveler wires will connect to the corresponding terminals on the standard 3-way switch. Refer to the diagram provided with your standard 3-way switch for specific traveler connections.
- Sikker ledningsføring: Use wire nuts to secure all connections. Ensure no bare wire is exposed.
- Monter afbryder: Gently fold the wires into the wall box and secure the fan control with the provided screws.
- Installer vægplade: Attach the coordinating Claro wall plate (sold separately).
- Gendan strøm: Tænd for strømmen igen ved afbryderen.
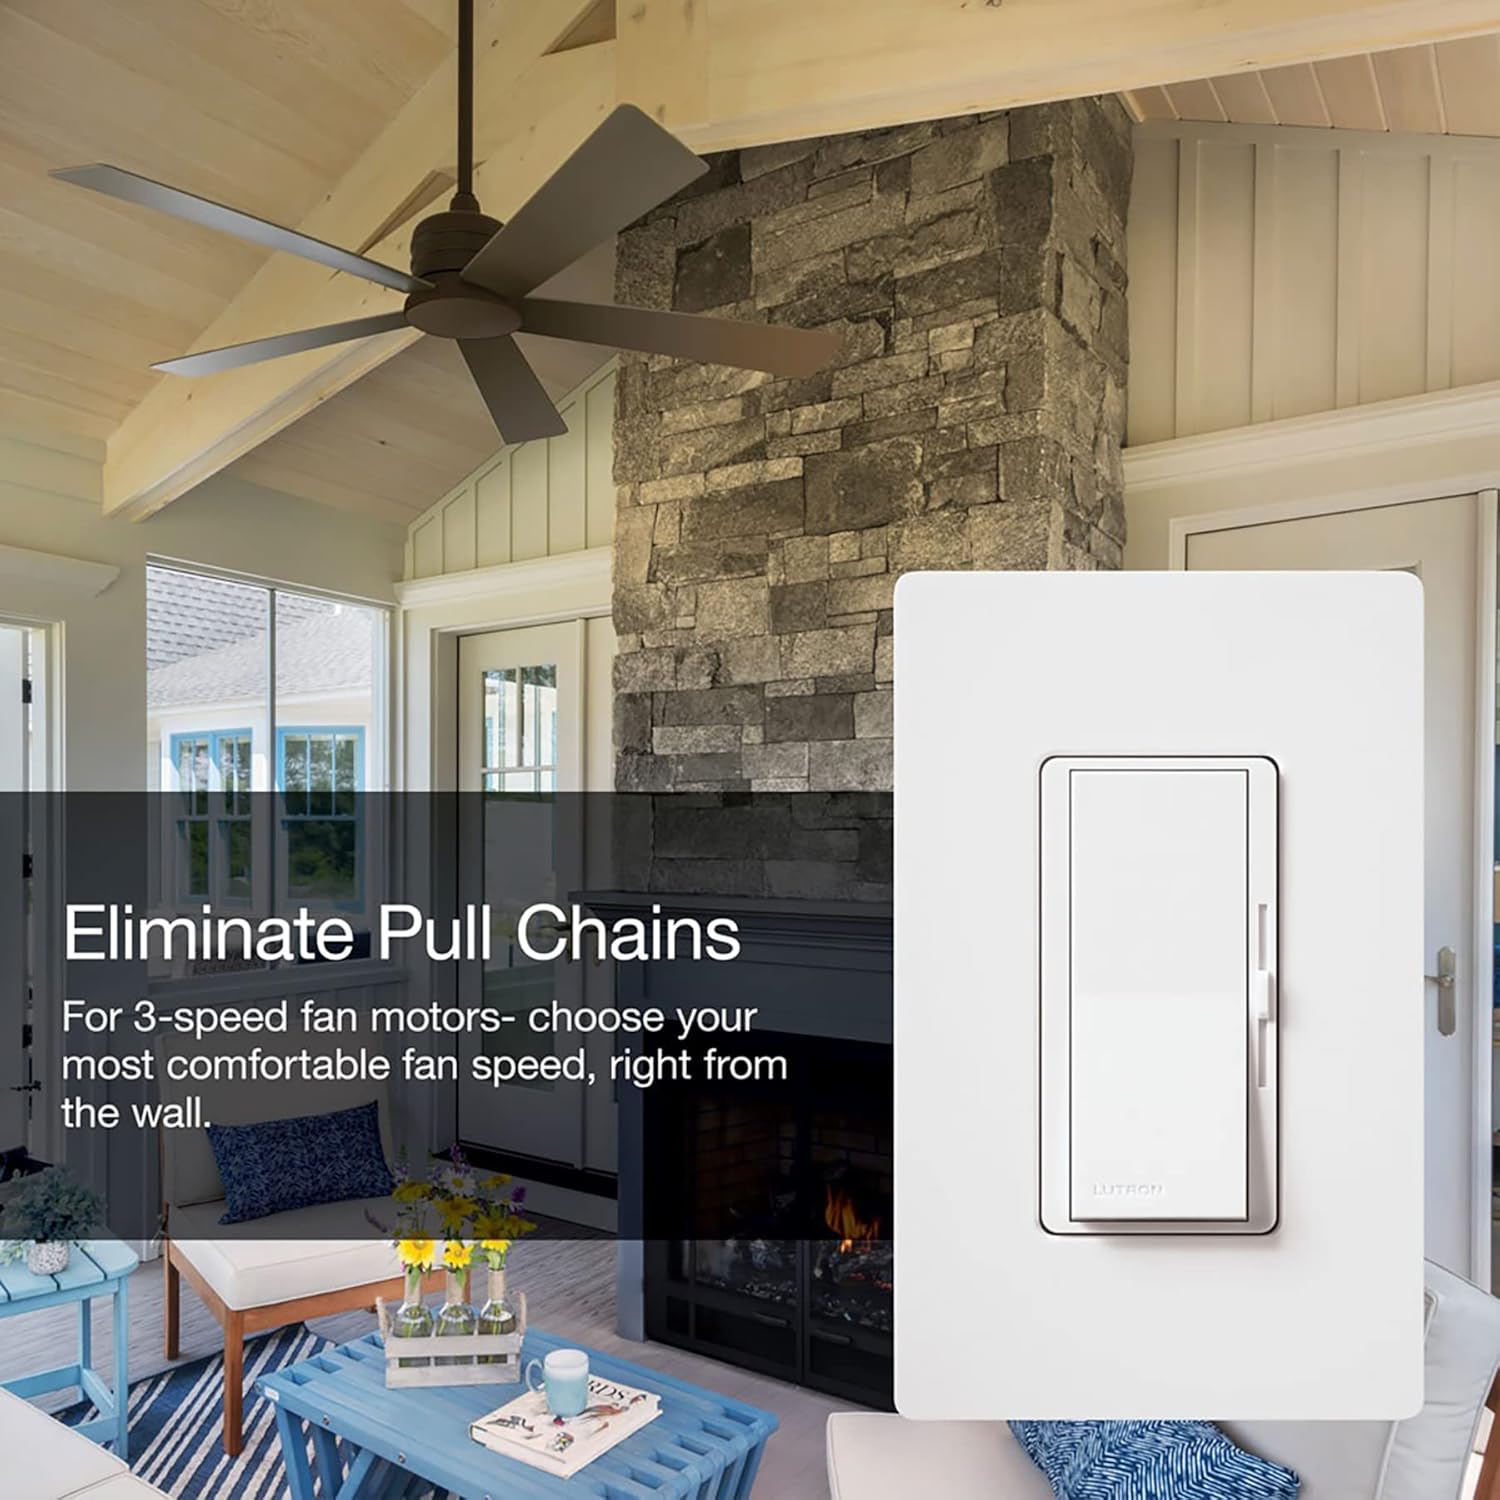
Image: The Lutron Diva 3-Speed Fan Control installed in a wall, demonstrating its appearance with a wall plate.
Betjeningsvejledning
The Lutron Diva 3-Speed Fan Control features a large paddle switch and a linear slider for easy operation.
- Tænd/sluk: Press the large paddle switch to turn the ceiling fan on or off. The fan will resume at the last selected speed setting.
- Justering af blæserhastighed: Use the small linear slider located on the right side of the paddle switch to adjust the fan speed.
- Slide the control up for higher fan speeds.
- Slide the control down for lower fan speeds.
- The control offers three distinct quiet fan speeds.

Image: A living space with a ceiling fan, illustrating the comfort provided by the 3 quiet fan speeds controlled by the Lutron Diva switch.

Image: The Lutron Diva fan control in a room setting, emphasizing its ability to eliminate the need for pull chains on ceiling fans.
Opretholdelse
The Lutron Diva 3-Speed Fan Control requires minimal maintenance.
- Rensning: To clean the surface of the control, wipe with a soft, damp cloth. Do not use chemical cleaners or abrasive materials, as these can damage the finish.
- Ingen dele, der kan serviceres af brugeren: There are no user-serviceable parts inside the control. Do not attempt to disassemble or repair the unit.
Fejlfinding
| Problem | Mulig årsag | Løsning |
|---|---|---|
| Ventilatoren tænder ikke. |
|
|
| Fan does not respond to speed changes. |
|
|
| Fan makes humming noise. |
|
|
Specifikationer
| Feature | Detalje |
|---|---|
| Model | DVFSQ-F-AL |
| Mærke | Lutron |
| Driftstilstand | ON-OFF, Paddle Switch |
| Nuværende vurdering | 1.5 Amps |
| Operation Voltage | 120 Volt AC |
| Frekvens | 60 Hz |
| Switch Type | Decora |
| Kredsløbstype | Single-pole / 3-way |
| Materiale | Plast |
| Farve | Mandel |
| Varedimensioner (L x B x H) | 1.75 x 2.2 x 4.25 tommer |
| Varens vægt | 4 ounce |
| Temperatur vurdering | 32°F til 104°F (0°C til 40°C) |
| Certificeringer | CSA, UL |
Garanti og support
Lutron provides comprehensive support for its products. For assistance with installation, operation, or troubleshooting, please contact Lutron customer support.
Video: Lutron 24/7 Support. This video highlights Lutron's commitment to customer assistance, available day or night.
Lutron offers 24/7 customer support to help you with your project. You can reach them anytime for assistance.
For the most current warranty information, please refer to the documentation included with your product or visit the official Lutron webwebsted.