Indledning
This manual provides essential instructions for the safe installation, operation, and maintenance of your APC AP7922 32A 230V Switched Rack PDU. The AP7922 is a rack-mountable power distribution unit designed to provide advanced power control and monitoring capabilities for IT equipment in data centers and server rooms. It features AC 230V input, Ethernet 10/100 connectivity, and 16 output connectors, all within a 2U, 19-inch form factor.
Vigtige sikkerhedsoplysninger
Please read and understand all safety instructions before installing or operating this equipment. Failure to follow these instructions could result in electric shock, fire, or serious injury.
- Denne enhed er kun beregnet til indendørs brug.
- Connect the PDU to a properly grounded power source.
- Forsøg ikke at åbne eller servicere PDU'en. Overlad al service til kvalificeret personale.
- Ensure the total current draw of connected equipment does not exceed the PDU's maximum current rating (32 Amps).
- Afbryd strømmen, før du udfører vedligeholdelses- eller installationsprocedurer.
Pakkens indhold
Kontroller, at alle genstande er til stede ved udpakning:
- APC AP7922 Switched Rack PDU
- Installationsvejledning
- Rackmonteringsbeslag
- Serial configuration cable
- Dokumentations-cd
Produktegenskaber
The APC AP7922 Switched Rack PDU offers the following key features:
- Skiftede stikkontakter: Remotely control power to individual outlets for power cycling, delayed sequencing, and load shedding.
- Netværksstyring: Full-featured network management interface via Ethernet 10/100 for remote monitoring and control.
- Nuværende overvågning: Monitor the aggregate current draw per PDU to prevent circuit overloads.
- Rack-monterbart design: Occupies 2U of rack space, compatible with standard 19-inch racks.
- Udgangsstik: Equipped with 16 C13 output connectors.
- Input bindtage: Supports AC 230V input.
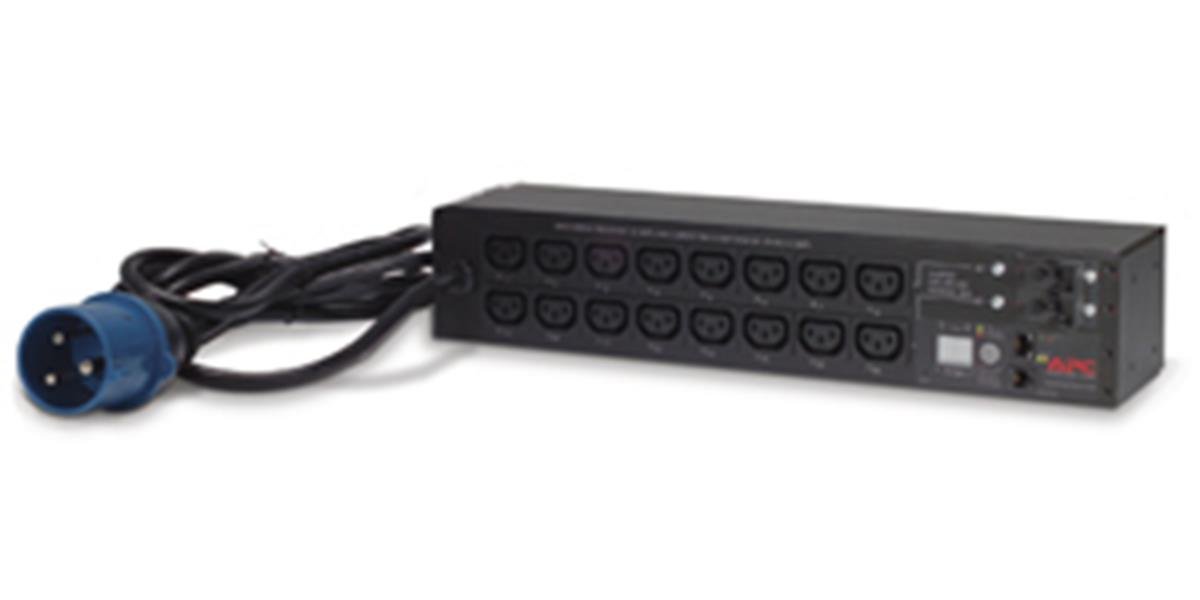
Billede: Forside view of the APC AP7922 Switched Rack PDU, showing the 16 C13 outlets and network interface.
Opsætningsinstruktioner
1. Rack montering
- Identify two available 2U spaces in your standard 19-inch equipment rack.
- Attach the provided rack-mounting brackets to the PDU using the screws supplied.
- Secure the PDU into the rack using appropriate rack screws. Ensure it is firmly seated and level.
2. Strømtilslutning
- Connect the PDU's input power cord to a dedicated 230V, 32A power source. Ensure the power source is properly grounded.
- Do not overload the circuit. Verify that the total load of connected devices will not exceed 32 Amps.
3. Netværksforbindelse
- Connect a standard Ethernet cable from the PDU's network port to your network switch or router.
- The PDU will obtain an IP address via DHCP by default. Refer to the full user manual for static IP configuration.
Betjeningsvejledning
Powering On/Off Connected Devices
Once the PDU is powered and connected to the network, you can manage its outlets remotely.
- Access the PDU's web grænseflade ved at indtaste dens IP-adresse i en web browser.
- Log in using the default credentials (refer to the full manual for details).
- Navigate to the outlet control section. From here, you can individually switch on, switch off, or cycle power to each of the 16 C13 outlets.
Monitoring Current Draw
De web interface also provides real-time monitoring of the aggregate current draw. This allows you to ensure that the PDU and its connected circuit are not overloaded.
Opretholdelse
- Rensning: Periodically clean the exterior of the PDU with a soft, dry cloth. Do not use liquid cleaners or solvents.
- Firmwareopdateringer: Tjek APC'en website for available firmware updates to ensure optimal performance and security. Follow the instructions provided with the firmware package for safe updating.
- Kabelstyring: Ensure all power and network cables are neatly routed and secured to prevent accidental disconnections or damage.
Fejlfinding
| Problem | Mulig årsag | Løsning |
|---|---|---|
| PDU does not power on. | No input power; tripped circuit breaker. | Verify the power cord is securely connected. Check the building's circuit breaker for the PDU's power source. |
| Kan ikke få adgang web interface. | Incorrect IP address; network connectivity issue; PDU not powered. | Ensure the PDU is powered on. Verify network cable connection. Confirm the correct IP address. Check network settings. |
| Outlets do not switch. | Software issue; PDU fault. | Try restarting the PDU. If the issue persists, contact technical support. |
| Overbelastningsalarm. | Total current draw exceeds PDU rating. | Disconnect non-essential equipment to reduce the load. Redistribute equipment across multiple PDUs if necessary. |
Tekniske specifikationer
| Feature | Detalje |
|---|---|
| Modelnummer | AP7922 |
| Mærke | APC af Schneider Electric |
| Formfaktor | 2U Rack-mountable, 19-inch |
| Input bindtage | 230 Volt AC |
| Indgangsstrøm | 32 Amps |
| Udgang Voltage | 230 Volt AC |
| Udgangsstrøm | 32 Amps (maks.) |
| Antal udsalgssteder | 16 |
| Connector Type | C13 |
| Network interface | Ethernet 10/100 |
| Wattage | 7360 watt |
| Dimensioner (H x B x D) | 4.49 x 17.52 x 3.5 tommer |
| Vægt | 0.7 kilo |
| Materiale | Metal |
| Farve | Sort |
Garanti og support
Garantioplysninger
APC products typically come with a standard manufacturer's warranty. Please refer to the warranty card included with your product or visit the official APC website for detailed warranty terms and conditions specific to the AP7922 model.
Teknisk support
For technical assistance, troubleshooting, or to report issues, please contact APC customer support. You can find contact information and additional resources on the official Schneider Electric webwebsted: