
BANDAI HG 1/144 Hydra Gundam
BANDAI HG 1/144 Hydra Gundam Model Kit Instruction Manual
Model: HG 1/144 Hydra Gundam | Brand: BANDAI
1. Introduktion
This instruction manual provides detailed guidance for assembling and maintaining your BANDAI HG 1/144 Hydra Gundam model kit. The Hydra Gundam, from the Gundam Wing G-Unit series, is a highly detailed plastic model designed for enthusiasts. Please read all instructions carefully before beginning assembly.
2. Sikkerhedsoplysninger
- Advarsel om små dele: This kit contains small parts that may pose a choking hazard. Keep out of reach of small children.
- Skarpe kanter: Components may have sharp edges or points after cutting from runners. Handle with care to prevent injury.
- Værktøjer: Use appropriate modeling tools (e.g., nippers, hobby knife) safely. Adult supervision is recommended for younger builders.
- Adhesives/Paints: If using optional adhesives or paints, ensure proper ventilation and follow product-specific safety guidelines.
- This product is a model kit, not a toy.
3. Reservedelsliste
Your HG 1/144 Hydra Gundam kit includes multiple plastic runners with various components, poly-caps for joints, and a sheet of stickers/decals. Before starting assembly, carefully check all runners against the included parts diagram in your physical manual to ensure no parts are missing or damaged.
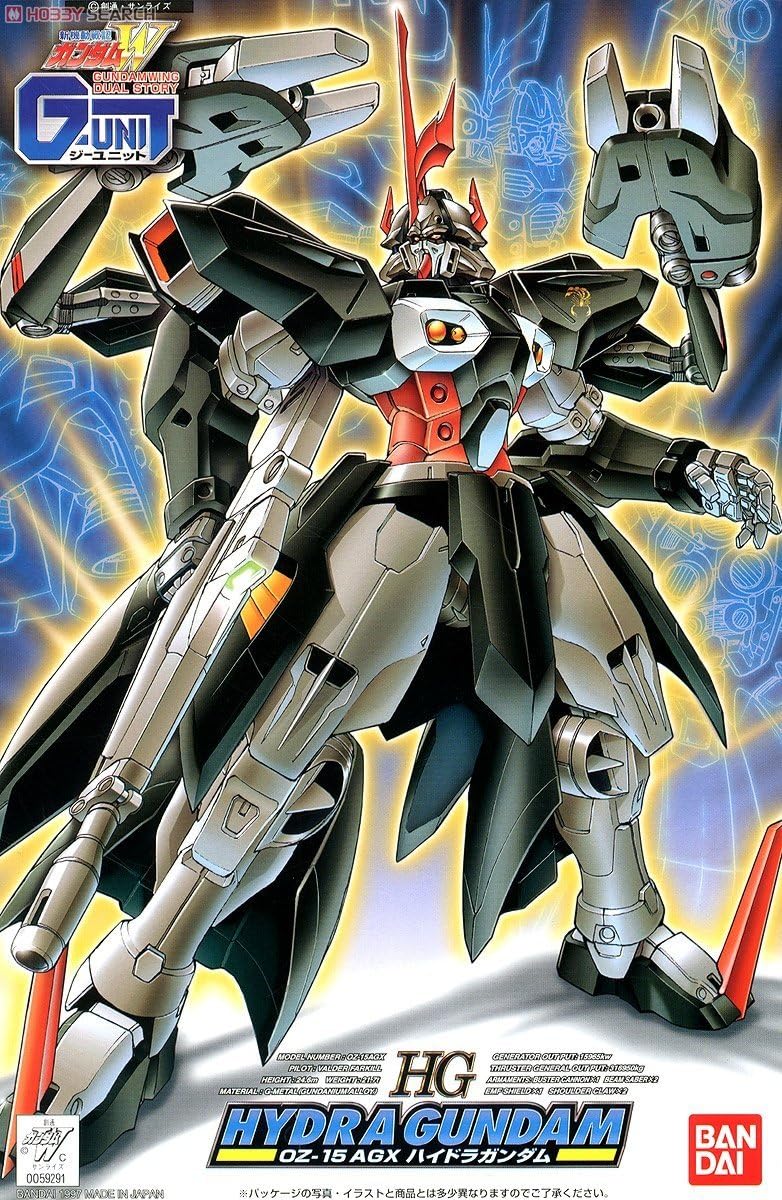
Image 3.1: Hydra Gundam model kit box art, illustrating the assembled model and some of its features. This image provides a visual reference for the completed model and its components.
4. Monteringsvejledning
Follow the step-by-step diagrams provided in your physical instruction booklet. The general assembly process involves:
- Forberedelse: Carefully cut parts from the runners using a pair of plastic nippers. Use a hobby knife or sanding stick to clean any nubs or excess plastic.
- Kropssamling: Begin with the torso, connecting the front and back halves, and inserting poly-caps for arm and leg connections.
- Hovedsamling: Assemble the head unit, including the face, helmet, and V-fin.
- Armsamling: Assemble each arm, ensuring poly-caps are correctly placed for articulation. Attach hands.
- Bensamling: Assemble each leg, paying attention to the knee joints and thruster mechanisms.
- Waist/Skirt Armor Assembly: Assemble the waist unit and attach the front, side, and rear skirt armor pieces.
- Weaponry and Accessories: Assemble the Buster Rifle, Beam Sabers, EMF Shield, and Shoulder Claws.
- Afsluttende samling: Connect all major sections (head, arms, legs, waist) to the main body. Attach weapons and accessories.
- Stickers/Decals: Apply the included stickers and decals according to the diagram for added detail.

Image 4.1: The fully assembled HG 1/144 Hydra Gundam, showcasing its intricate design and weaponry. This image serves as a reference for the completed model.
5. Posing and Transformation
The Hydra Gundam model features various points of articulation for dynamic posing and a transformation capability into an Assault Mode.
5.1 Artikulation
- Hoved: Rotates 360 degrees. Limited up/down movement.
- Skuldre: Arms attach via pegs, allowing 360-degree rotation. Shoulder claw arms are fully articulated.
- albuer: Single joint provides approximately 90 degrees of bend and 360-degree rotation.
- Hænder: Includes standard gripping hands, trigger finger hands, and open palms.
- Torso: Rotates 360 degrees at the waist. No crunch articulation.
- Hofter: Ball joint connection allows for leg movement, though front skirt armor may limit forward motion. Rear skirt armor can flip up.
- Knæ: Double joint for bending, also used for transformation.
- Ankler: Single ball joint provides movement without ankle guard obstruction.
5.2 Assault Mode Transformation
To transform the Hydra Gundam into its high-speed Assault Mode:
- Flip the rear skirt armor upwards to a vertical position.
- Rotate the spikes on the feet downwards and into the bottom of the feet.
- Utilize the double joints in the knees to reverse bend the legs, revealing additional thrusters.
- Rotate the side skirts forward at their poly-cap connections and tuck them under the central piece of the front skirt.
Exercise caution when posing or transforming to avoid stressing joints or breaking parts.
6. Vedligeholdelse
- Rensning: Dust your model regularly with a soft brush or compressed air to prevent accumulation. Avoid harsh chemicals.
- Opbevaring: Store the model in a stable, dust-free environment away from direct sunlight and extreme temperatures to prevent discoloration or material degradation.
- Samlet opstramning: If joints become loose over time, a thin layer of clear nail polish or a specialized joint-tightening solution can be applied to the poly-caps or pegs to restore friction.
7. Fejlfinding
- Dele, der ikke passer: Ensure parts are oriented correctly. If a part is too tight, gently sand down the peg or hole slightly. Do not force parts together.
- Løse led: Refer to the "Joint Tightening" tip in the Maintenance section.
- Afskalning af klistermærker: Ensure the surface is clean and dry before applying stickers. Press firmly. For persistent issues, consider using a decal setting solution.
- Brud: If a part breaks, plastic cement can often be used for repair. For critical joints, consider pinning with a small metal rod for added strength.
8. Specifikationer
| Modelnummer | OZ-15 AGX (4902425592916) |
| Skala | 1/144 |
| Serie | Gundam Wing G-Unit (High Grade) |
| Mærke | BANDAI |
| Materiale | Plast |
| Varens vægt | 0.57 pund |
| forsvarsmateriel | Buster Cannon x1, Beam Saber x2, EMF Shield x1, Shoulder Claws x2 |
| Anbefalet alder | Adult (Collector's Item) |
9. Garanti og support
This BANDAI model kit is manufactured to high-quality standards. For any manufacturing defects or missing parts, please contact BANDAI customer support directly. Keep your purchase receipt as proof of purchase. Specific warranty terms may vary by region.
For further assistance, please visit the official BANDAI webwebsted eller kontakt deres kundeserviceafdeling.
Ask a question about this manual
Ask about setup, troubleshooting, compatibility, parts, safety, or missing instructions. Manuals+ will review the question and use this page’s manual context to help answer it.