
Indledning
This manual provides detailed instructions for the installation, operation, and maintenance of your DB DRIVE A3 2250.5 Okur Series A3 Class AB 1000 Watt 5-Channel AmpLæs venligst denne manual grundigt, inden du forsøger at installere eller betjene den, for at sikre korrekt brug og for at forhindre skader på enheden eller dit køretøjs lydsystem.
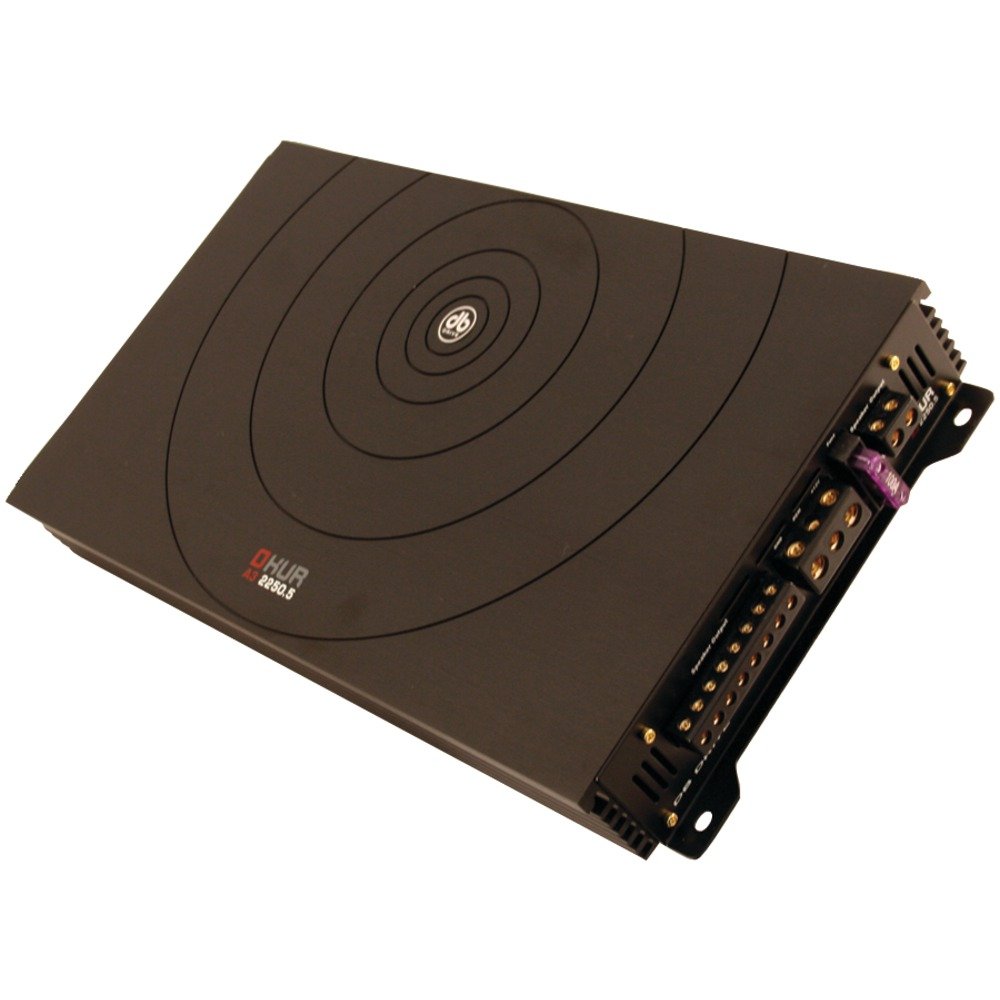
Image: DB DRIVE A3 2250.5 Okur Series A3 Class AB 1000 Watt 5-Channel Amplifer. Dette billede viser amplifier's top view, der fremhæver dens kompakte design og branding.
Sikkerhedsoplysninger
Overhold altid følgende sikkerhedsforanstaltninger for at forhindre personskade eller beskadigelse:
- Disconnect the vehicle's battery negative terminal before making any power connections.
- Sørg for, at alle ledninger er korrekt ført og fastgjort for at forhindre klemning eller kortslutninger.
- Brug passende ledningsføring til strøm- og jordforbindelser som angivet i installationsafsnittet.
- Installer ampOpbevaringsenheden på et sted, der giver tilstrækkelig ventilation for at forhindre overophedning.
- Undgå at installere ampløfteren i områder, der er udsat for fugt eller kraftige vibrationer.
- Kontakt en professionel installatør af bilstereo, hvis du er usikker på nogen del af installationsprocessen.
Opsætning og installation
1. Udpakning og inspektion
Fjern forsigtigt amplifier from its packaging. Inspect the unit for any signs of damage that may have occurred during shipping. Contact your dealer immediately if any damage is found.
2. Montering af Amplivligere
Choose a mounting location that is dry, well-ventilated, and secure. Common locations include under a seat, in the trunk, or behind a panel. Ensure there is sufficient airflow around the amplifiers køleplade.
- Marker monteringshullerne ved hjælp af amplifier som skabelon.
- Drill pilot holes if necessary, being careful not to damage any vehicle components.
- Sikre den ampved hjælp af de medfølgende monteringsskruer.
3. Ledningsforbindelser
Proper wiring is crucial for performance and safety. Refer to the following guidelines:
- Power (BATT+): Connect a heavy-gauge wire (e.g., 4 AWG or 8 AWG depending on total power) directly from the positive terminal of the vehicle's battery. Install an inline fuse holder within 18 inches (45 cm) of the battery.
- Jord (GND): Connect a heavy-gauge wire of the same size as the power wire to a clean, unpainted metal surface of the vehicle's chassis. Ensure a solid, low-resistance connection.
- Fjernbetjening (REM)Tilslut en ledning med mindre tykkelse (f.eks. 18 AWG) fra amplifier's remote terminal to the remote output of your head unit. This turns the amptænd og sluk for sprøjten med hovedenheden.
- RCA-indgangeTilslut RCA-kabler fra din hovedenheds for-amp udgange til amplifier's RCA input jacks. Ensure correct channel matching (Front L/R, Rear L/R, Sub).
- Højttaler udgange: Connect speaker wires from the amplifier's speaker terminals to your speakers. Observe correct polarity (+ to + and - to -). This is a 5-channel amplifier, typically 4 channels for full-range speakers and 1 channel for a subwoofer.
4. Gain, Crossover, and Bass Boost Settings
These settings allow you to fine-tune the amplifier's output to match your audio system and preferences.
- Få kontrol: Adjust the gain to match the output voltage of your head unit. Start with the gain at minimum, then slowly increase it until you hear distortion, then back off slightly. This is not a volume control.
- Crossover (LPF/HPF):
- Lavpasfilter (LPF): For the subwoofer channel, set the LPF to allow only low frequencies to pass (e.g., 80-120 Hz).
- Højpasfilter (HPF): For the full-range channels, set the HPF to block low frequencies from reaching your main speakers (e.g., 80-100 Hz) to prevent distortion and improve sound clarity.
- Bass Boost: Use the bass boost sparingly. Excessive bass boost can lead to distortion and speaker damage. Adjust to taste, ensuring sound remains clear.
Betjeningsvejledning
Once installed and configured, the amplifier will power on automatically with your head unit via the remote turn-on wire. Adjust volume and tone controls primarily from your head unit. The amplifier's settings (gain, crossover) are set during installation and generally do not require frequent adjustment.
Opretholdelse
The DB DRIVE A3 2250.5 ampLifier kræver minimal vedligeholdelse.
- Rensning: Periodically wipe the ampFjern støv fra ydersiden med en blød, tør klud. Brug ikke skrappe kemikalier eller slibende rengøringsmidler.
- Inspektion: Occasionally check all wiring connections to ensure they are secure and free from corrosion. Ensure the amplifier's ventilation fins are not obstructed.
Fejlfinding
Hvis du oplever problemer med din ampLifier, se følgende almindelige problemer og løsninger:
| Problem | Mulig årsag | Løsning |
|---|---|---|
| Ingen strøm / Ampkøleren tænder ikke |
|
|
| Ingen lydudgang |
|
|
| Forvrænget lyd |
|
|
| AmpOverophedning af kølemiddel (beskyttelsestilstand) |
|
|
Specifikationer
| Feature | Detalje |
|---|---|
| Modelnummer | A3 2250.5 |
| Maksimal effekt | 1000 watt |
| Kanaler | 5-Channel (4 stereo, 1 mono for subwoofer) |
| Amplivligere klasse | Klasse AB |
| Komponenter | Audiophile Grade |
| Dimensioner (L x B x H) | 53.59 x 30.48 x 10.92 cm |
| Vægt | 6.53 kg |
| Varmestyring | DRIVESINK (Okur Series A3 feature) |
Garanti og support
DB Drive products are designed for reliability and performance. This product is covered by a limited warranty. Please refer to the warranty card included with your product or visit the official DB Drive webhjemmeside for detaljerede garantivilkår.
For technical support, service, or warranty claims, please contact your authorized DB Drive dealer or visit the DB Drive official webwebsted for kontaktoplysninger og supportressourcer.